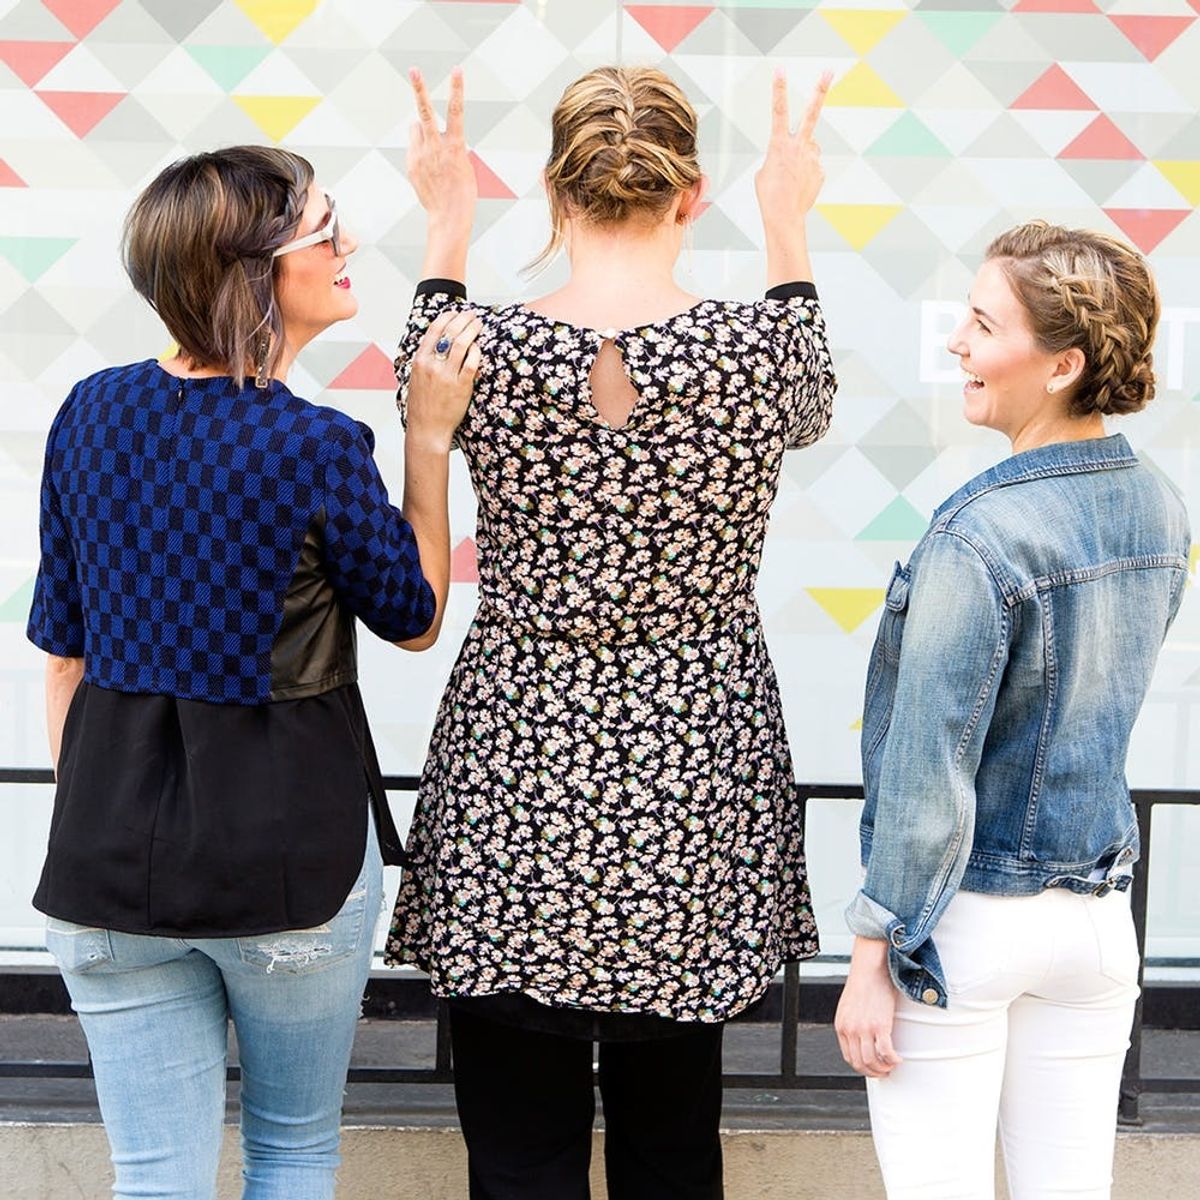
How to Wear Festival-Inspired Braids to the Office

The first weekend of Coachella signifies the true moment when we know that festival season has officially kicked off. We’ve already got you up to speed on Coachella street style and all the spring fashion trends we spotted, so now it’s time to take this festival inspo and apply it IRL. If you’re not attending Coachella but love the event’s vibe, wearing festival-inspired braids to the office is a fun way to get in the spirit from afar. Here are three super simple, funky braids you can master in a matter of minutes and rock at your nine-to-five — they’re def office appropriate.

BRAID #1: The Triple Crown

This triple-sectioned, inside-out messy French braid is streamlined into three mini buns in the back — it’s a stunner! This look will have you channeling your inner Coachella gal in a matter of minutes. Here’s how to create the triple crown braid.
Step 1: Section It Out

To help keep your sections clean, divide your hair into three separate sections. Leave the first section you will braid untied.

Start on one side of your head and style an inside-out French braid. Be sure to slightly widen your braids by gently tugging on each strand.
Step 2: Style An Inside-Out French Braid

Continue to style inside-out French braids into the remaining sections, and secure with a small elastic.
Step 3: Repeat, Repeat

Wrap up the end of each braid into a mini bun and pin it in place at the nape of your neck. This creates a textured chignon effect in the back that’s SO pretty.
Step 4: Make Mini Braid Buns

BRAID #2: Keep It Old School

With braids being such a trend these days, revamped versions of classic styles are resurfacing! We wanted to remind you of the old school, gorgeous French braid.
Step 1: Bump It Up

Pump up the volume, people! Get on board the backcombing train and build serious height into your locks. The added volume and texture will help to set the base for this super simple look.

Buttttt let’s not get carried away ;) Gently take the ends of your comb and smooth the outer layer of your hair. Be careful not to flatten the work you just did though!
Step 3: Frenchie, Frenchie
Step 2: Smooth It Down

French braid your hair until you get to the ends, and then secure it with an elastic.

Now, tuck the tied end of your hair inside your French braid. Pin it in place.
Step 4: Tuck + Pin

BRAID #3: Fishtail Crown

The perfect braid for short haired gals (like me) is a messy fishtail. This baby frames your face with just two bobby pins to hold it in all in place!

Style a fishtail braid on one side of your head and use a small elastic to secure it. Then, tuck it behind your ear and separate the braid by gently tugging on the strands of hair to make it look loose and unkempt.
Step 1: Create Your First Fishtail

Repeat the same fishtail braid on the other side of your hair.
Step 3: Pin in Place
Step 2: Same Fishtail, Different Side

Use a bobby pin on each side of your head to pin the braids in place. You can pin anywhere that makes your silhouette look appealing to you.

Now turn up your playlist, get your peace fingers ready and strut your stuff (and your inner flower child!) into work!

Follow us on Pinterest for more hair inspo.


