Get EXCITED! We’re officially launching our beauty video series, and we’re so happy to finally share the first installment with you gorgeous humans. For our first video in this series, our guest artist Eliza Veal demonstrates a super simple and doable approach to every minimalist’s best friend: the no-makeup makeup look. We love this trend because it honors the #lazygirl in all of us. We all have those days when we aren’t in the mood to flaunt our full-on date night makeup, and even our go-to flawless face makeup may feel like a bit much. While leaving the house without a stitch of makeup on is the ultimate in #goals, there’s no harm in perfecting the art of subtle style. So for all you ladies who want a fresh, glowy and perfectly natural look… this one’s for you!
Step 1 – Spot Your Foundation: Use your fingers to spot foundation onto the trouble areas of your face, then use a slightly damp beauty blender to blend your makeup into the parts of your skin that are foundation-free for a seamless look. You can also use your fingers to tap over any areas that need to be blended more — the heat from your skin will help melt the product into your face for that smooth finish. For a beautifully bare face, I recommend using a tinted moisturizer like Laura Mercier Illuminating Tinted Moisturizer SPF 20 ($44).
Step 2 – Tap Concealer: Tap a small amount of concealer under your eye area. To blend, make small, gentle tapping motions with your ring finger (which uses the least amount of pressure). Preserving the integrity of your under-eye area with a gentle touch helps avoid those pesky fine lines. Eliza is wearing Glossier Stretch Concealer in Light ($18).
Step 3 – Apply Matte Bronzer: Choose a matte finish for your bronzer to get effortlessly natural results. Don’t get us wrong — we love shimmers — but they’re a tell-tale sign that you’re wearing makeup. Apply bronzer to your hairline, your temples, the hollows of your cheeks, under your jaw line, down onto your neck and on the sides of your nose. I recommend Laura Mercier Matte Radiance Baked Powder Compact ($40).
Step 4 – Bring on Neutral Blush: Finding that perfectly bare blush color for your skin tone is key. For Eliza’s fair skin, we went with a soft, matte, peachy hue, using E.L.F. Cosmetics Blush in Tickled Pink ($3). Apply to the apples of your cheeks and gently swipe up and back toward your temples.
Step 5 – Highlight With Primer: This is the one area where you can bring in a soft, subtle shimmer. I love using a primer to highlight for this look because they usually aren’t as heavily pigmented as an actual highlighter. I adore the primer from the Japonesque Color Strobing Kit ($20). The benefit of having this kit is that there is a color in here for all skin tones (so feel free to experiment). Use a flat foundation brush to apply to your upper cheekbones, the bridge of your nose, your cupid’s bow and in between your brows.
Step 6 – Lightly Pencil Brows: You want to try to fill your brows with an only slightly deeper color than the roots of your hair. Eliza is wearing Anastasia Beverly Hills Brow Wiz in Soft Brown ($21). Make small, light strokes in the direction your hair is growing, then blend with the wand on the other end of the pencil.
Step 7 – Find Your Neutral Shadow: Find an eyeshadow that is slightly deeper than your natural skin tone to fill in the creases of your eyes. Hack this step by using a matte bronzer, otherwise go for a neutral, matte shadow that complements your complexion.
Step 8 – Tight Line the Lash Line: Forgo the thick eyeliner and instead opt for some subtle tight lining. Deepen your lash line by applying the pigment directly to the base of your lashes. Try a black smudge-proof eyeliner like Makeup Forever Aqua XL Eye Pencil Extra Long Lasting Waterproof Eye Pencil in Matte Black ($21).
Finishing Touches – Mascara + Lips: Keep your mascara light by applying one coat of a volumizing formula like Revlon Ultra Volume Mascara in Black ($9). For your lips, go for a hue slightly deeper than your own skin and apply with your finger for a flawless flush. Eliza is wearing Buxom Matte Big + Sexy Bold Gel Lipstick in Naturally Daring ($22).

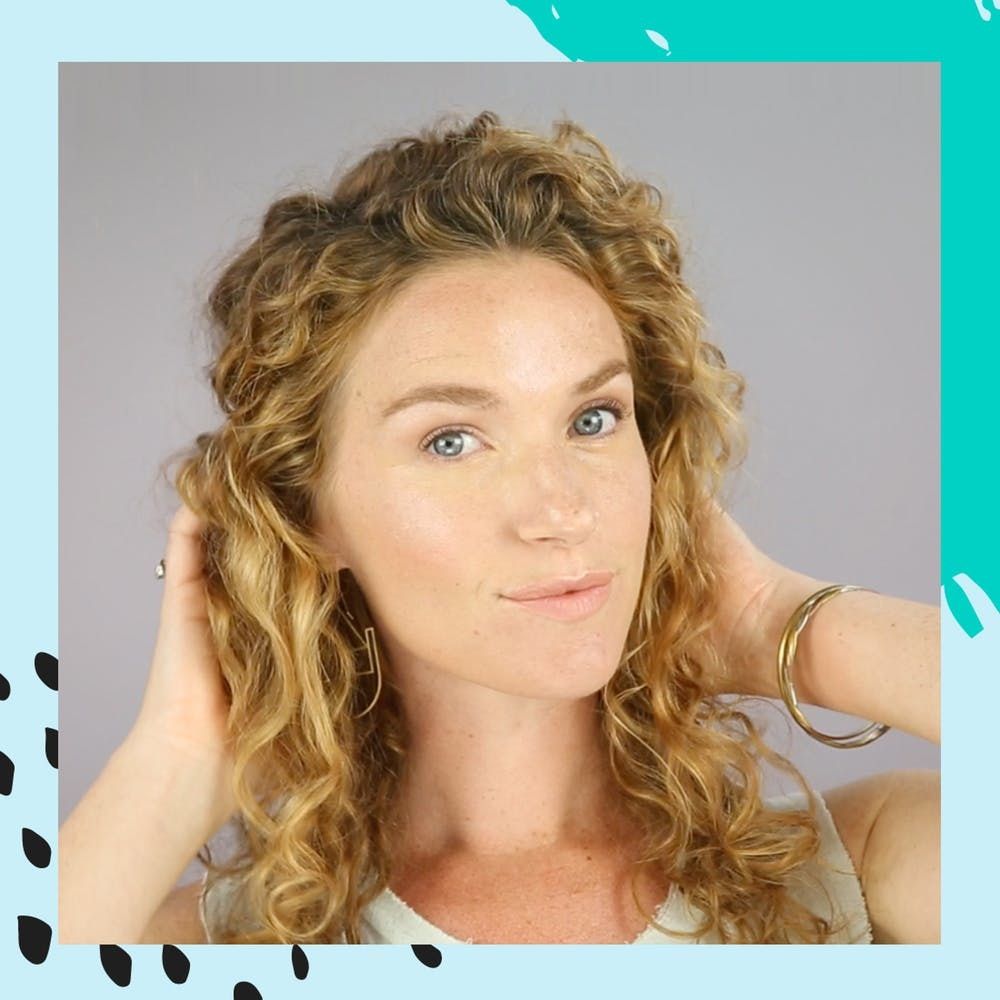
As you can see, a few simple touches can create the ultimate radiant glow. It may take a few tries before you train your hand to have a lighter touch, but you’ll get there :)