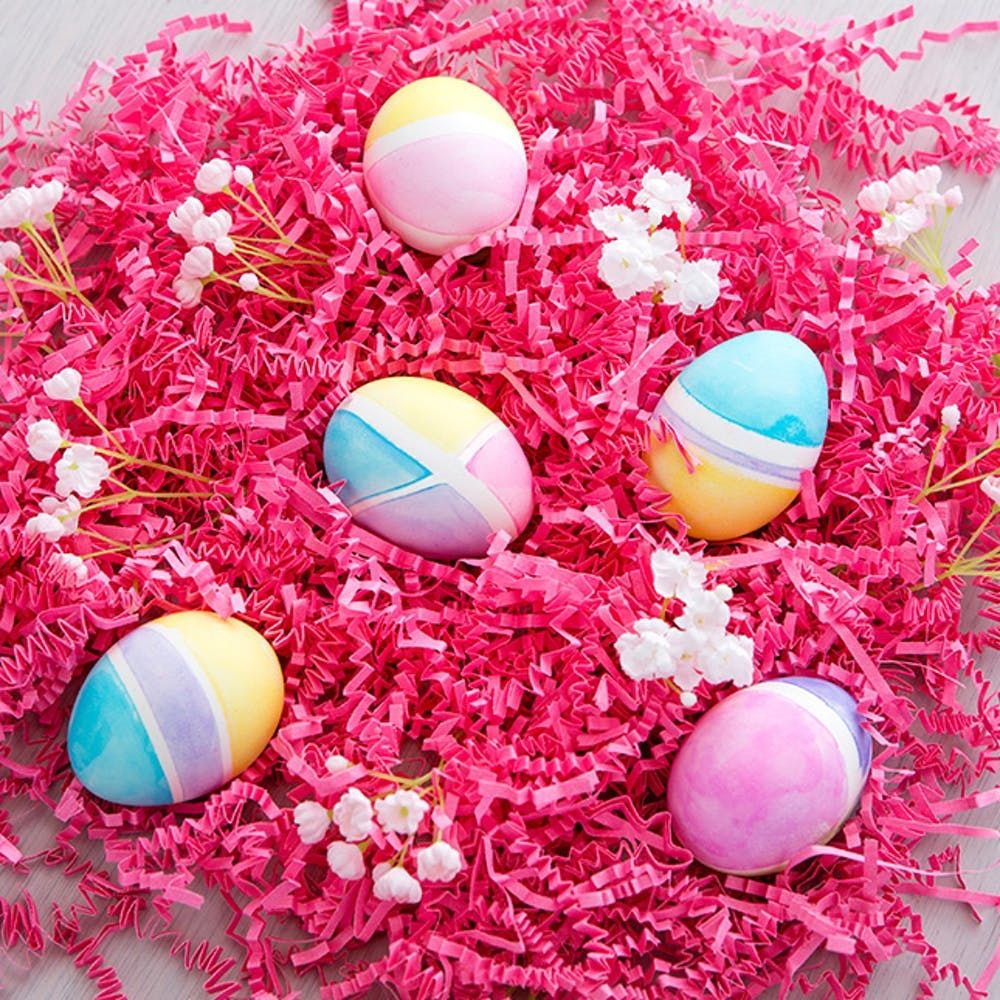
The rubber band hack is one of the oldest tricks in the Easter egg-dyeing book, and with good reason. Rubber bands leave crisp, white lines on our eggs and make whatever color we add really pop. Plus, the trusty tool is always on hand, so it’s kind of the perfect accessory for last-minute egg decorating. Keep reading to learn how to make perfect color blocked eggs this Easter.
Materials
– small rubber bands
– generic egg dyeing kit
– carton or drying rack for eggs
– paint brush
– paper towel or Q-tip
Instructions
1. Start by wrapping your egg in rubber bands. End with the thickest rubber band.
2. Make your dye solutions per the kit’s instructions. Then apply the dye to your egg with a paint brush, using different colors between each banded off area. Soak up any running paint with a paper towel or Q-tip.
3. Once dry, take off the rubber bands. Ta-daah!
Why use a paint brush, you ask? Instead of dunking our eggs in cups of dye, we thought we’d switch it up by painting the dye onto the egg. This lets us use multiple colors on one egg, and we can also better control the opacity of the dye job.
First, wrap small rubber bands around your egg. Add the thickest band last — this helps the other bands stay in place.
Make the dye solution by following your kit’s instructions. Then paint each section of your egg, one at a time. The more coats you add and the longer you hold your paintbrush in one place, the more opaque your final colors will be.
Be sure to mop up any running dye with a paper towel or Q-tip to minimize bleeding under the rubber bands.
Let your egg dry completely, then take off each rubber band. There you have it!
These eggs are so simple and sweet, don’t you think?
What’s your favorite egg-dyeing method? Have you ever dyed with rubber bands? Share in the comments below!
