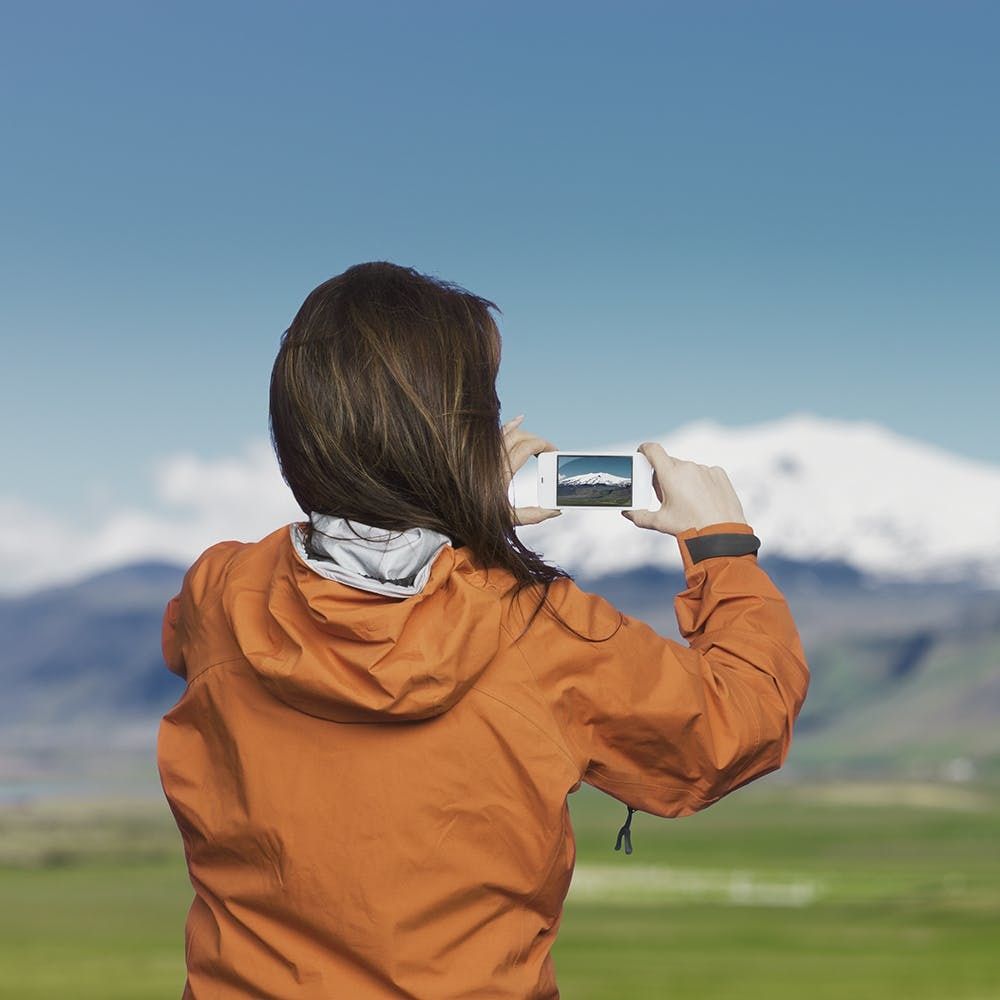
On the quest to make our Instagram pages look as good as possible, we’ve picked up a few photo editing tips and tricks. But one of the best-kept secrets on Instagram is that most of those fantastic pictures you’re scrolling through on your feed were NOT taken on a phone. They were most likely taken on a pretty professional camera and then uploaded via mobile.

So how can someone, armed with just their camera phone, compete with professional equipment? Photoshop. And before you freak out and say you don’t know how to use the program, don’t panic. It’s super easy, and we’re going to walk you through it. Here’s how you can fool everyone into thinking you just picked up a spankin’ new professional camera using just a little bit of Photoshop magic.
Let’s take, for example, any selfie you’ve recently taken or a pic of a friend. Basically just any portrait of a person. Open it in Photoshop. Make a duplicate layer by pressing Command + J.
Now you’re going to use the “Iris Blur” effect. Find it in Filter > Blur Gallery > Iris Blur. Basically all you have to do is put the center dot right in the middle of your subject’s face (top of the nose should work just fine), and then move the outer circles around to the borders of the face. You can play around with the points until you find a level of blur you like.
Now save, and bada bing, bada boom — your subject is now popping out from the background and you’ve got a pretty professional-looking photo. Upload it to Insta and get ready for all the likes to pour in.
What’s your number one iPhone hack? Let us know @BritandCo!
(Photo via Getty)