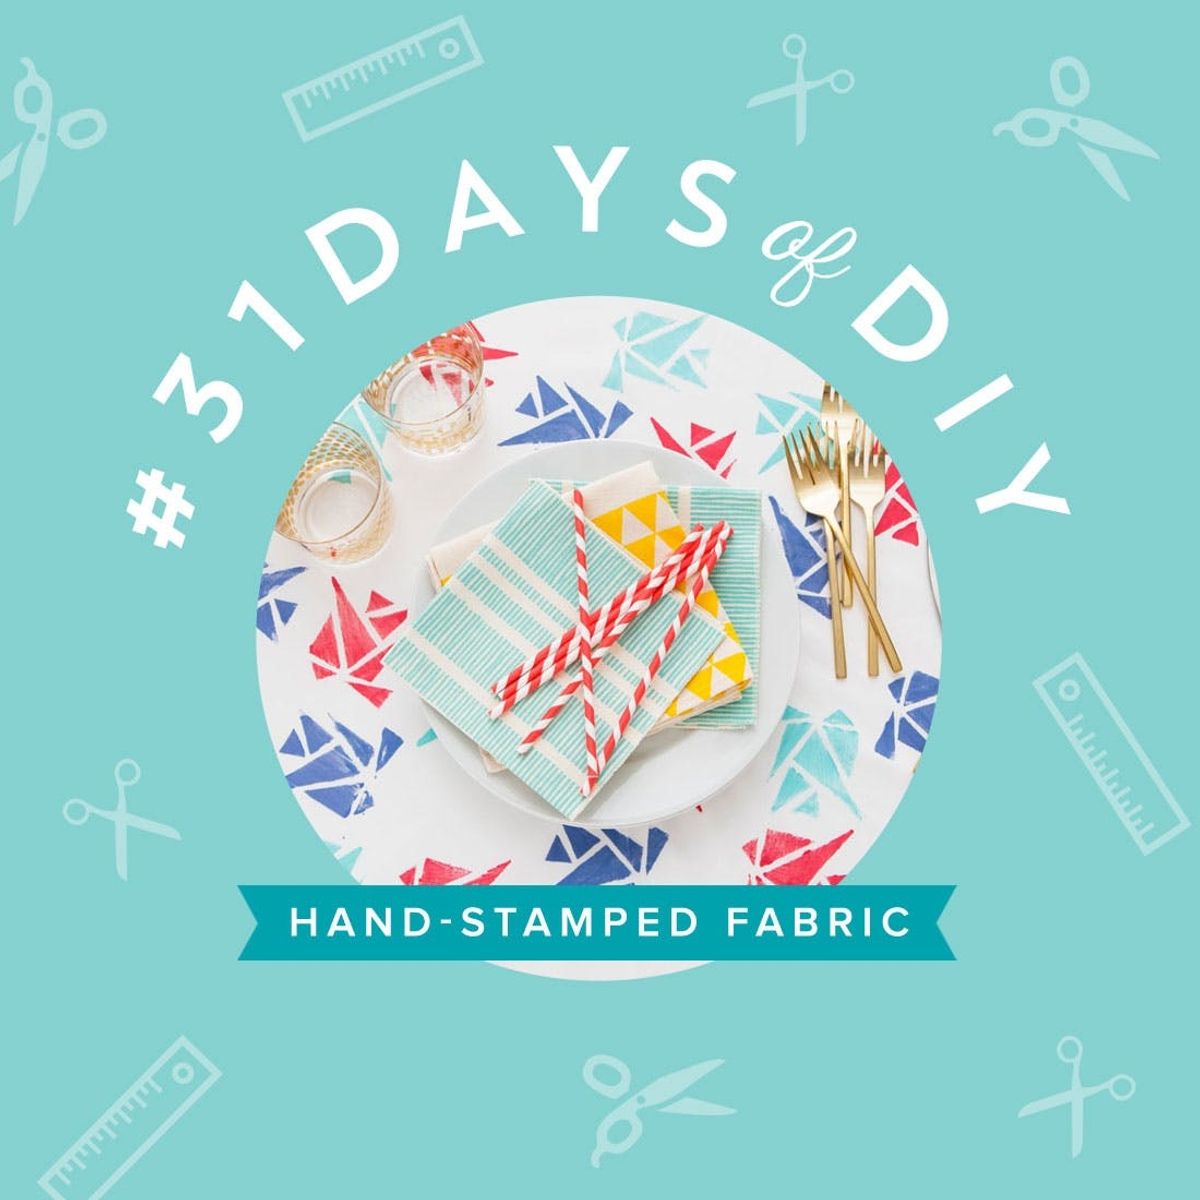
Always wanted to make your own fabric? We got you.
Make a Hand-Stamped Tablecloth and Backdrop in One

First up in our #31DaysofDIY series, we’re serving up an easy DIY that’ll dress up your table, your photos and more. Because we wouldn’t be Brit + Co if we didn’t start things off with a photo backdrop, duh! :) In this tutorial, we’ll show you how to make your own stamp to use to create custom hand-stamped fabric, designed by Y-O-U.
No idea what #31DaysofDIY is? It’s a brand new tradition here at Brit + Co that’s all about kicking off 2015 right. We’ve challenged ourselves to make or learn something new every single day for the month of January, and we’re inviting all of you along for the ride. From DIY basics like Sewing 101 to learning to design and laser cut our own stencils, we hope this month of making inspires you to make all year long. Now, let’s get to it.

What we love about this project is that you can apply it to about a million different things. You can hand-stamp any fabric to create your own table linens, clothing, curtains, pillows and more. It can be customized for a super chic look or you can go with tons of party-friendly colors like ours!
Hand-Stamped Scarf and Hand-Stamped Napkins Kit
 Get the kit right here, or head to your local arts and crafts store to stock up on supplies.

You can trace or eyeball the shape of the wood block on the back side of your sticky foam sheet. Use a pencil to play with design options, then use a Sharpie to draw your final design. Cut it out, then peel off the paper backing and stick foam shapes onto one side of the wood block.

Let there be stamps.

Brush fabric paint onto your stamp using a foam brush. Make sure not to let paint get too goopy.

Press stamp down firmly onto your fabric! We went with an abstract triangle pattern to make it easy to create an all-over pattern without worrying too much about precision.

We used three different colors for our design, but you could go with a single color for a more refined look.

Done and done. It’s almost like flattened origami shapes or something. Let air dry for 4 hours before wearing and 72 hours before machine washing. Then use a sewing machine or needle and thread to hem the edges of your fabric after it’s been washed and dried.

Use it to add a punch of color to your table for a party or brunch or just a regular Tuesday night ;)

Or use it as a photo backdrop for your next party! Or make a whole bunch so you’ve got linens that match your photos. Heck, make yourself a dress that matches and you can have a camouflage-themed party based on your favorite pattern.

So much silliness.

And still, a little class.

What kind of designs will you make? We’d love to see your take on this project. Don’t forget to share it to Instagram, Facebook, Tumblr or Twitter using the hashtag #31DaysofDIY. We’ll feature our favorite projects and makers throughout the month of January here on Brit.co.


