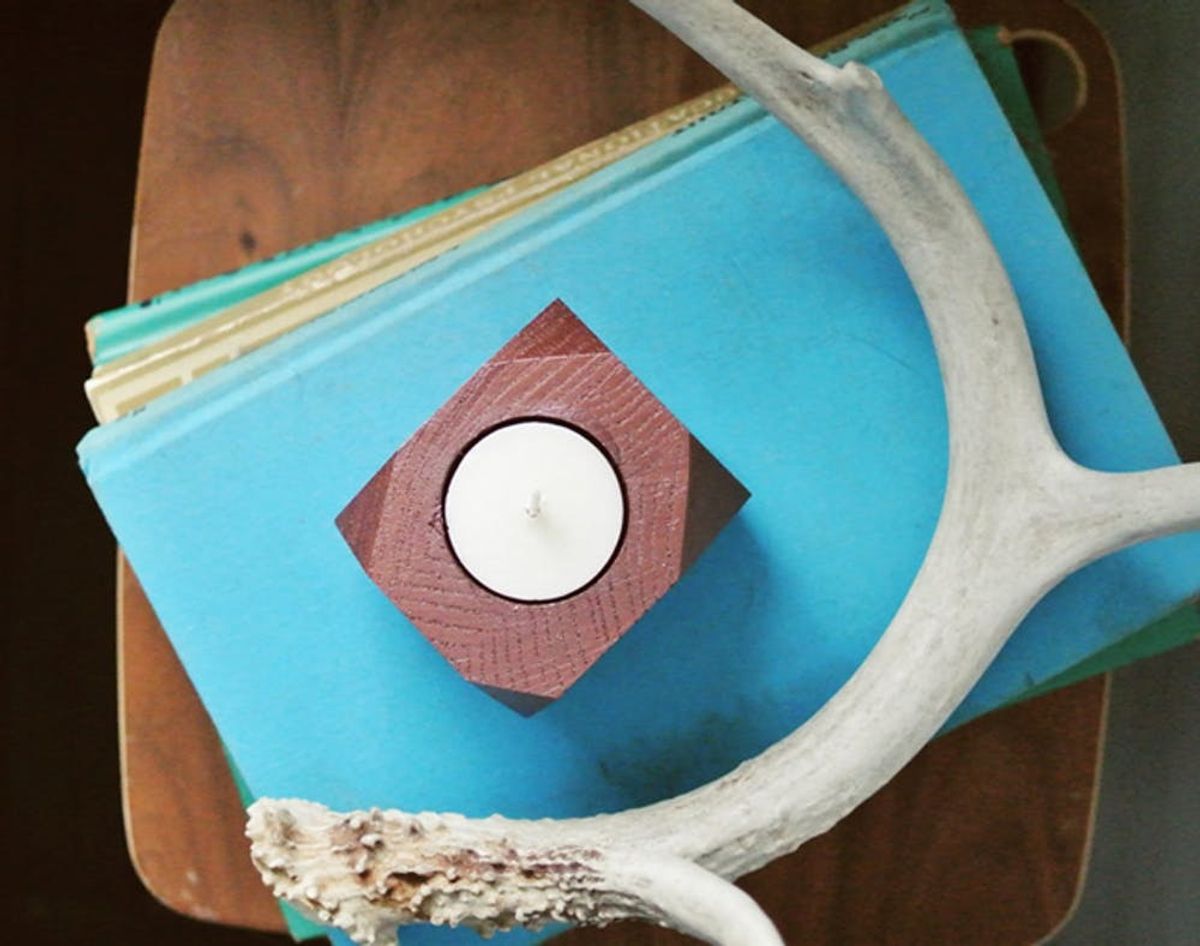
Woodshop 101: How to Make a Geometric Candle Holder

Need a last minute gift for the holidays? These geometric candle holders are quick, cheap, easy, and can be painted in any color. Make a few of them in a similar color scheme to give in a set!
Materials:
– block of wood
– tea light
– spray paint
Tools:
– saw
– drill and 38mm or 1 ½ inch drill bit
Instructions:
1. Begin with a block of wood. Mark your corners with a pencil for guidance — make a mark on each side creating a pyramid shape when the corner is cut off.
2. Cut off all 8 corners of your cube. You can either measure your exact cuts for a symmetrical finish or create different arbitrary marks for an asymmetrical look.
3. Sand down the surfaces where you cut the corners off for an even finish.
4. Trace your tea light on the side that you chose to be the top of your candle holder and drill a hole for your candle using your drill with a 1 ½ inch (38mm) drill bit.
5. Spray your holder and let dry. Your tea light should fit snuggly in the holder!
For materials, you basically need a block of wood, a tea light, and a spray paint color you like. We went with a metallic copper, but any color will do! The key with this project is getting comfortable with a woodshop.
Start with a block of wood! Mark your corners with a pencil for guidance — make a mark on each side creating a pyramid shape when the corner is cut off.
Now, cut off all 8 corners of your cube. You can either measure your exact cuts for a symmetrical finish or create different arbitrary marks for an asymmetrical look.
Sand down the surfaces where you cut the corners off for an even finish.
Boom, you’ve got a geometric block!
Now, trace your tea light on the side that you chose to be the top of your candle holder and drill a hole for your candle using your drill with a 1 ½ inch (38mm) drill bit.
Spray your holder and let dry. Your tea light should fit snuggly in the holder!
What DIY gifts have you made this year? Ever dabbled in basic woodworking? Talk to us in the comments below.


