 Recommended for you
You've likely seen your fair share of what we're dubbing "nail string art" on Etsy, at flea markets, and on fellow crafty websites. It's an easy way to create custom art for your home with tools and materials that are available at just about any hardware store. This craft is also a great way to make signs for a wedding, birthday party or any other big event!
Materials:
– wood boards
– nails
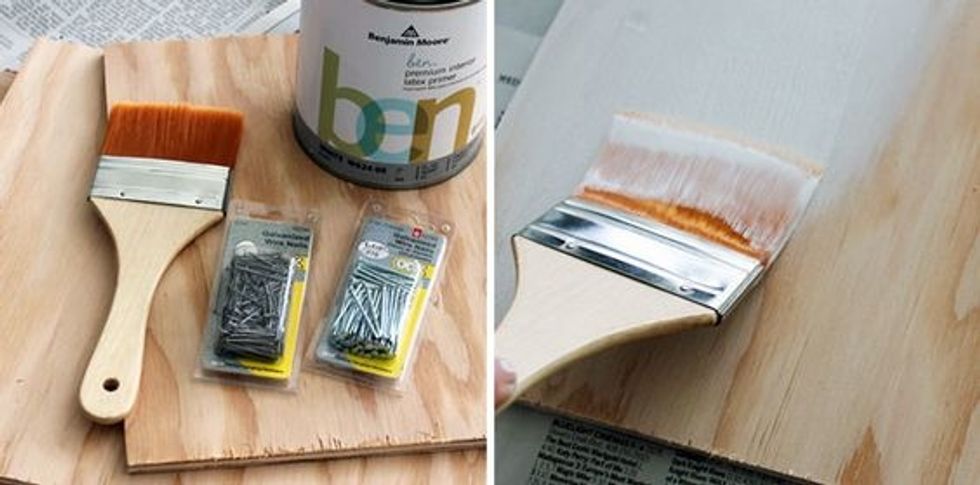
– wood primer
– paint
– string
– hammer
Instructions:
First thing to do is prime your wooden panels.
Then paint it!
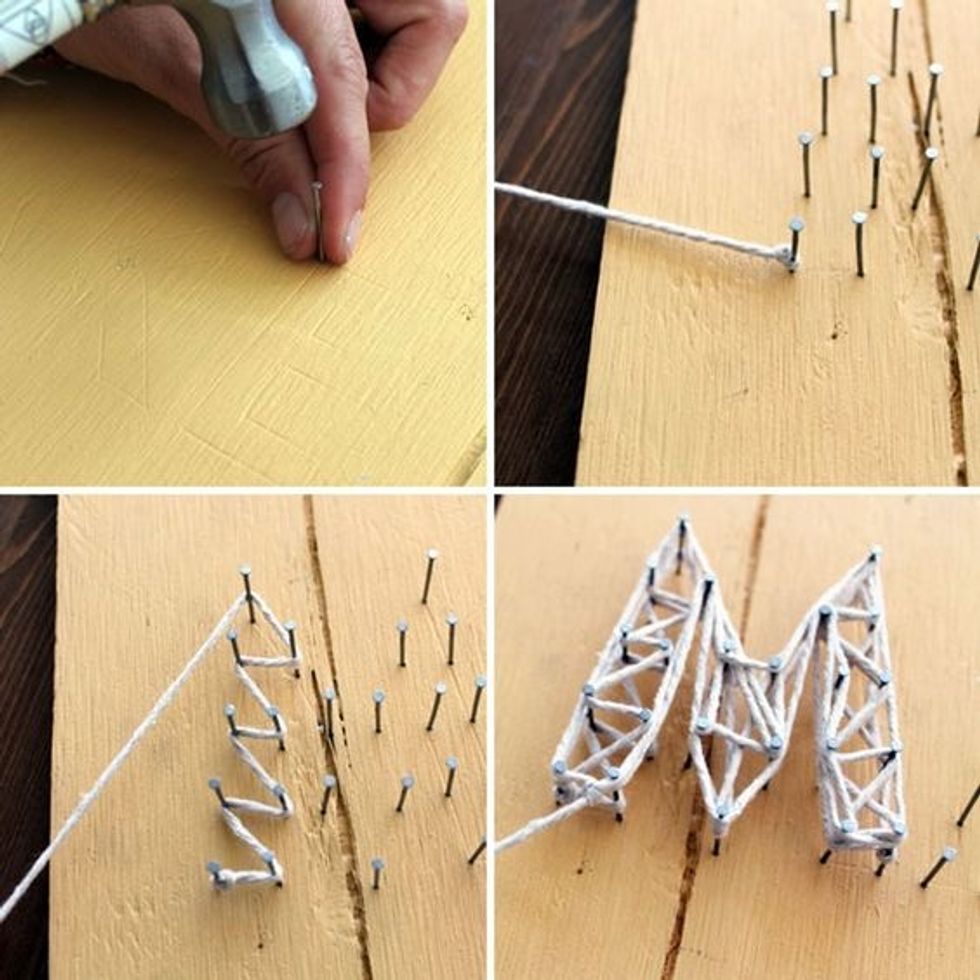
To create your designs, first print or draw out a pattern, word or shape on a sheet of paper. Place it over a painted piece of wood and trace using a pen or pencil. It will create a small indentation in the paint so you can follow along when you start nailing!
Hammer nails along the outline of your shape.
Tie a string to start your design and then simply wrap around each nail. You can use a zig zag pattern, stripes, or go all over and create a sort of linear spirograph pattern.
MAKE! Now onto our home state.
For the state of California, we went with the popular tradition of placing a little heart where our heart is (San Francisco, of course!).
And we always come back to chevron.
Display them together on the wall or throughout your home. So fun and simple to make! Try using colored string on unpainted wood for a different look.