 Recommended for you
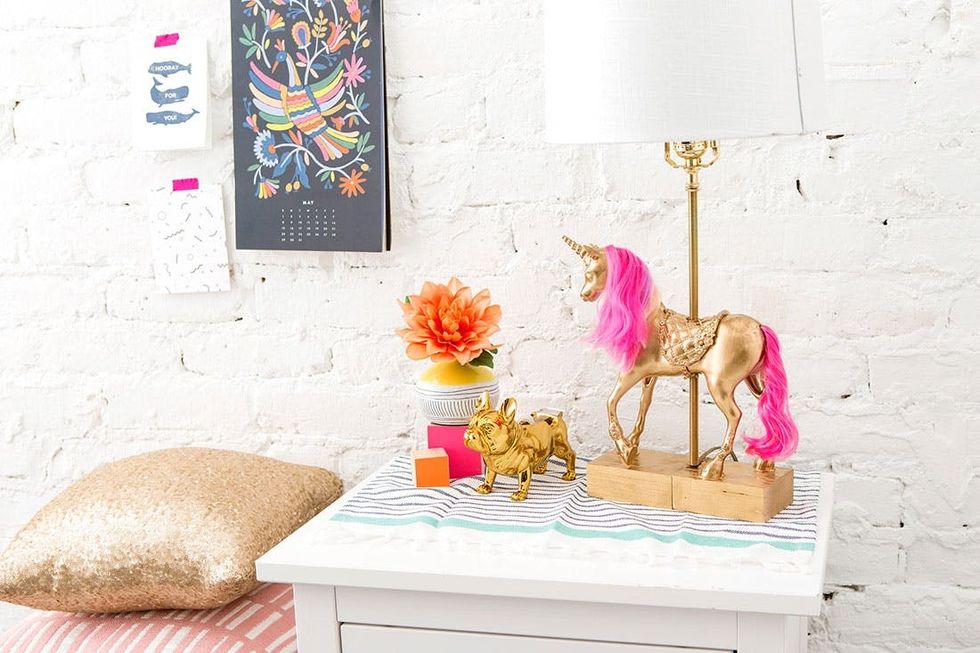
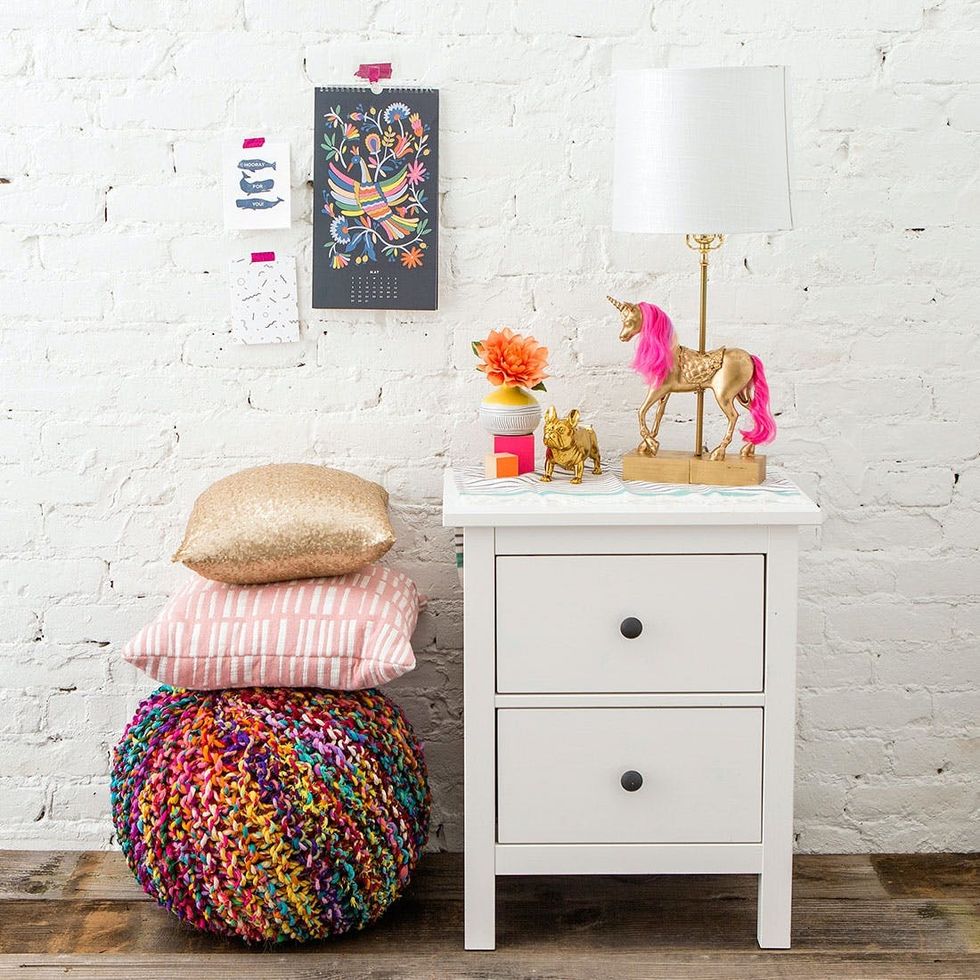
A couple months ago we stumbled upon a gold unicorn lamp from PBTeen, but we waited too long to buy it and now it’s out of stock. But no worries, because this lamp is totally DIYable! We purchased a $20 Barbie unicorn and a lamp kit to construct our dream lamp. What we love most about this DIY copycat is the hot pink hair. #hairgoals for sure <3
Materials:
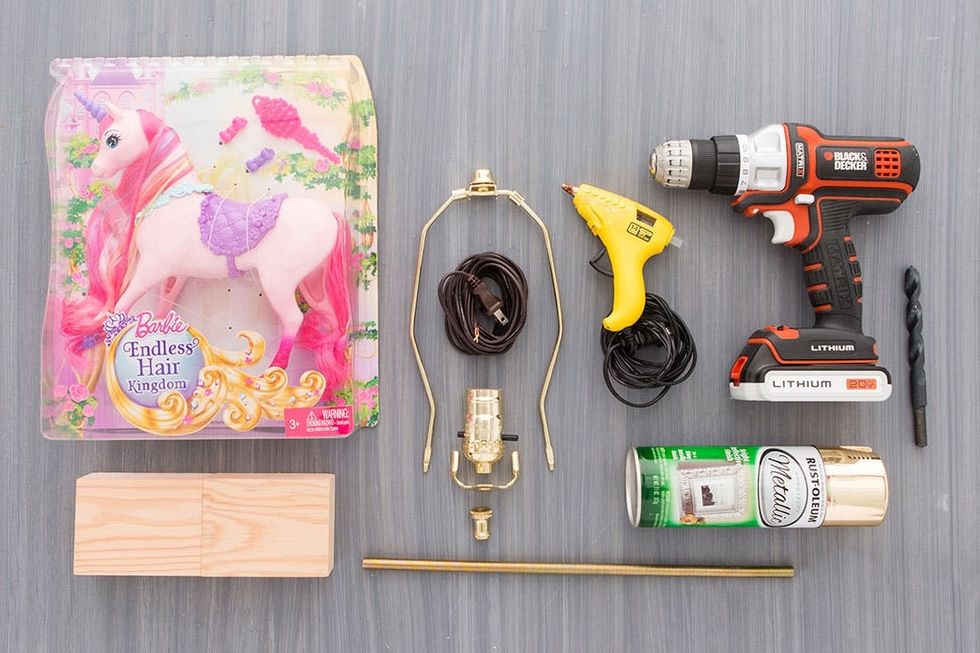
— lamp kit
— block of wood (8 x 3 inches)
— gold spray paint
Tools:
— drill
— 1/2 inch drill bit
— hot glue gun
— tape
— screwdriver
Instructions:
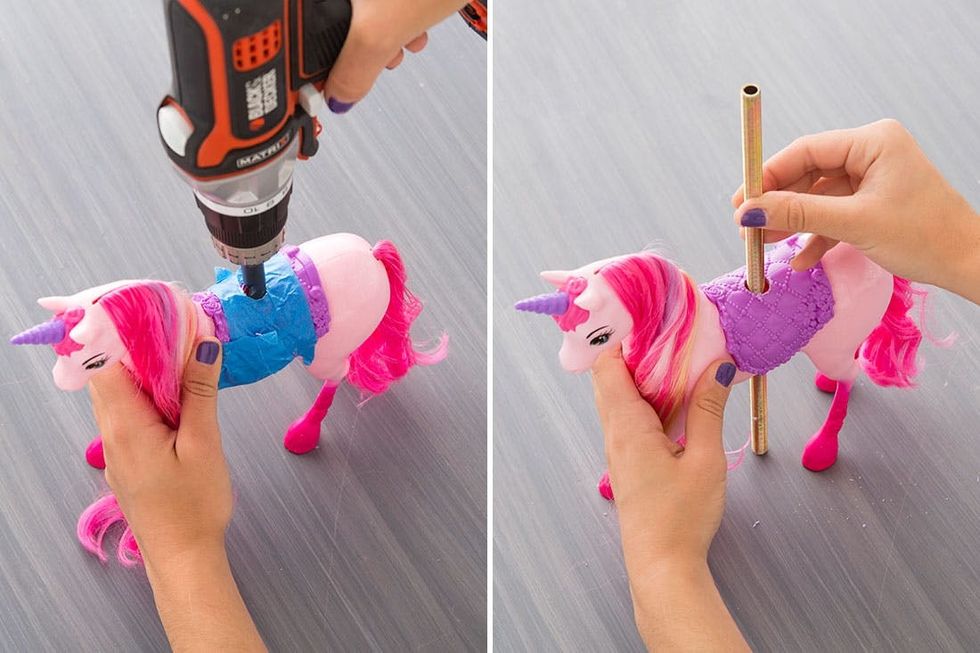
1. Place tape around the body of the plastic unicorn. Slowly drill into the unicorn, making sure you are perpendicular with the floor. Drill until you make it all the way through the unicorn body.
2. Thread the lamp cord through the pipe and then slide the unicorn onto the pipe. Follow the directions on the lamp kit, and slide the parts in the correct order onto the cord of the lamp.
3. Loosen the screws on the sides of the piece where the lightbulb sits and wrap the wire around. Use the screwdriver to tighten the screws and hold the wire in place.
4. Tighten all pieces and secure onto the lamp pole.
5. Hot glue the unicorn and pole to the wood block.
6. Tape over the unicorn’s mane and tail, as well as the lamp fixture that you just built, and spray paint gold.
7. Once dry, add the light bulb and lamp shade to finish off your unicorn lamp.
Alright, if you are making this for your child, I recommend not letting them watch you drill into their toy ;) Place tape around the body of the unicorn and then slowly drill through the center. You want to find a drill speed and pressure sweet spot that won’t make the plastic crack. Take your time and keeping drilling until you have gone all the way through the unicorn.
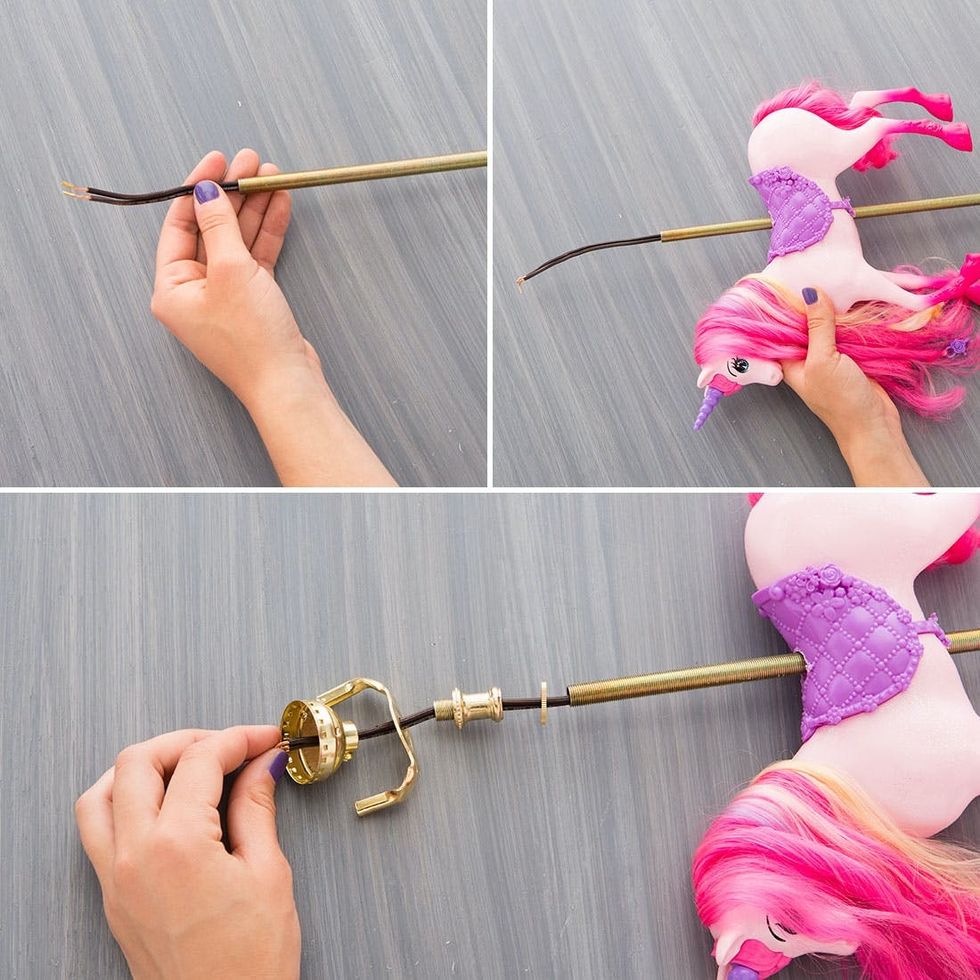
Slide the lamp cord through the pipe, then slide the pipe through the unicorn. Take a look at the instructions on your lamp packaging and place the appropriate pieces on the pipe in the correct order.
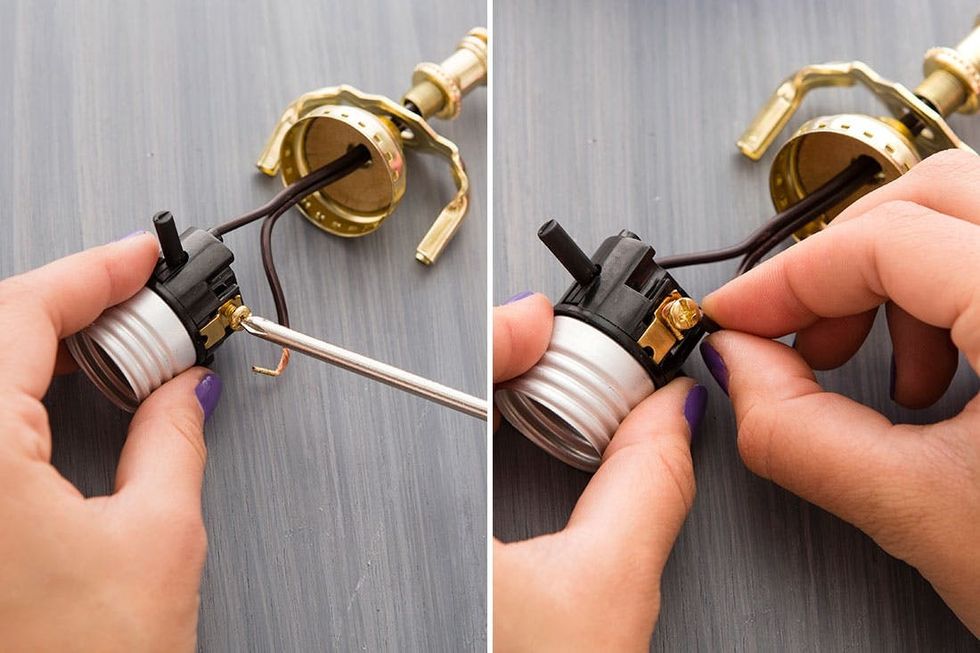
Loosen the screws on the sides of the piece where the light bulb sits and wrap the wire around. Use the screwdriver to tighten the screws and hold the wire in place. Make sure this part is done right, otherwise your lamp won’t turn on.
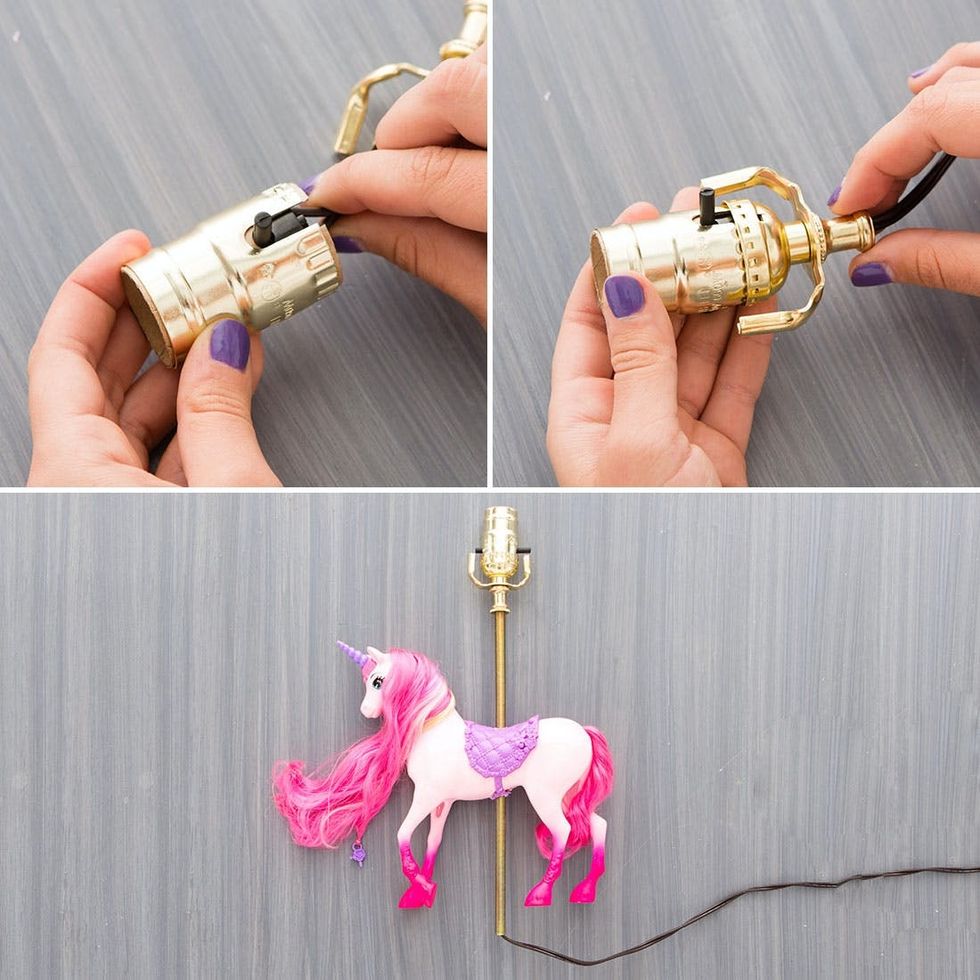
Place the base in the gold casing and then start screwing all the pieces together onto the pipe.
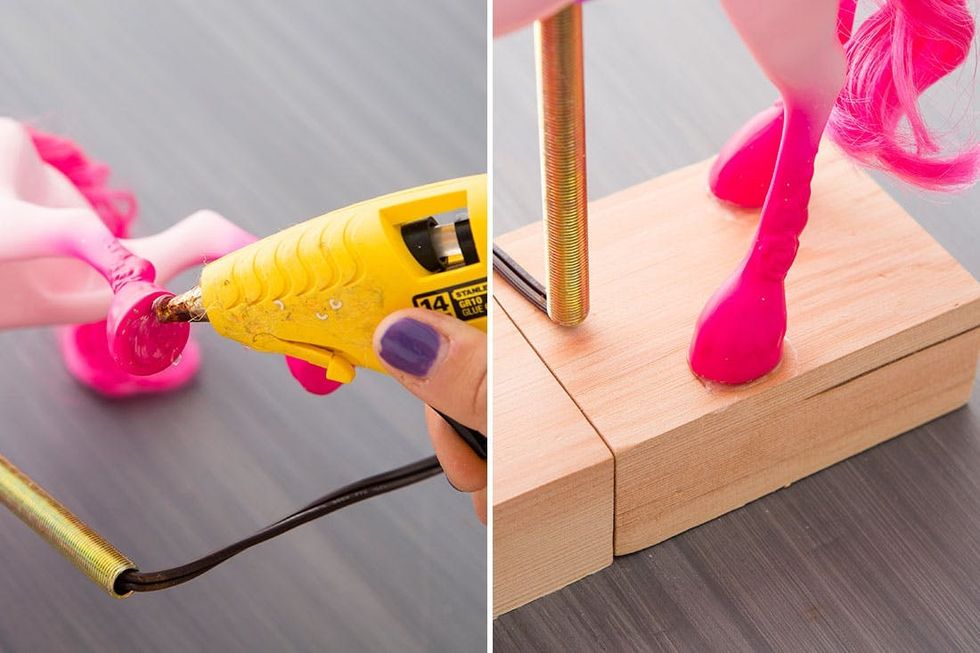
Attach your unicorn to a block of wood with hot glue. We used two craft blocks that measured four inches in length, but in total you’ll want a piece that is eight inches long and three inches wide.
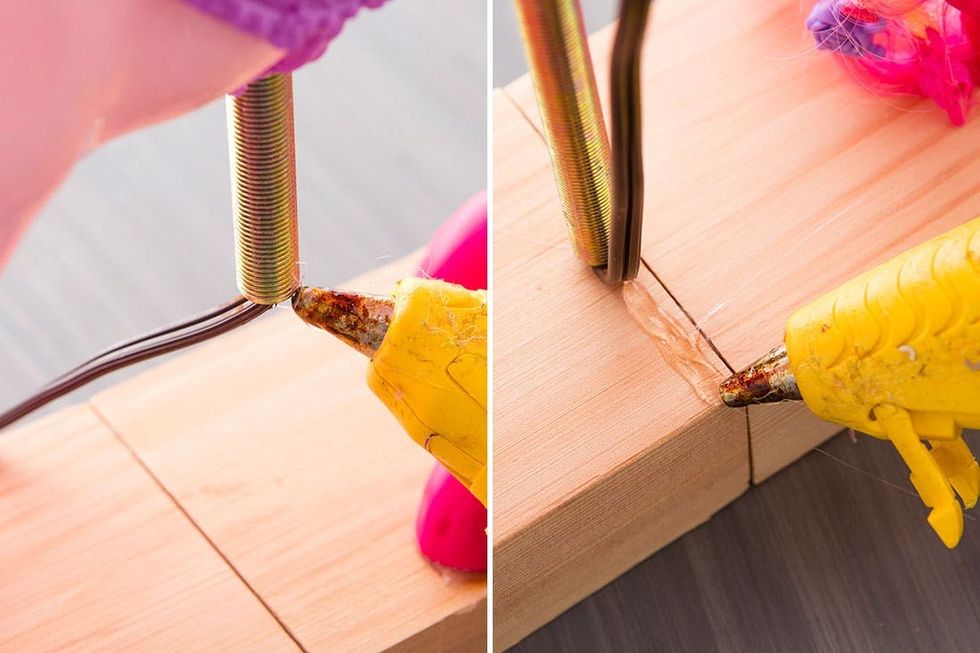
Use hot glue to secure the lamp pipe and wire to the wooden base. This will help hide the seam if you’re attaching two pieces of wood.
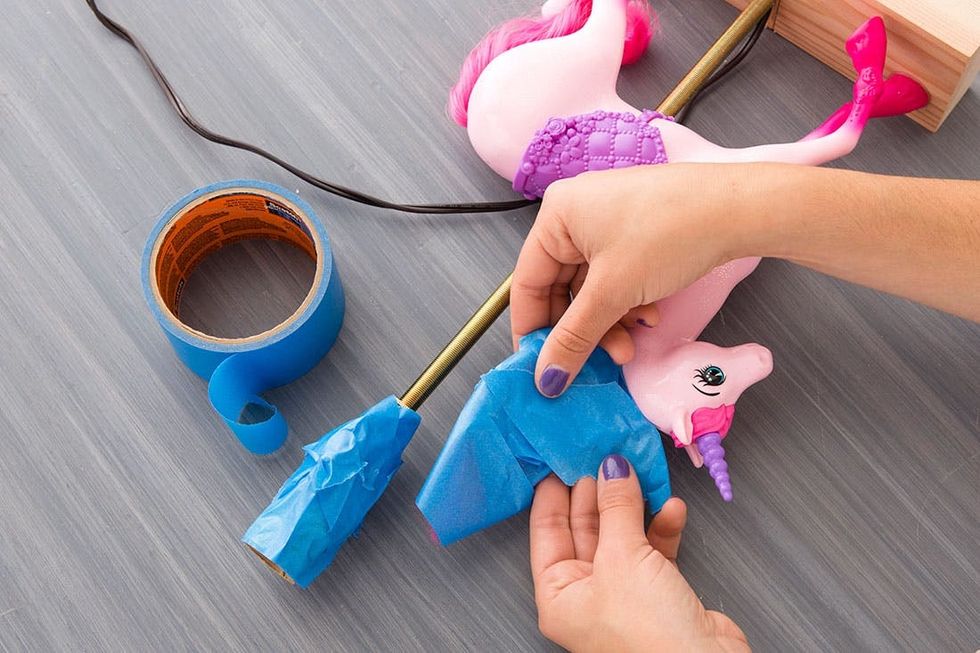
Cover the mane, tail and light fixture with tape and get ready to watch this Barbie toy turn into a work of art.
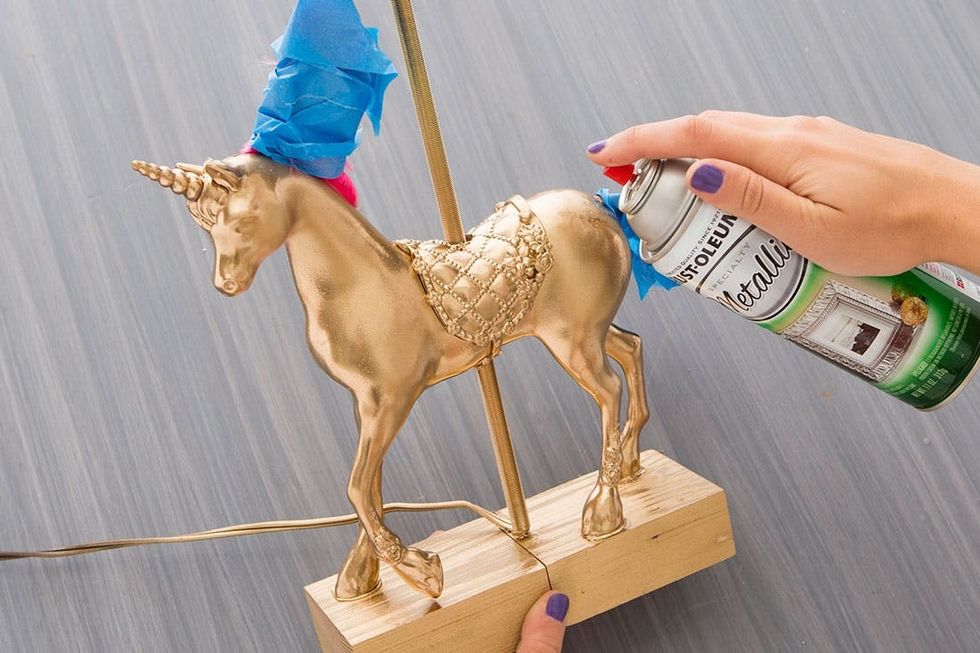
Ahh, everything looks better in gold :)
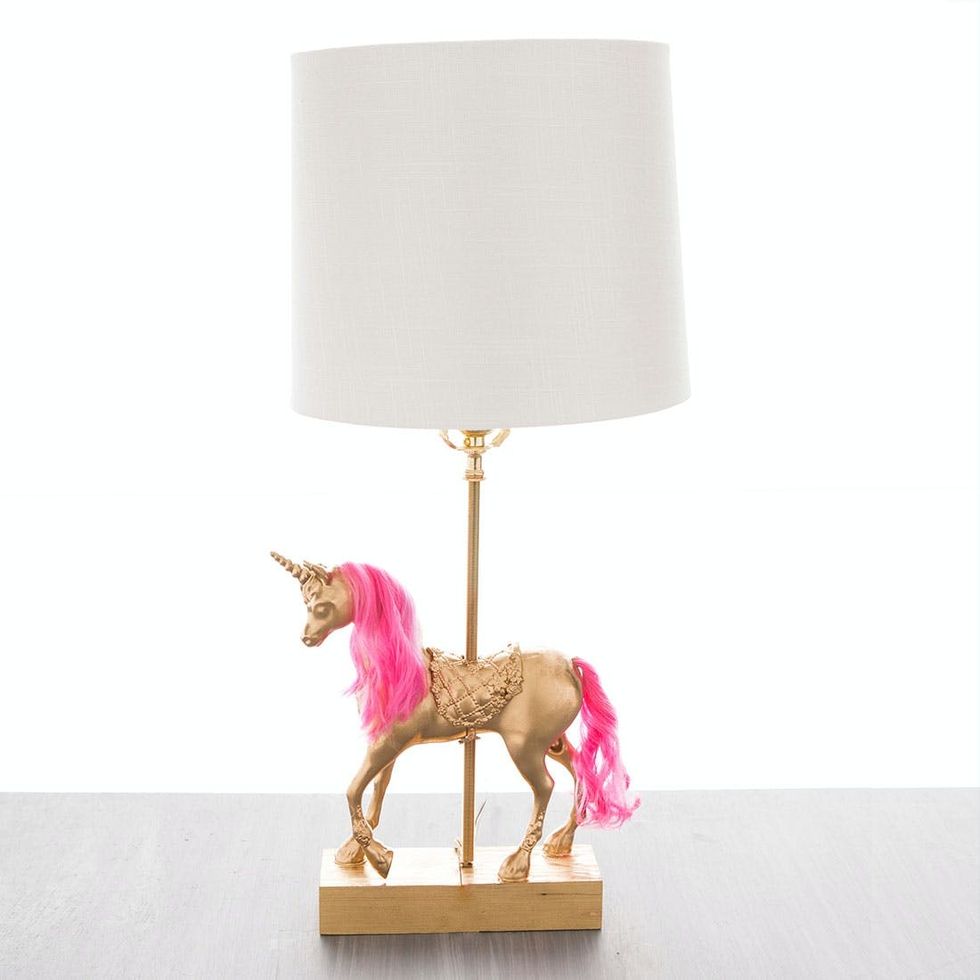
Finish it off by removing the tape and topping it with a lampshade of your choice.
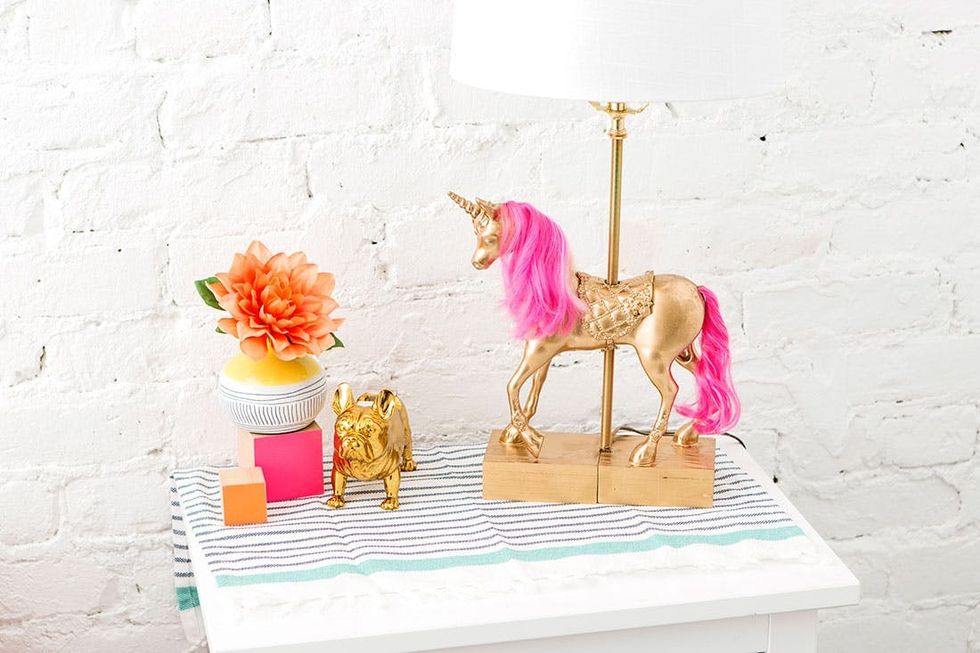
Gold unicorn — meet your friend gold French Bulldog.
Show us your project by tagging us on Instagram + using the hashtag #iamcreative!