
 Recommended for you

We’ve been interested in trying needle felting for a long time. It’s a simple DIY technique that requires no sewing and opens up all kinds of possibilities for embellishing your old sweaters that are in need of a refresh. It sounds scary at first, but it’s actually sew easy. (Or actually, no-sew easy. Hardy har har.)

A few notes before you start. You’ll have to use a sweater made from wool for this DIY. It’s a great chance to rehab an old favorite, or pick up an inexpensive one at Uniqlo (where we found ours). Second, you’ll want to buy a needle felting starter kit. The kit should include foam, a few different sizes of felting needles, and some roving, which is basically un-spun yarn. You can find lots of roving in every color imaginable on Etsy. And finally, needle felting needles are sharp, so watch your fingers! With that out of the way, let’s get started.
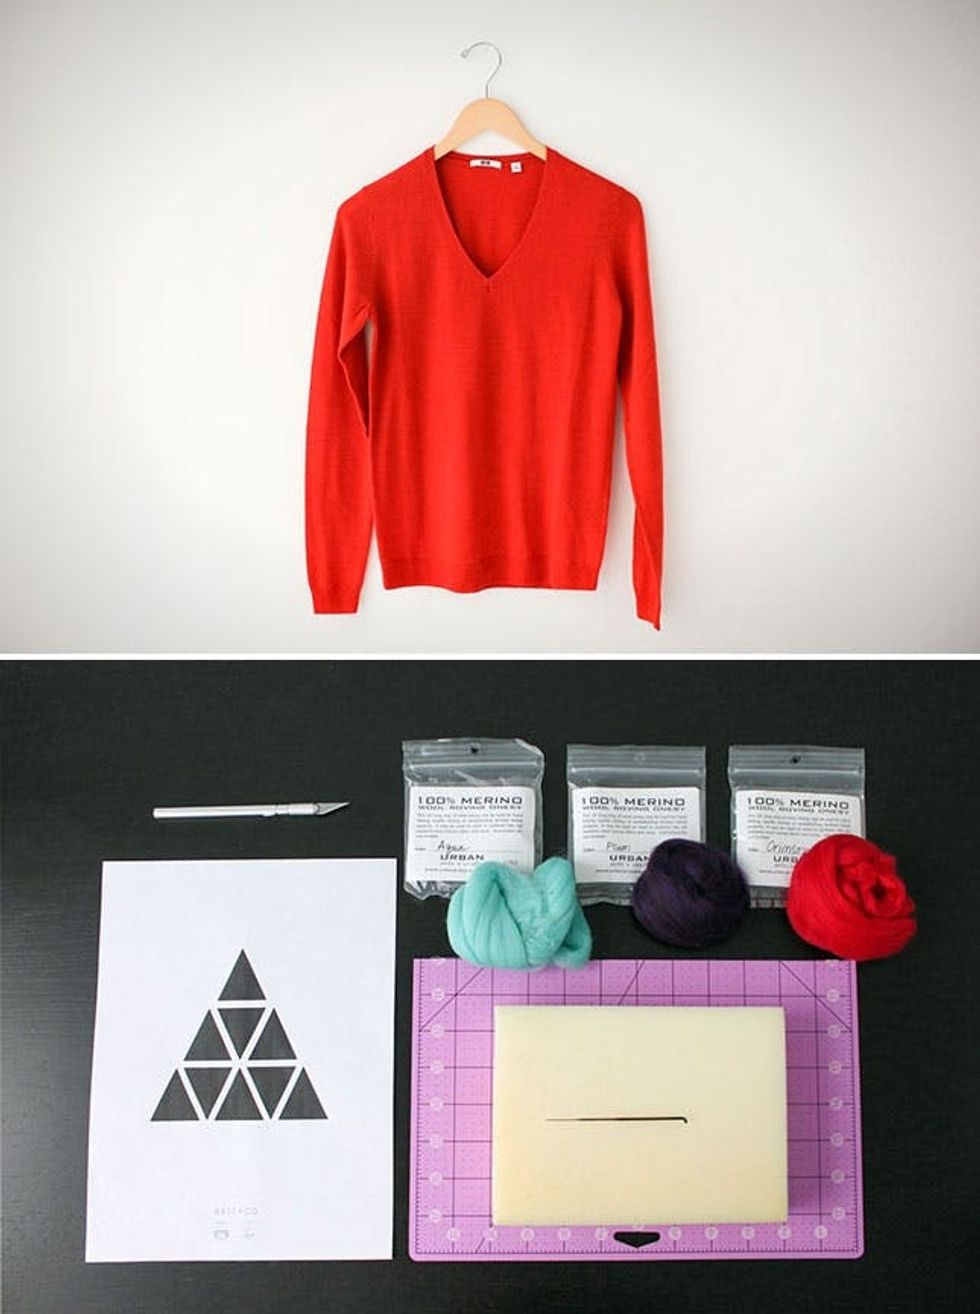
Materials:
– wool sweater
– triangle template (download it here)
– wool roving
– needle felting kit
– utility knife
– pen
Instructions:
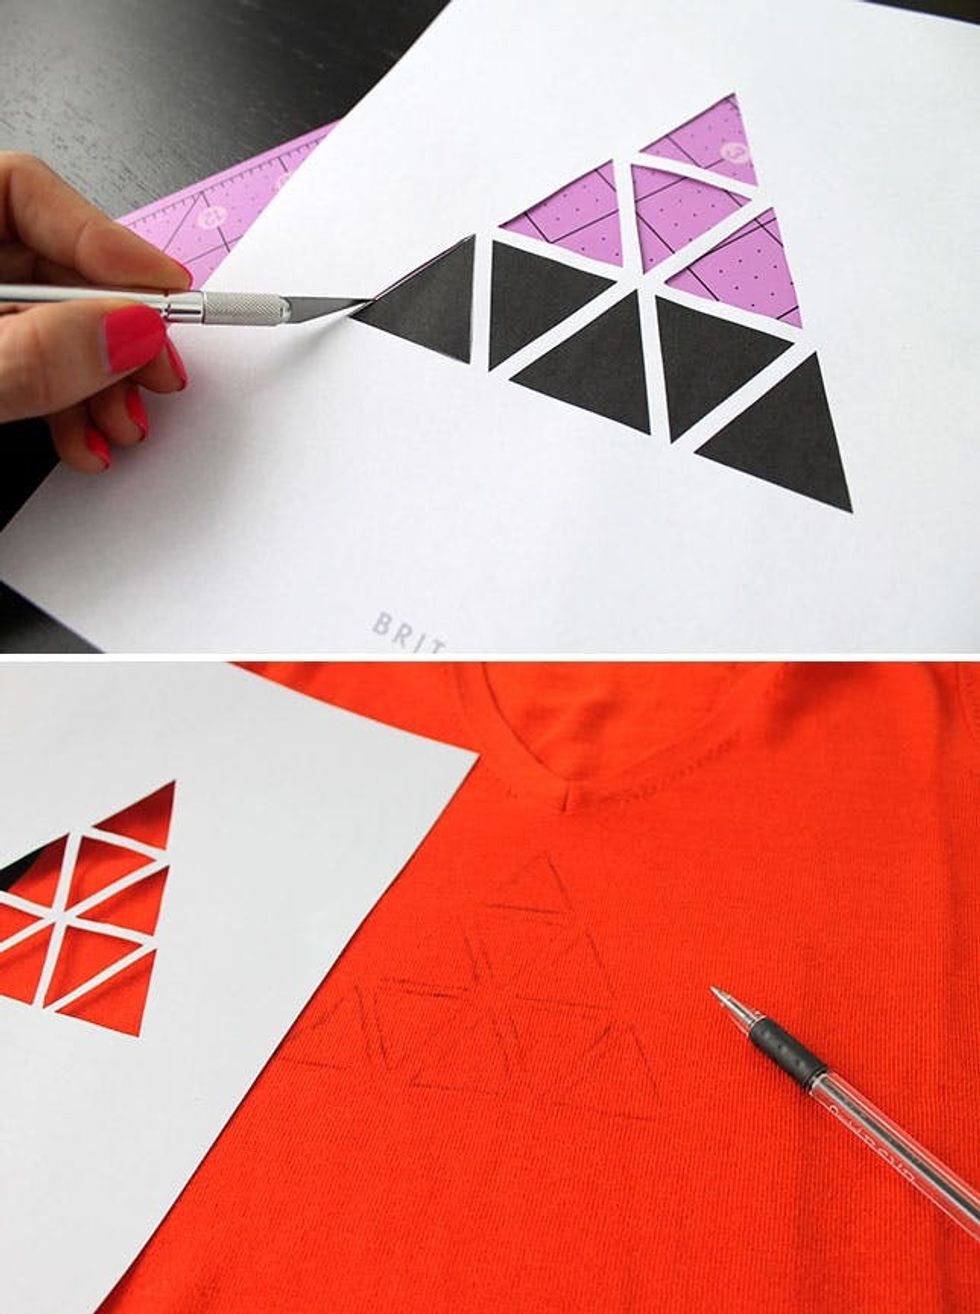
1. Cut out the triangles on the template, and trace them onto the sweater. The pen marks will be covered, but you can use a washable fabric pen if you prefer.
2. Place the foam block from the kit inside your sweater, positioned directly under your design.
3. Cut or pull off a small amount of the first color of roving you’ll be using, and place it in one of the triangles. Don’t worry if it’s not a perfect fit, you’ll be stretching it into place.
4. Using the medium size felting needle, poke the needle through the roving and sweater, and remove. (See why the foam is there now?) Repeat this motion all over the piece of roving. You’ll basically be stabbing the sweater until the roving attaches, and starts to look like felt. Add more roving as needed.
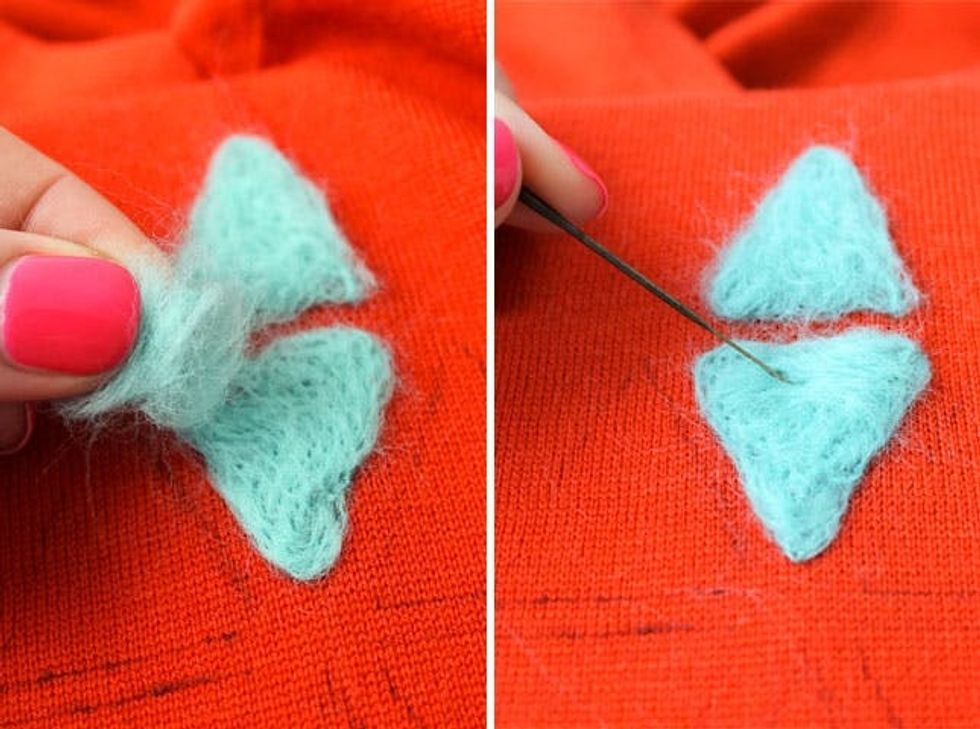
5. When it comes to the points of each triangle, use your needle to stretch and pull the roving where you want it, then stab through the sweater.
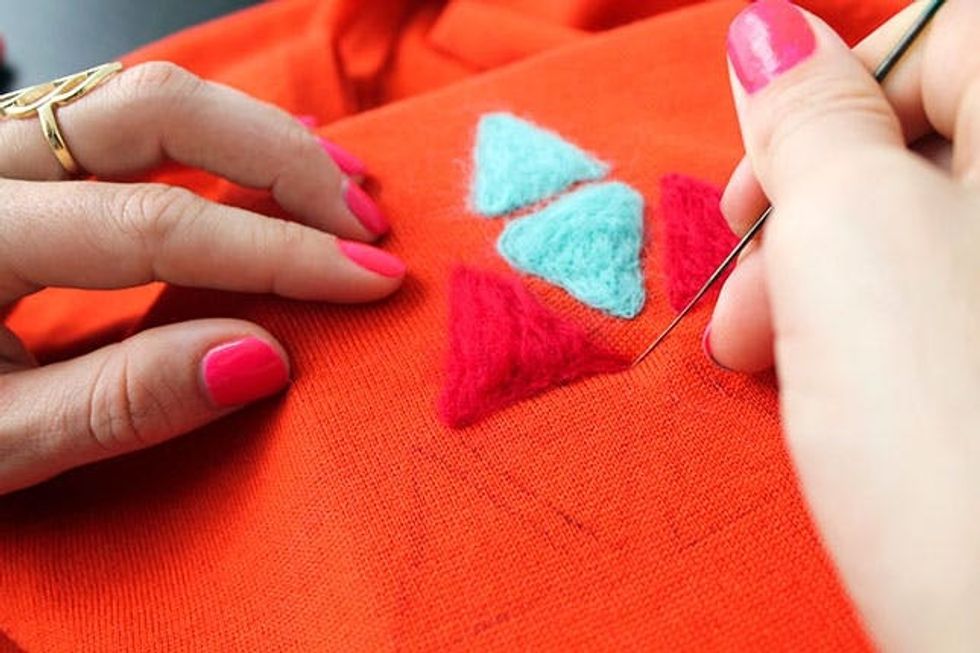
6. Repeat the process for each triangle. (It goes quickly, we promise!)
Start with your pattern. You can download our template here, or print out another pattern from your computer.
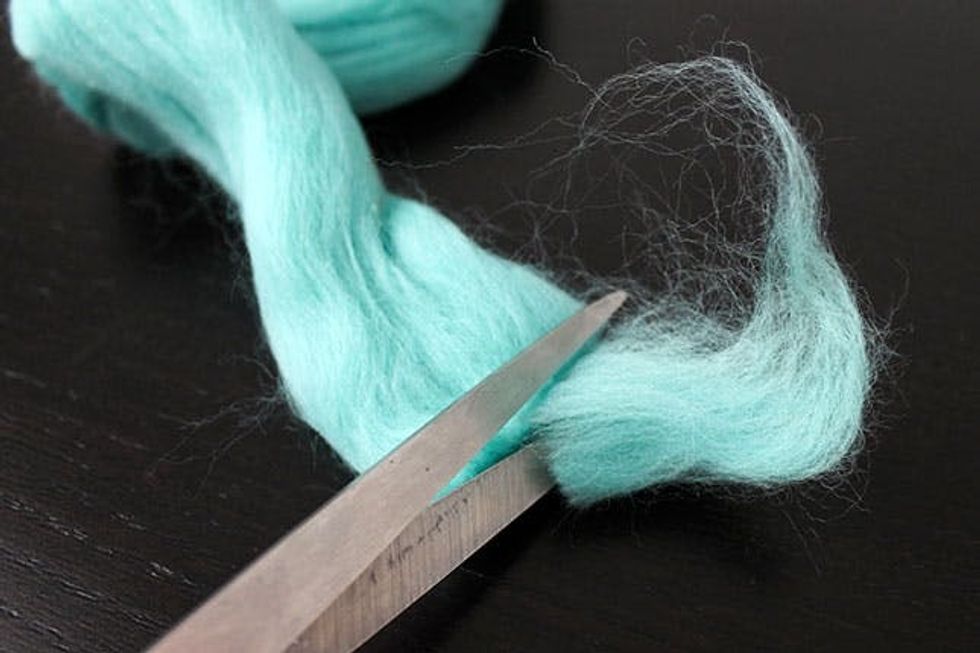
Start with a small piece of roving. It doesn’t take much, and you can always add more.
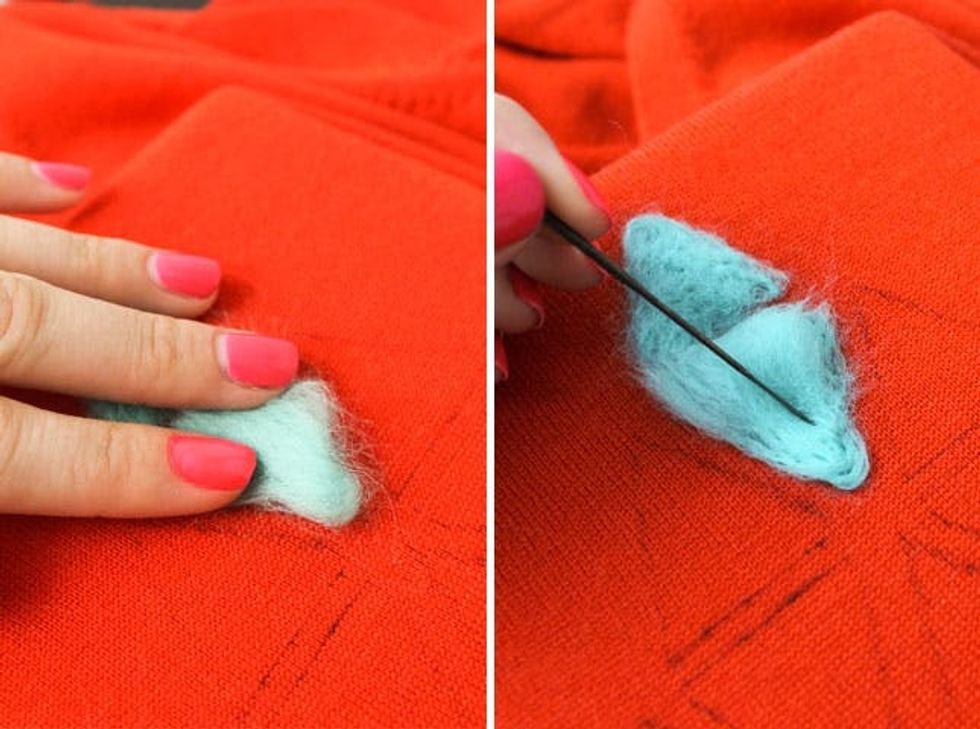
Place the roving in your pattern, and start stabbing it with the needle to attach it.
Add more roving as needed to make the shape solid.
To fill in the corners, pull the roving with the needle and stab it into place.
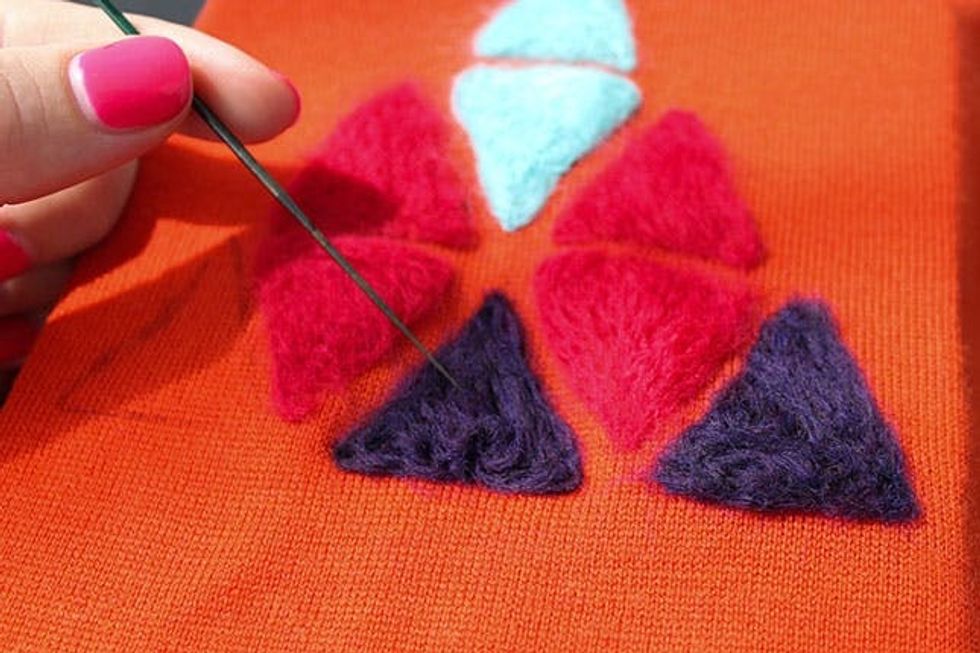
Repeat with additional colors to fill the rest of the triangles.

Voila! Look how easy that was. We can’t wait to try our next project writing out a whole word. Brit + Co. wool sweaters, anyone? ;)