 Recommended for you
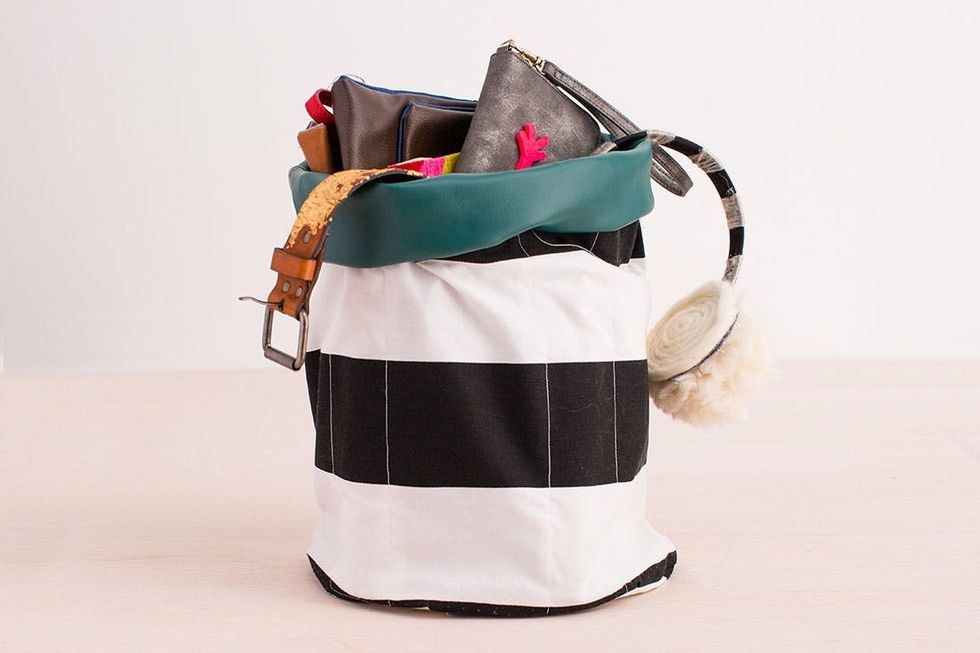
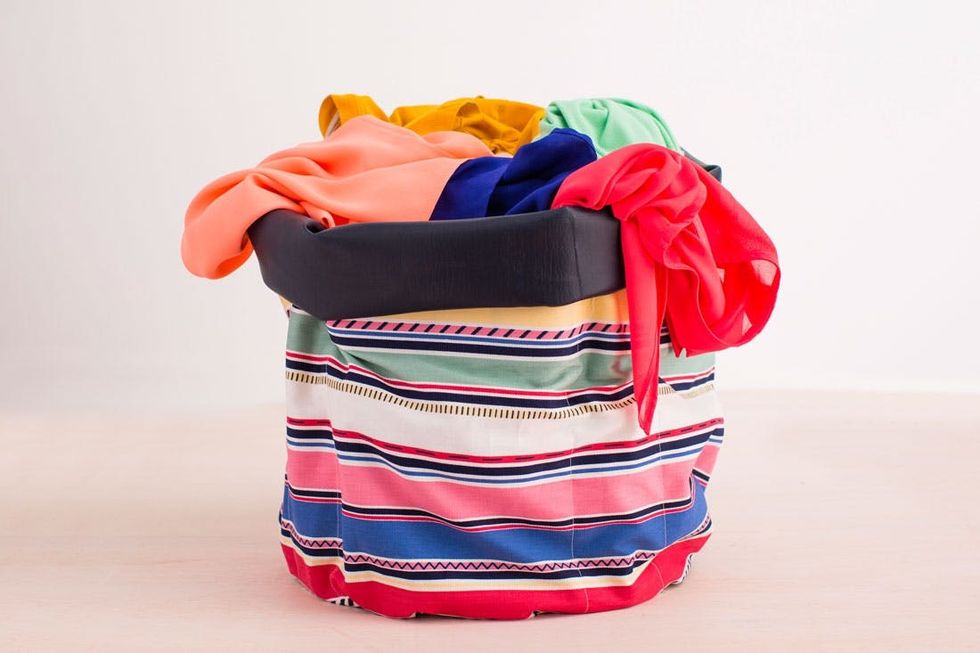
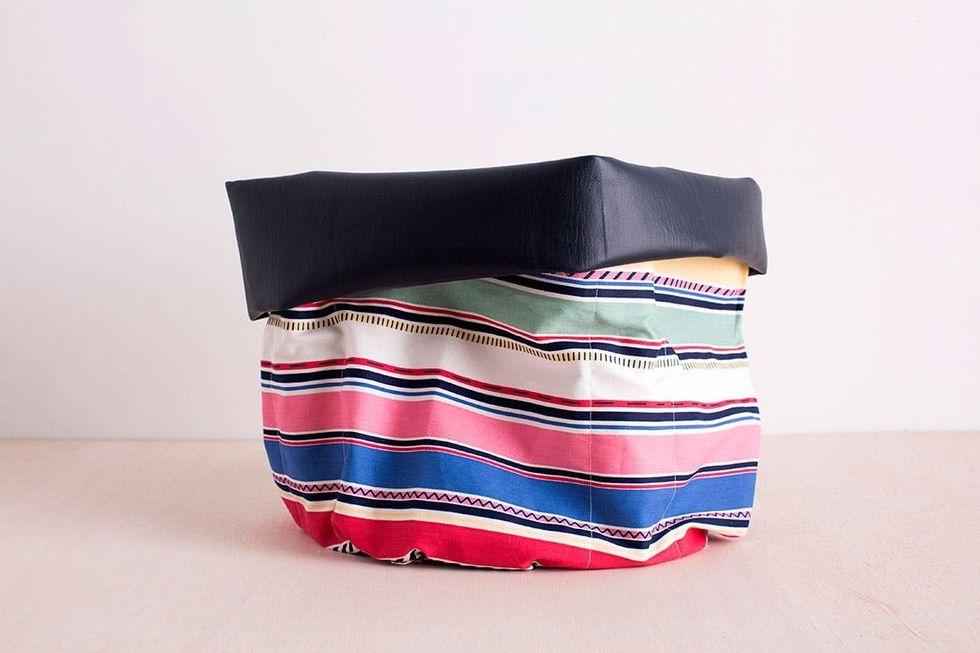
Our #31DaysofDIY is coming to a close, but we’re still so excited to share our new projects with you! Our most recent DIY is these DIY Fabric Buckets. We made thems in a set of three — small, medium and large. The best part? They can hold almost anything and make any type of clutter look super cute and clean.
No idea what #31DaysofDIY is? It’s a brand new tradition here at Brit + Co that’s all about kicking off the new year right. We’ve challenged ourselves to make or learn something new every single day for the month of January, and we’re inviting all of you along for the ride. From DIY basics like Sewing 101 to learning to design and laser cut our own stencils, we hope this month of making inspires you to get creative all year long.
 – thick canvas
– leather
– cardboard
– string
– Heatbond
– wooden dowels
Tools:
– pins
– ruler
– hot glue gun
– scissors
– pen
– sewing machine
Instructions:
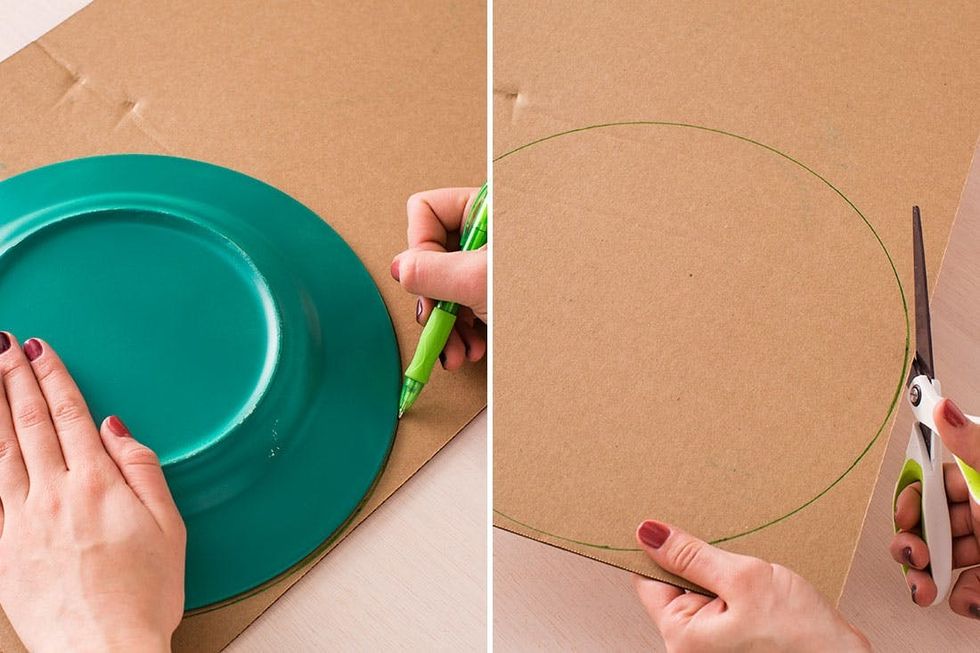
1. Grab a dinner plate, then trace and cut it out of a piece of cardboard.
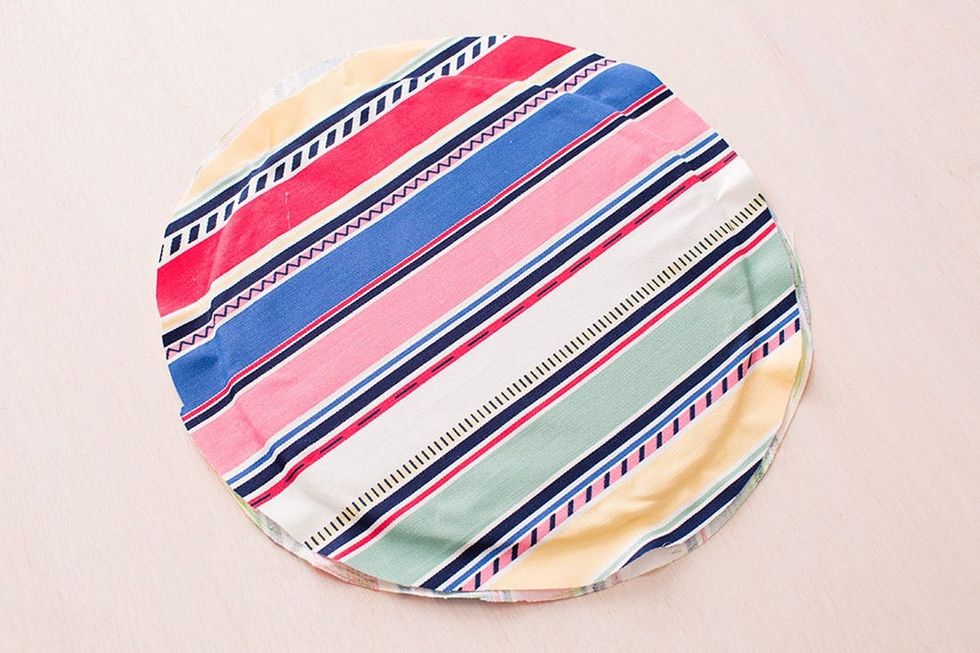
2. Fold the canvas fabric in half and use the cardboard circle to measure out a larger circle. It doesn’t have to be perfect — just about 1 inch wider than the cardboard circle. Hot glue the cardboard circle between the two canvas circles.
3. Hack alert — use a piece of string to measure the circumference of the circle. Next, use that string to measure a rectangle on the canvas. Make it 20 inches tall and the length of your circumference + 10 inches. Ours was 48 in x 20 in.
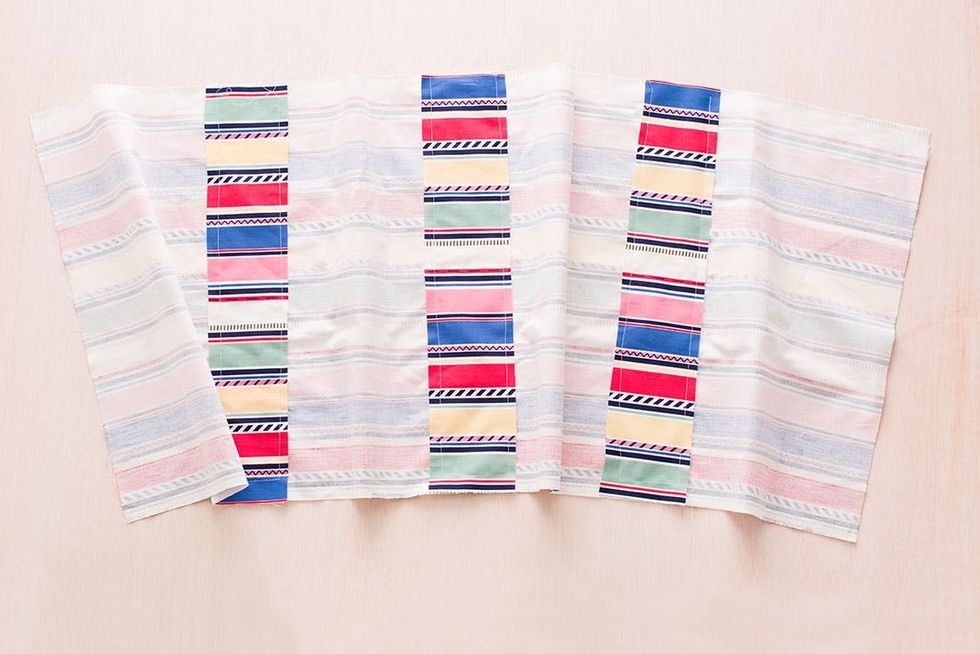
4. Next, cut four 4 in x 20 in rectangles out of your canvas. These will be used to hold the dowels.
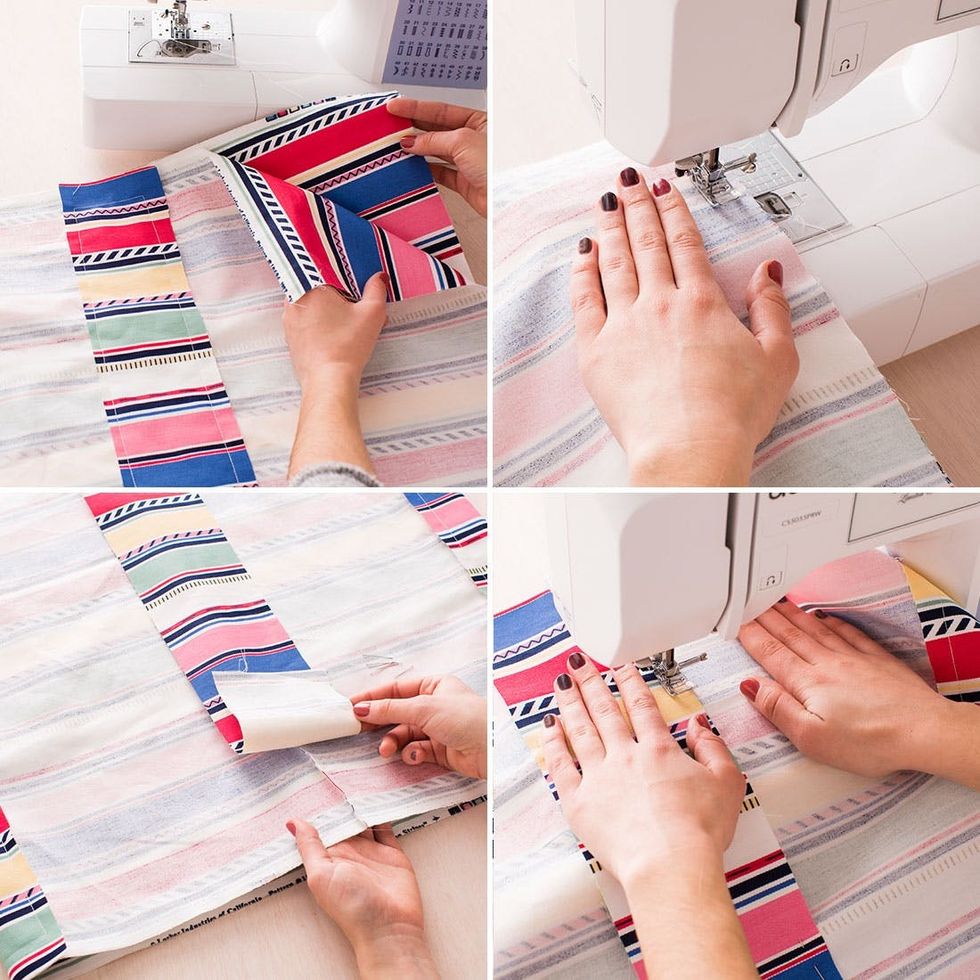
5. Divide your large rectangle into four sections. Since ours was 48 inches, long we divided it into 12-inch sections. Pin your long rectangles onto the three dividing lines you just marked, and then sew them on. Mark sure you leave a opening on the top to slide the dowel inside.
6. Fold the large rectangle in half and sew the seam. This will turn your rectangle into a cylinder. Pin the last large rectangle onto the seam you just created and then sew.
7. Cut a rectangle from your piece of leather and Heatbond that measures 10 in x 48 in, or measurements based on your bag.
8. Iron the Heatbond to the leather first, then to the canvas cylinder. Iron it onto the inside of the bag. Be careful when ironing faux leather — you might want a thin layer of scrap fabric between the leather and canvas.
9. Pin and sew the canvas cylinder onto the circle cardboard base.
10. Turn the bag right side out and slide the dowels into the compartments.
11. Roll down the top of the bag to reveal the leather.
*Pro tip: Make sure you choose a very sturdy canvas. We found out that not all canvases are strong enough to stand up. Ask someone who works at your local fabric store which canvas they would recommend. If you have your heart set on a patterned canvas that isn’t the sturdiest, don’t fret too much. When using it for laundry or throw blankets it will perk to life.
Grab a dinner plate from your cupboard a trace a circle onto your cardboard. Guess what’s next? Cut it out!
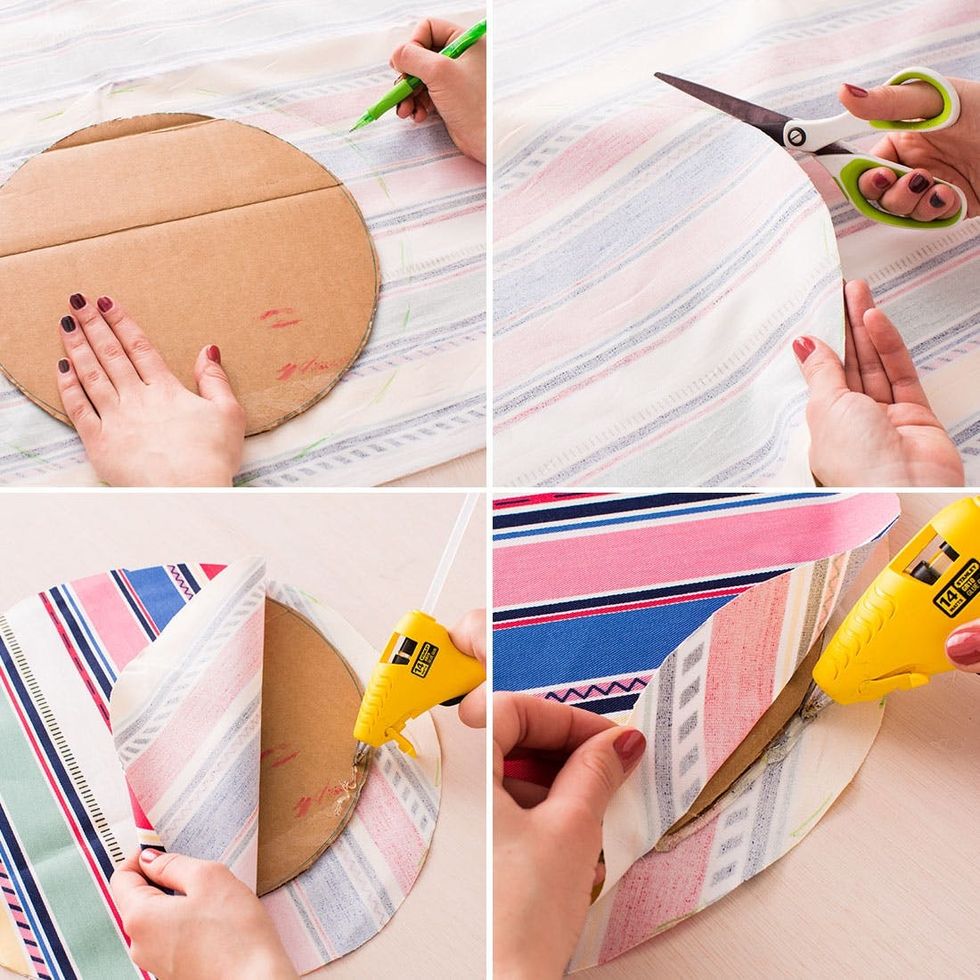
Use your cardboard circle to trace a larger circle onto your canvas. The circle doesn’t have to be perfect, just about a one inch border larger than your cardboard circle. Hot glue the cardboard circle in between the canvas. Then place glue around the perimeter of the cardboard circle to seal the pieces together.
By placing the glue on the perimeter of the cardboard, you’ll create a rim for yourself to use later when sewing the bucket together.

We’re cutting out as much math as possible with this next step by using a piece of string to measure the circumference of our circle. Use this string to create the length of the rectangle for the sides of your bucket. Add 10 more inches to the length of your string, for breathing room and seams. Our length measured 48 inches. Create a height for your rectangle based off the length. We created a 20 in x 48 in rectangle.
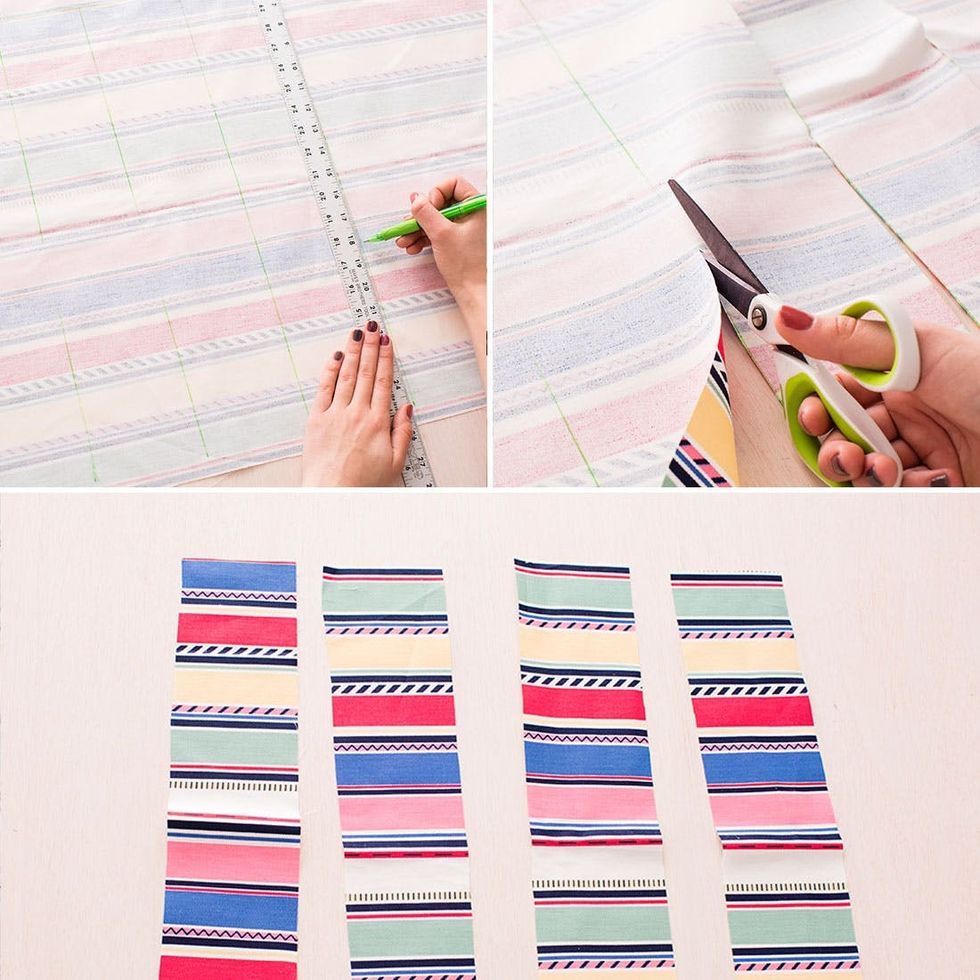
Cut four long rectangles that will be used to encase dowels that will help our bag stand upright. Our strips measured 4 x 20 inches.
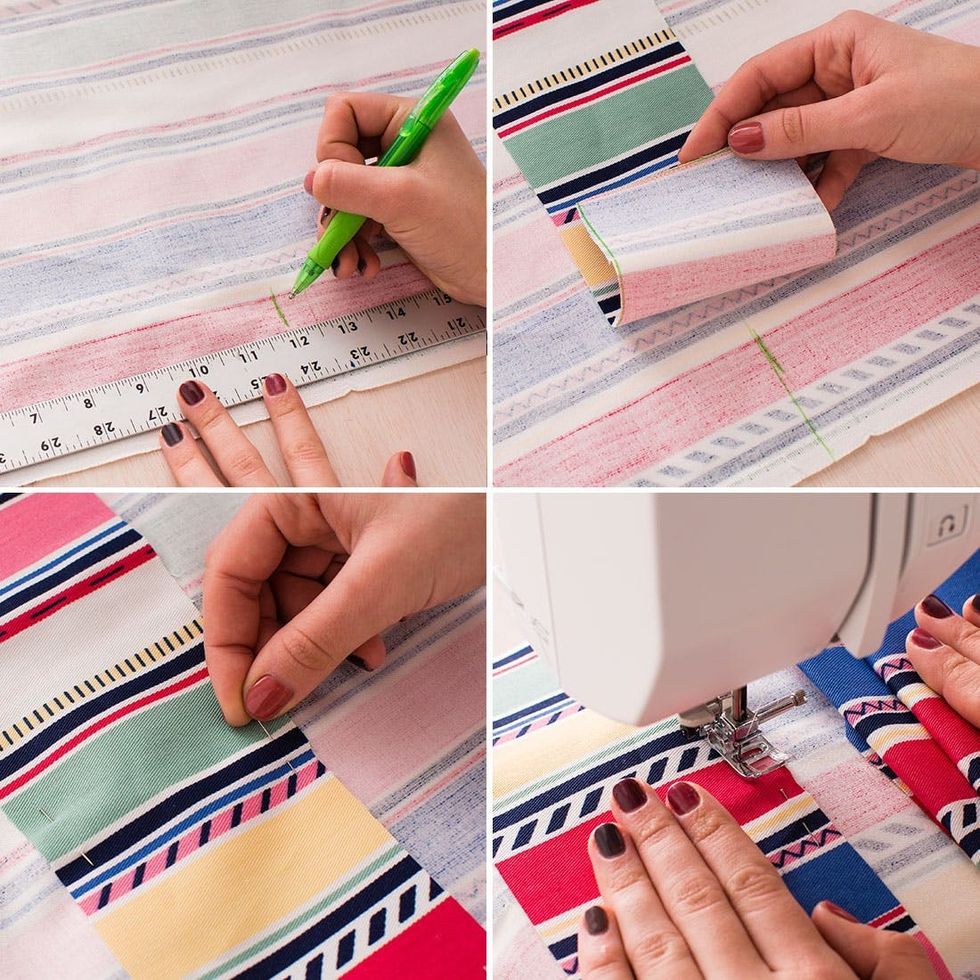
Divide your long rectangle into four sections. Ours divided into four 12-inch sections. Pin the long rectangles on top of the 12-inch marks. Sew the rectangles onto the large canvas rectangle, but make sure to leave the top open so you can slide in the dowels.
Make sure all the rectangles open on the same side! Believe me — you do not want to get to the dowel step and realize the opening to the dowel is sewed into the bottom of your new laundry bucket. We may or may not have done that before…
Fold the rectangle in half, nice sides facing in, and sew to create a seam. This will turn your rectangle into a cylinder. Pin your last long rectangle onto of the seam. Make sure you leave an opening for the dowel!
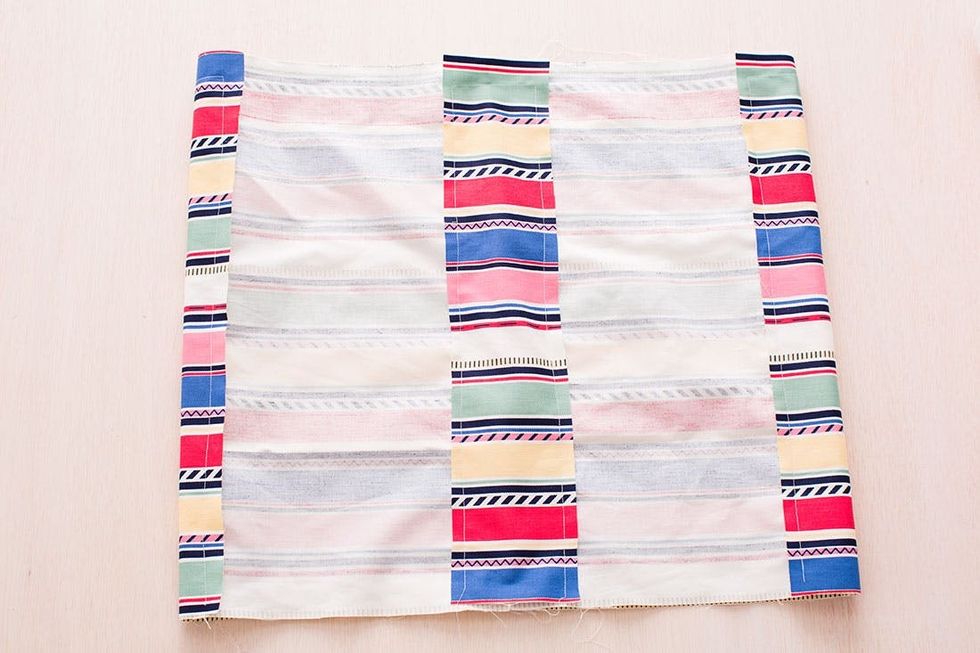
Cylinder sewed and fabric bucket almost completed.
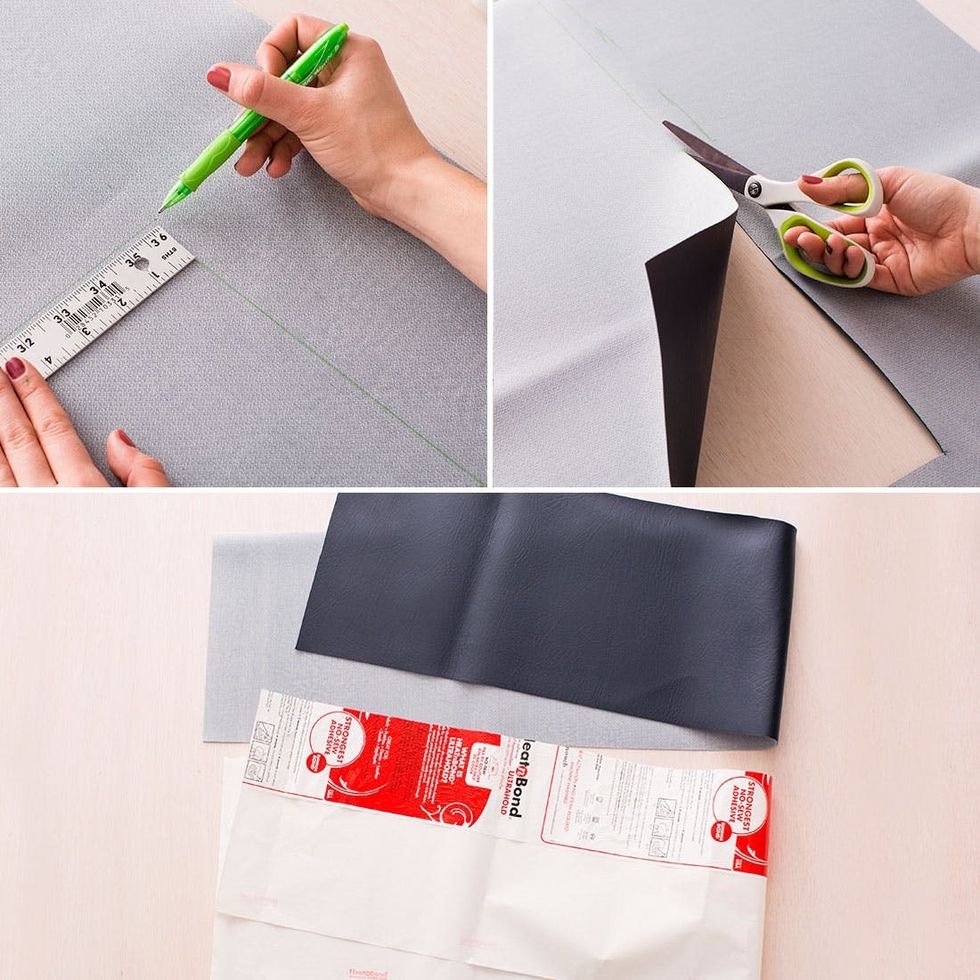
Leather always gives everything a nice finished touch. We decided to embellish our fabric bucket with faux leather cuff. Cut a rectangle of leather and Heatbond that match the dimensions of your bucket. Ours measured 10 x 48 inches.
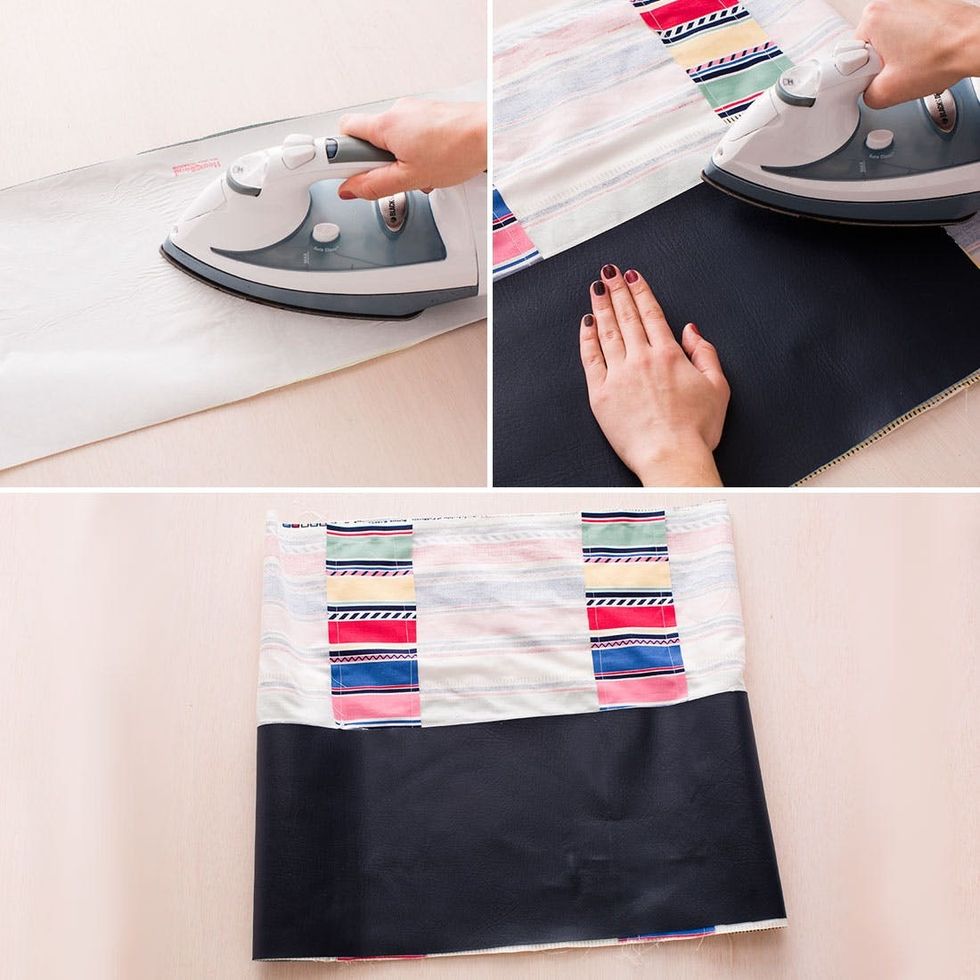
Iron the Heatbond onto the faux leather first and then onto the canvas. Some faux leathers can ruin your iron, so you may want to place a thin scrap piece of fabric between your iron and leather when adhering it to your canvas cylinder.
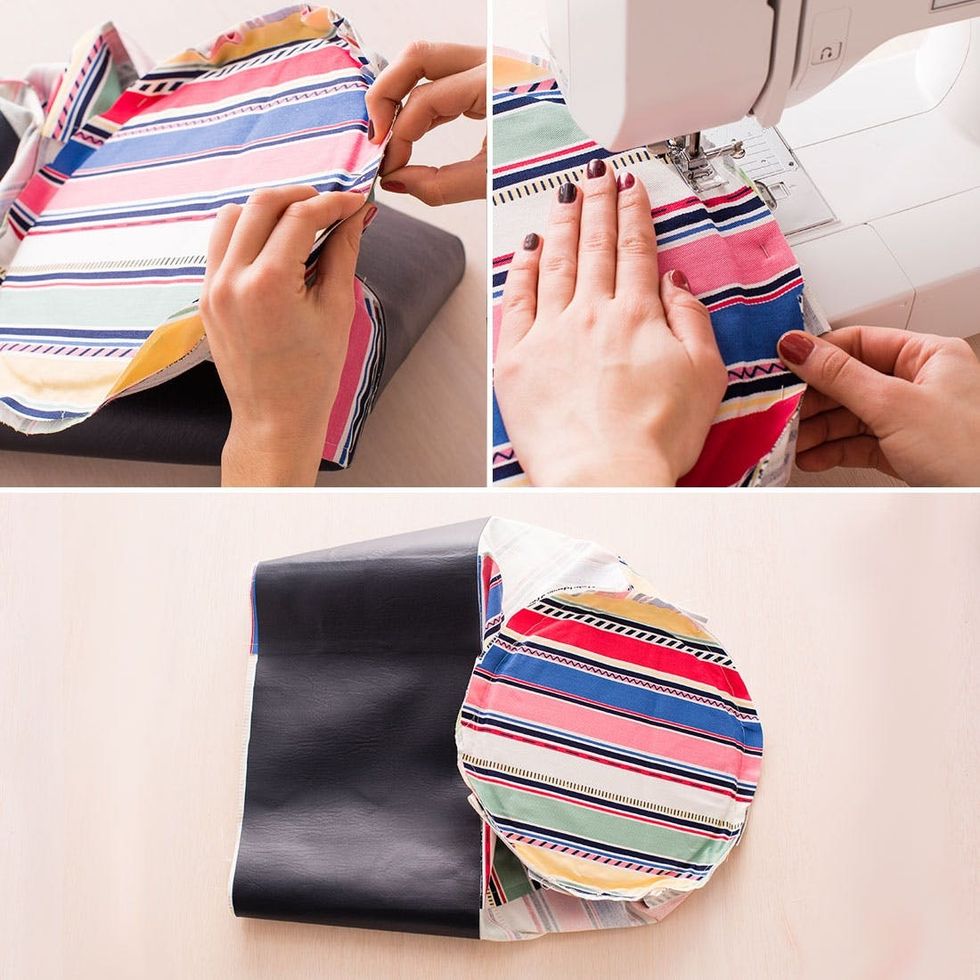
Pin your cylinder onto your canvas circle and then sew together. Take your time! This part can get tricky.
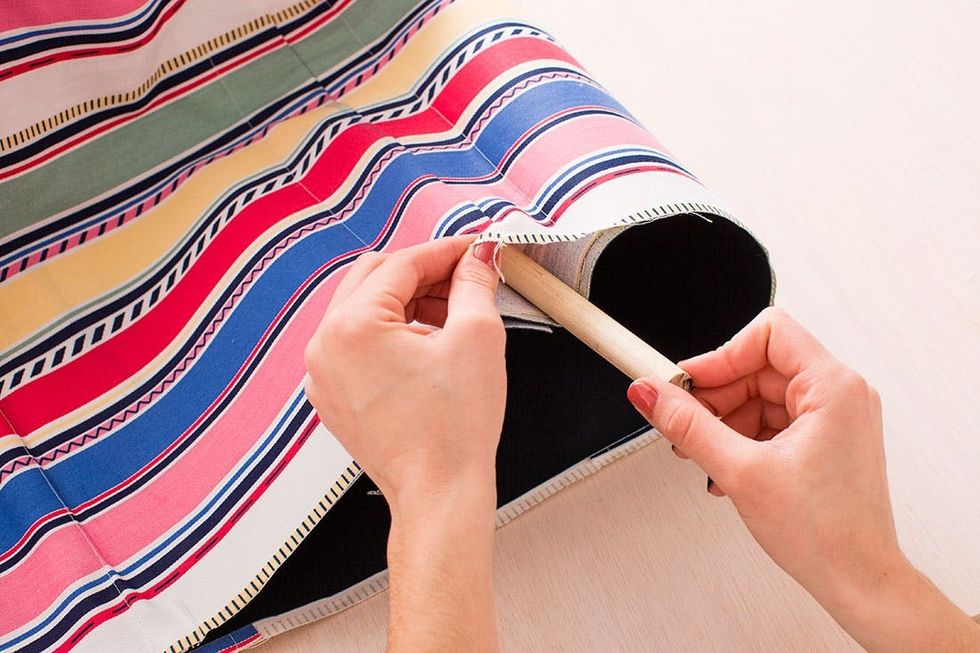
Turn your bag right-side out and slide in your dowels. Our dowels measured 12 inches long.
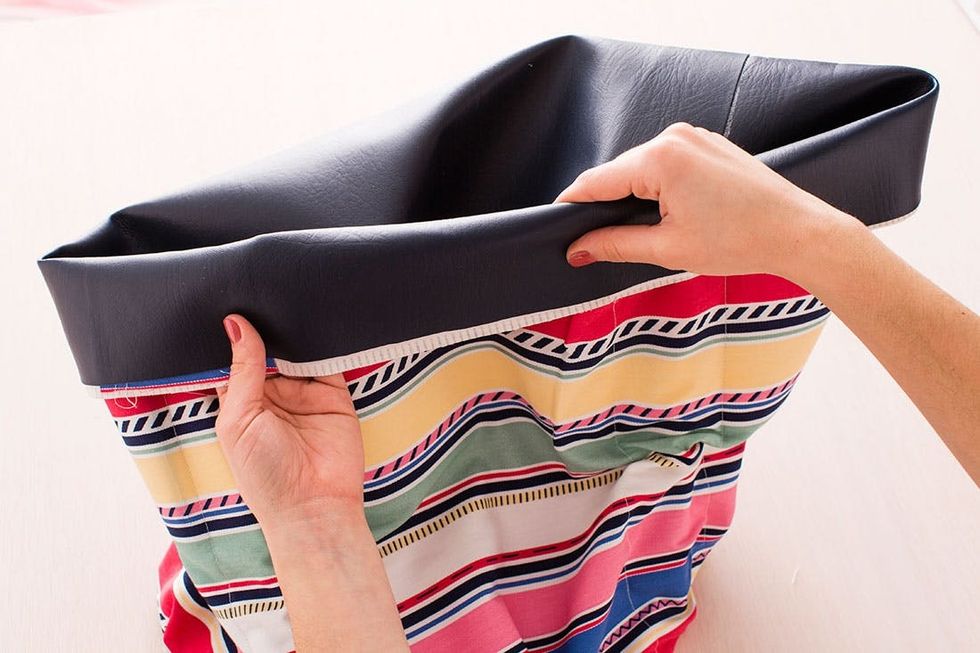
Roll down the top of your bag to reveal the touch of leather.
‘
We love the slouchy look of these fabric buckets.

We created buckets in three different sizes — small, medium and large. To create different sizes we just used different sized plates! What’s super handy about these buckets is when you are not using them you can stack them inside one another and store them all in one place.
Two things will happen once you make this fabric bucket: 1. You will want to display your dirty clothes in your living room instead of hidden in your closet, and 2. You’ll need to keep an eye on your bucket if you are bringing it to the laundromat. Consider yourself warned — it’s super cute!
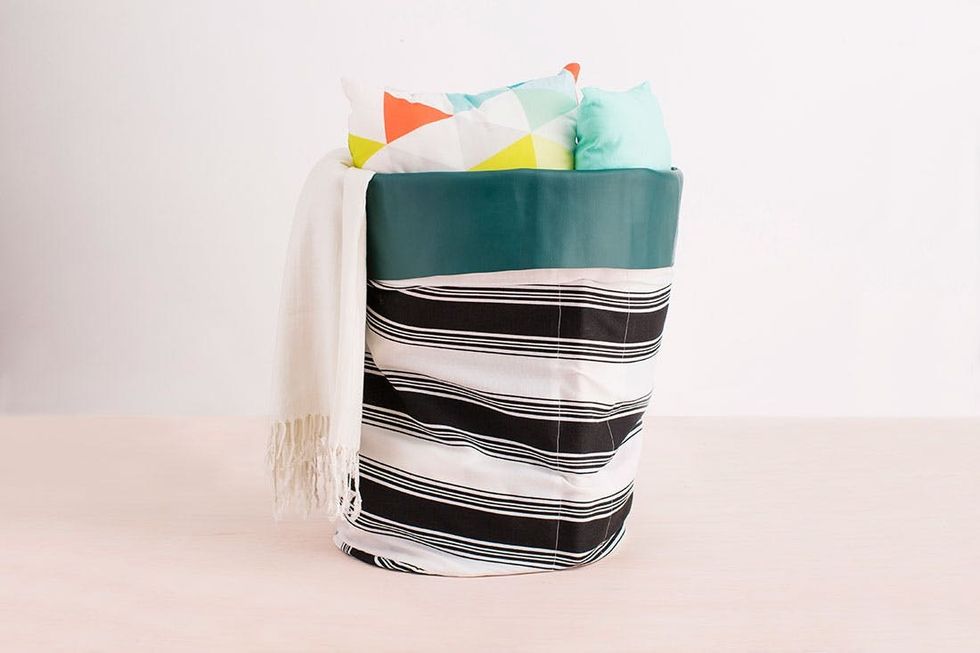
This large bucket is great for throw pillows and spare blankets.