 Recommended for you
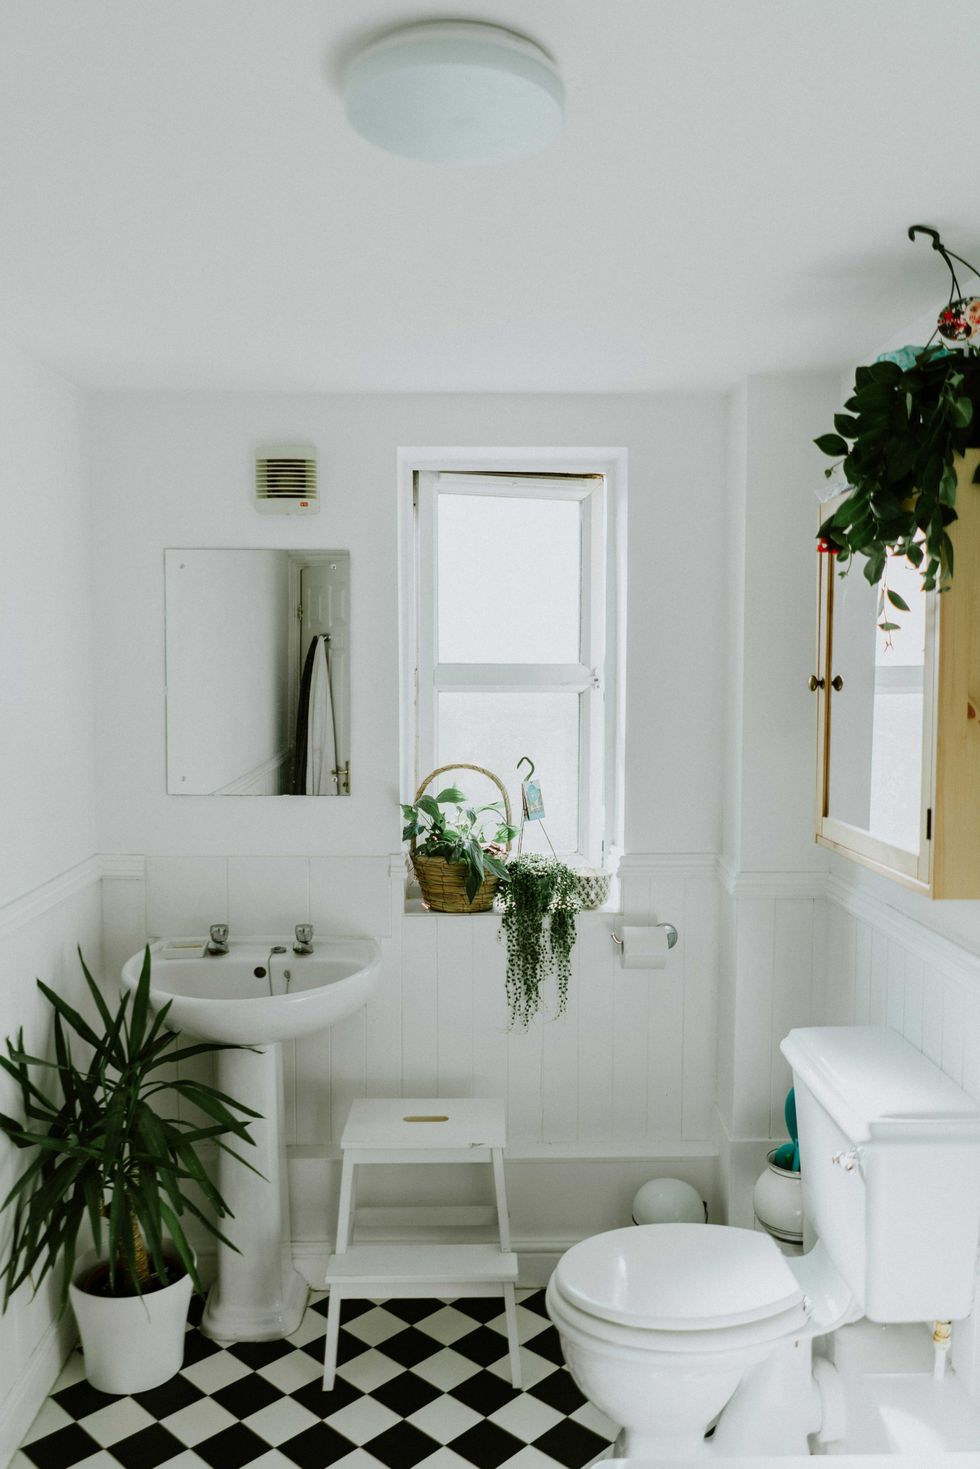
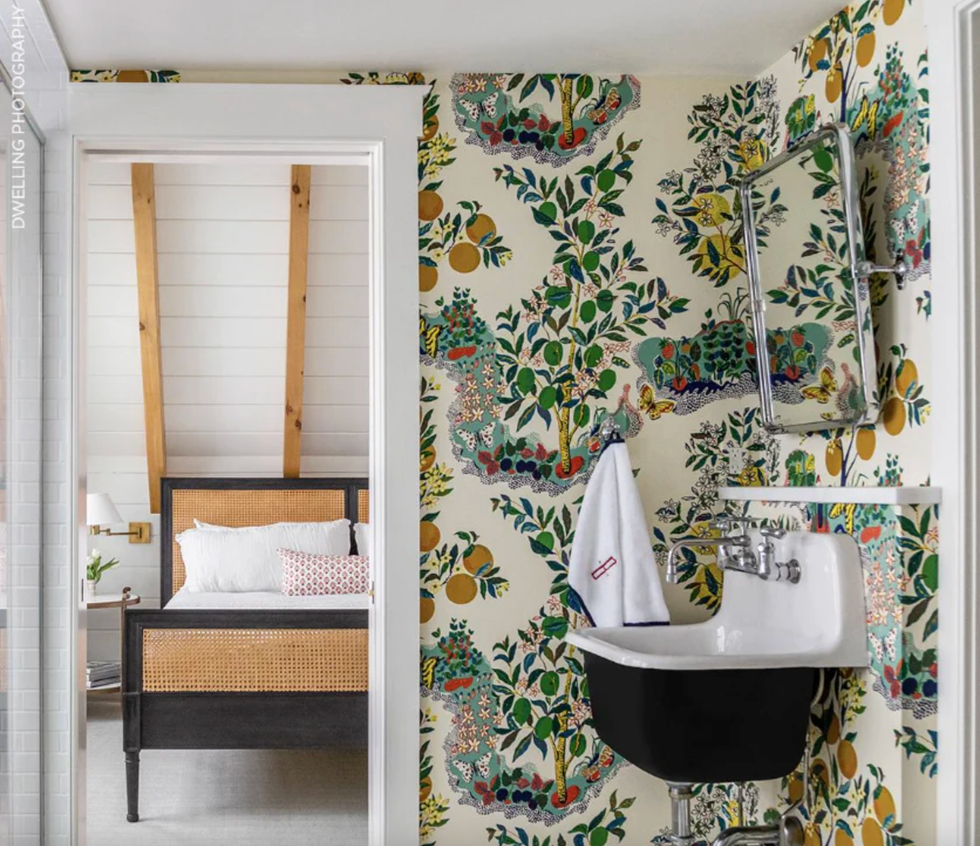
A new season always gives me the itch to refresh my space. My budget didn’t allow for a full-on makeover, so I decided to start small with my hall bath. The dull yellowish walls were driving me crazy, and I’d been eyeing this Raphael Wallpaper in Green for years. When I saw designer Sarah Sherman Samuel use it in her daughter’s bath, I knew it was time to take the plunge. I measured (loosely), ordered a roll, plus paste and a few wallpaper supplies, and got to work. I love how it turned out, but it could’ve been even better if I hadn’t overlooked a few key details. Here’s what I learned about bathroom wallpaper so you don’t have to.
Scroll for 7 bathroom wallpaper mistakes you should always avoid.
1. Forgetting To Get A Swatch First

Etsy
Before committing to the wallpaper I’d been eyeing online for years (like this one from Etsy!), I should have ordered a small swatch. My bathroom has zero natural light, so the color looked very different once it was up. I ended up swapping out the bulb afterward, which had been casting a warm, golden hue, and replaced it with one that mimics natural light to show off the wallpaper’s true tones.
2. Not Measuring Wisely
I got a little too casual with my measuring and didn’t account for the total square footage, just the width and length. The result? I ran short and had to buy two extra rolls, which definitely threw off my budget. Before you click “add to cart,” use a proper wallpaper calculator or follow this easy wallpaper measuring guide.
3. Forgetting To Cut For The Repeat
Katie Kime
Having wallpapered once before, I knew about cutting for the pattern repeat, but I figured that since this paper had a big, busy design, it wouldn’t matter. Spoiler: it did. On my first cut, I learned the hard way that alignment always matters. I had to pull down a large piece I’d already pasted because it didn’t line up right. Ouch! So make sure to line up each panel before cutting so you get a smooth, gorgeous look like this wallpaper from Katie Kime!
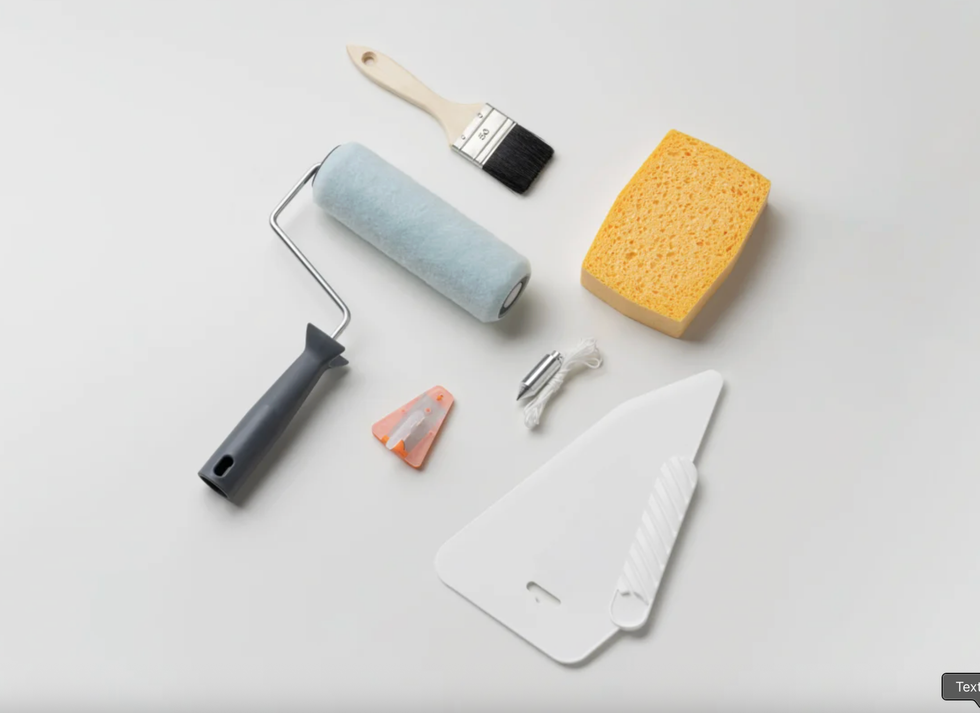
4. Not Using Wallpaper Tools
Sandberg Wallpaper
I almost splurged on a wallpaper tool set but decided to wing it with what I had: a brush, a scraper to smooth out bubbles, a utility knife for trimming edges, and some towels to keep things clean. It mostly worked, but I quickly realized a plumb line would’ve been really helpful to make sure the wallpaper stayed straight.
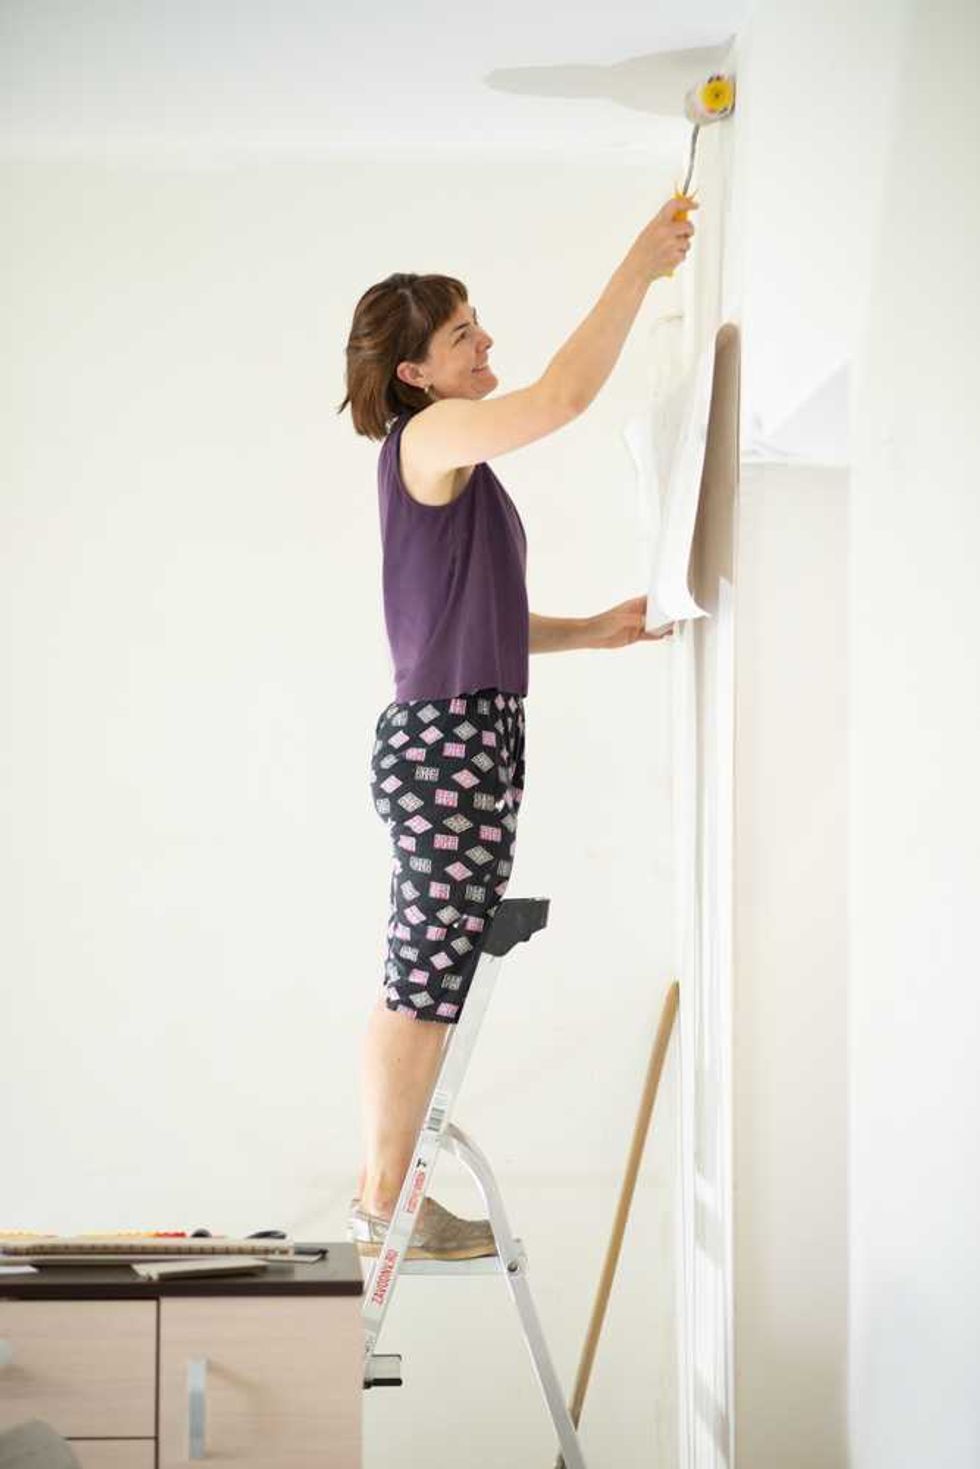
5. Trying To Rush The Process
Shutterstock
In true me fashion, I decided to start in the late afternoon, right before picking up my daughter from soccer practice and hosting dinner guests. I figured I could knock it out quickly. What I thought would take an afternoon ended up taking two full days. When you’re rushed, you’re bound to make mistakes, and fixing those mistakes makes the project take even longer.
6. Wallpapering Alone
Urban American Dry Goods
I originally reached out to a TaskRabbit expert, but the $700 estimate felt too steep — though, in the end, I realized it was completely fair. Either way, you’ll need help. I had to remove a very heavy bathroom mirror and sconces while trying to maneuver the wallpaper underneath those fixtures for a cleaner look. Bathrooms are small, awkward spaces with tile, tubs, and outlets to work around, and having an extra set of hands makes the whole process so much smoother.
Moral of the Story? Consider Peel And Stick
I went with traditional wallpaper and paste, and let’s just say — it got messy. Next time, I’d seriously consider peel-and-stick. Many wallpaper vendors now offer it as an option, and it can save you a lot of cleanup (and sanity).
For even more home decor inspo, sign up for our weekly email newsletter!
Brit + Co may at times use affiliate links to promote products sold by others, but always offers genuine editorial recommendations.