 Recommended for you
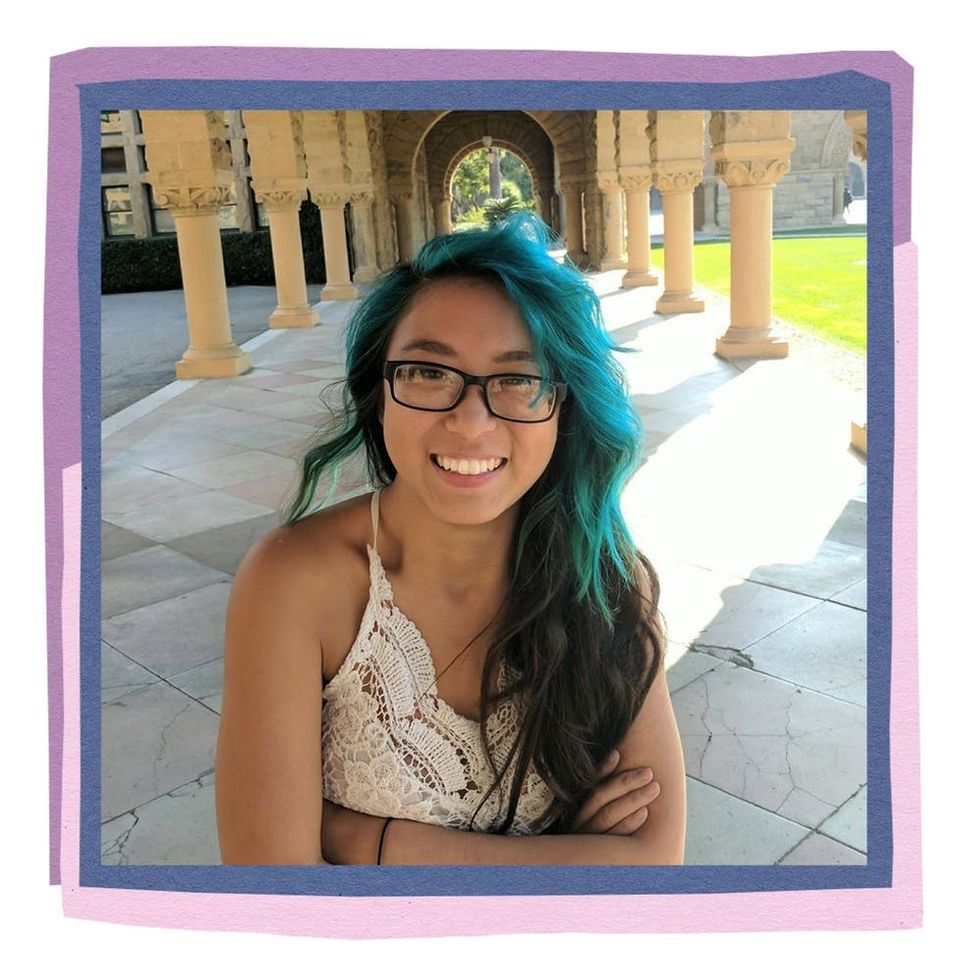
Christina Li Is Changing the STEM Stereotype Through Summer Camp
Women are still sorely underrepresented in the world of science, technology, engineering, and mathematics, but if Christina Li has anything to do with it, they won’t be for long. Having developed an interest in robotics in the third grade, the Michigan native was just 17 years old when she started Hello World, a computer science camp where middle school girls get the chance to build apps and learn from some of the biggest tech leaders in the country.
Now, as a 20-year-old Stanford University student with an internship at SpaceX under her belt, Li is focused not only on her own future in robotics, but also on making sure young girls continue to see those same opportunities for themselves. Here, we speak with Li about her excitement in helping to shape young minds, the importance of diversity in tech, and what representation means to a new generation of female STEM leaders.
B+C: How did you initially become interested in STEM and robotics?
Li: When I was in third grade, my brothers and I picked up a random book from the library that was about how to code a website. That’s when I started to learn. I didn’t really do it much in middle school, but in high school, I started taking programming classes, joined a virtual robotics team, and became a programmer. I learned how to make the robot move and control it. I thought that was really, really cool! I did that for three years. I eventually became the vice president of controls for my robotics team in high school and helped other students learn to code and wire their robots.
B+C: You’ve been running a free coding camp called Hello World for four years. What does a typical day look like for the attendees?
Li: On the first day of this year’s camp, they’ll learn how to make a flappy bird game and then they’ll have lunch and an online Skype session with a Google engineer. The next day, they’ll learn how to use MIT’s app “Inventor” to make an app for painting things. Then they’ll talk to a panel of Ford engineers. On the third day, they actually go to Microsoft in Detroit for a tour and a little workshop on learning how to use microcontrollers. Every day is slightly different!
B+C: You were just 17 years old when you started Hello World. What was the scariest part of getting it off the ground?
Li: Getting companies to throw money at me to do this thing that I’ve never done before was freaky. One of the first companies that signed on was Google, which was really amazing to me. The people I was working with trusted that I was able to deliver something meaningful. The most difficult part actually wasn’t even planning the lessons, because at that point I had already been programming for a few years — it was getting people to sign up.
B+C: What initially surprised you most about teaching coding to middle schoolers?
Li: I didn’t expect them to learn so fast, especially since a lot of them had no prior experience. They sped right through the beginning stuff that I prepared for them. It’s also really, really cool to watch them be creative on their own and to figure out solutions by themselves without me having to hold their hand through every single part. I like to give them time to explore and ask questions like, “Oh, what if I want to do this? Like, how can I add this?”
B+C: What’s been the most rewarding part about starting the camp?
Li: Well, it’s been four years since the first girls came to Hello World. Now they’re starting to get to the age where they’re applying for college. So I’ll email them, you know, asking how it’s going. A lot of girls will tell me, “Because you showed me robotics, I joined my first robotics team!”
B+C: It’s clear through your work that you really love robots. What excites you about them?
Li: I do love robots! I mean, there’s the computer science side, like, how do we actually control these things in a way that the control is as similar to what the user expects as possible? So having a joystick make a robot actually turn — it seems like a relatively easy thing, but in reality, you have so many different issues that can pop up in the mechanical design, or maybe the code isn’t right. There are all these relatively difficult, interesting problems to solve, and that’s just really cool to me.
B+C: What’s the big dream for you, career-wise? What would you love to be doing down the road?
Li: I’m pretty excited for this summer. I’ll be working for SpaceX. I think their mission of sending people to Mars and building a habitat that humans can live in is really cool. Other than that, I don’t know. Anything dealing with robotics and mechatronics systems would be really cool work.
B+C: Has being a young female programmer impacted any other parts of your life?
Li: I think it has made me more confident when speaking out about my ideas in general — even when there’s, like, a million other guys in the room and it’s just me.
B+C: What does the tech world have to gain by incorporating more diversity into its workforce?
Li: There have been a lot of studies that show that the more diversity you add to a team — whether it’s gender or race or whatever — the more successful it is because of the variety of viewpoints brought to the table. I think that’s really important, especially in computer science, when you’re creating products that can be used by millions of different people.
B+C: Why do you think it’s important to see more women in positions of power?
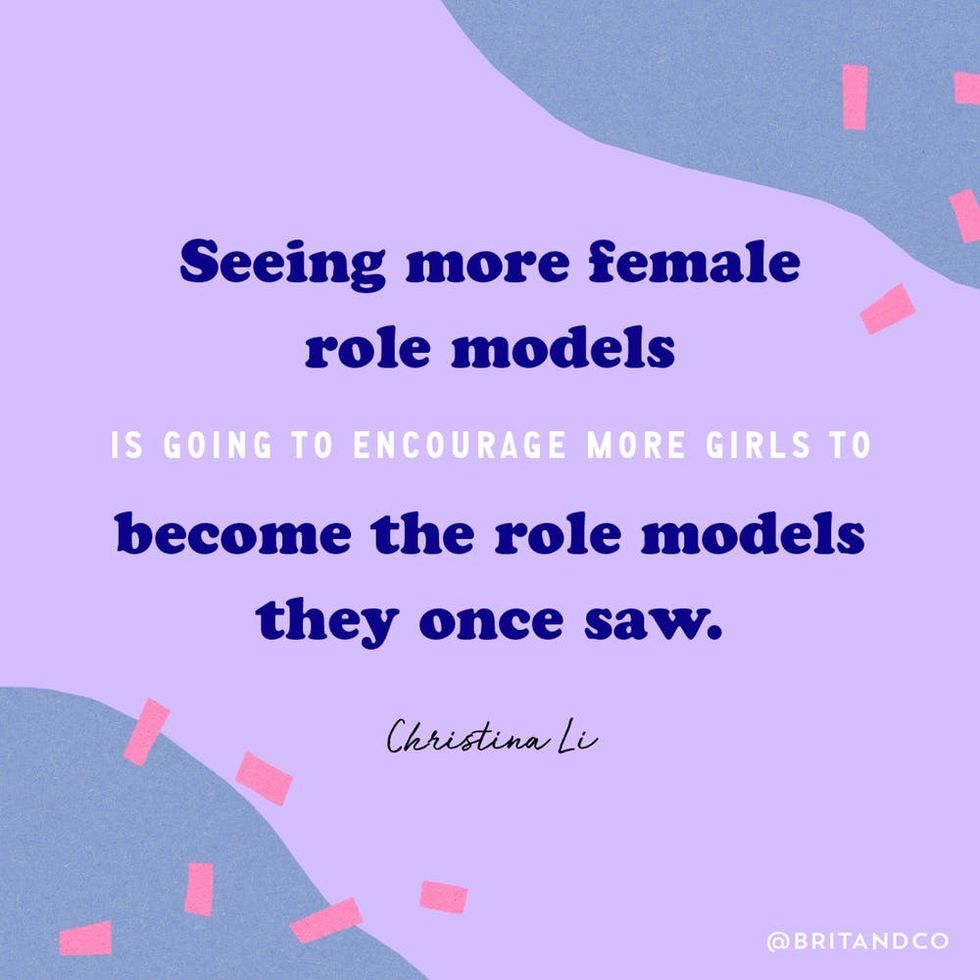
Li: Seeing more female role models is going to encourage more girls to become those role models that they once saw. Having these female role models who say, “This is who I am. These are my ideas; take it or leave it,” is super important and hopefully teaches girls not to back down, to be confident in your ideas and values, and just be who you are.
Written by: Cortney Clift and Nicole Villeneuve
Design by: Yising Chou
“Future Women of America” is a multimedia project spotlighting 15 young women under 20 who are making bold moves. Click here to see all the trailblazing women and girls featured.