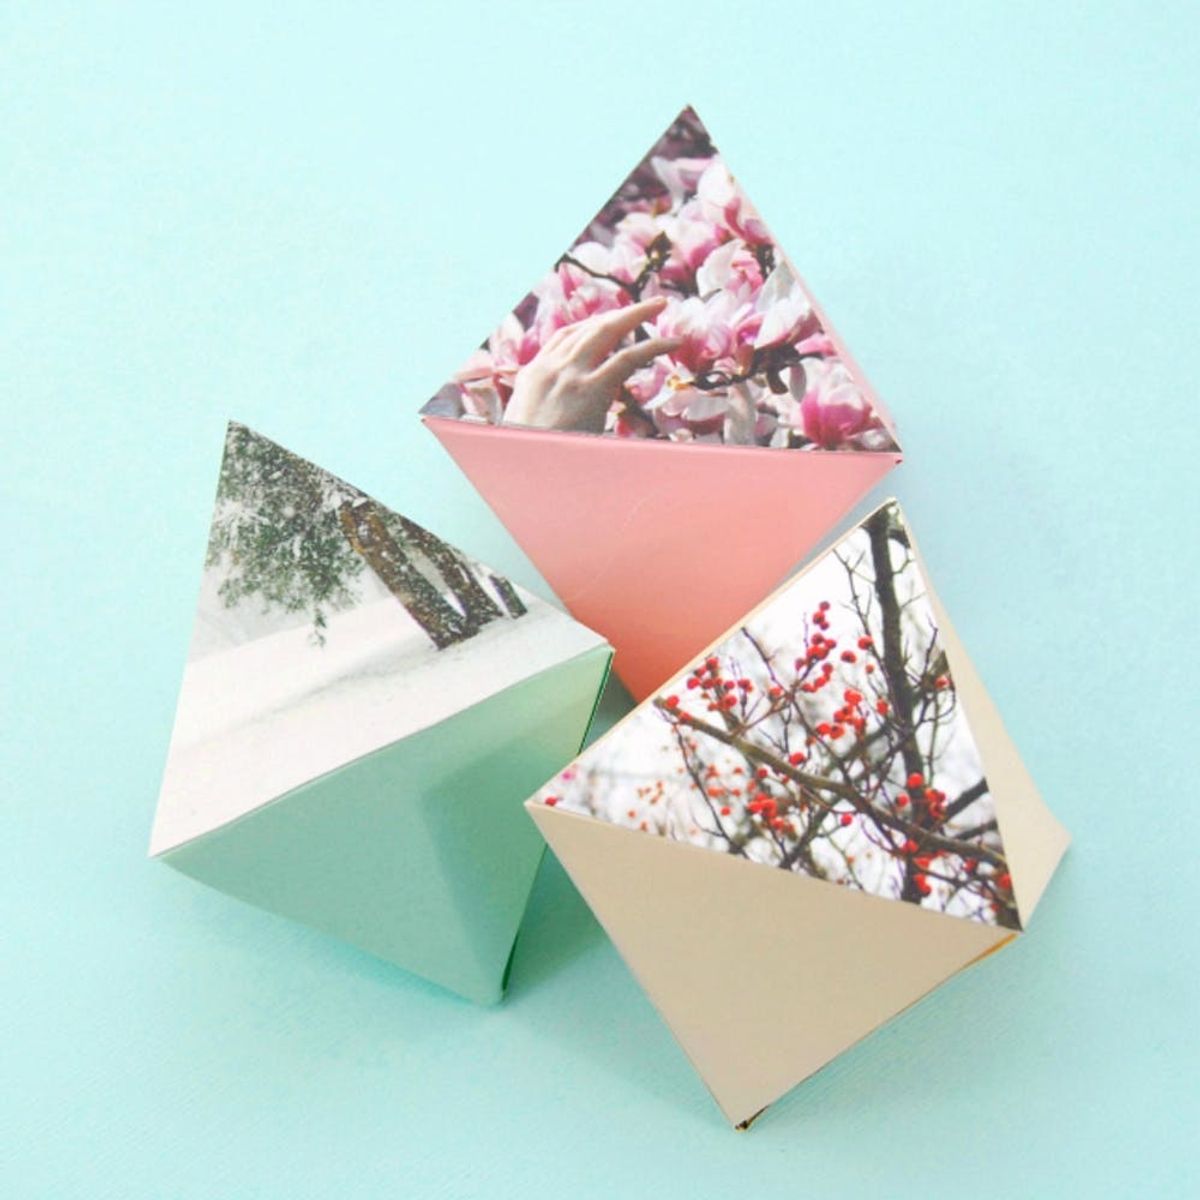
A few diamonds are all you need to make your home sparkle and shine this holiday season. Worried about breaking the bank? Don’t be! The diamonds we’re talking about are made out of paper and your gorgeous photos. Our pals at Photojojo helped us put ‘em together, and now we’ve got the instructions so you can make your very own. Hang them up or place them in a bowl on the dining table for a truly unique centerpiece. Either way, these lovely gems will make you the envy of all jewel-lovers.
Materials:
— 3D gem template (we used this one)
— prints (we got ours from Parabo)
— transparent sewing thread
Tools:
— scissors
— pencil
— tape
— glue
Instructions:
1. Print as many templates as you need for the number of shimmery little gems you’d like to make. Cut ‘em out!
2. Cut about five inches’ worth of your transparent sewing thread. Tape one end to the lined side of your template. See where we marked an X? That’s the ideal spot! Now when you fold and close your paper into a diamond, the string will be sticking out so you can hang it up. Smart, huh?
3. Fold your paper along each line. Make sure you’re folding it with the lines facing inward — that way the outside of your diamond will be line-free.
4. Dispense a little bit of glue (not too much or the paper may get soggy) to the outside of each flap. Gently adhere each flap to the inner part of the corresponding sides. If you gently fold the diamond beforehand, you can see where each flap is supposed to go.
5. Let your diamond sit for a moment to make sure the glue has dried. Then set it on top of your photo and gently trace one of the triangle sides. (We ordered our lovely prints straight from our phone using the Parabo app!) Make sure you trace the triangle over the part of the photo you want to keep.
6. Cut out the traced part and glue it to your gem. Voila! Now hang ‘em up high!
Print as many templates as you need for as many sparkly little gems you’d like to make. Cut them out.
Cut about five inches’ worth of your transparent sewing thread. Tape one end to the lined side of your template. See where we marked an X? That’s the ideal spot! Now when you fold and close your paper into a diamond, the string will be sticking out so you can hang it up. Smart, huh?
Fold your paper along each line. Make sure you’re folding it with the lines facing inward — that way the outside of your diamond will be line-free.
Dispense a little bit of glue (not too much or the paper may get soggy) to the outside of each flap. Gently adhere each flap to the inner part of the corresponding sides. If you gently fold the diamond up beforehand, you can see where each flap is supposed to go. It’s easy peasy!
Let your diamond sit for a moment to make sure the glue has dried. Then set it on top of your photo and gently trace one of the triangle sides. (We ordered our lovely prints straight from our phone using the Parabo app!) Make sure you trace the triangle over whichever part of the photo you want to keep.
Cut out the traced part and glue it to your gem.
Voila! Easy to make, and the results are too cute!
For more photography tips, tricks, projects and supplies, check out the Photojojo blog!
These little gems make great gifts, too! What’s the best homemade present you’ve ever received? Tweet us about it @britandco!


