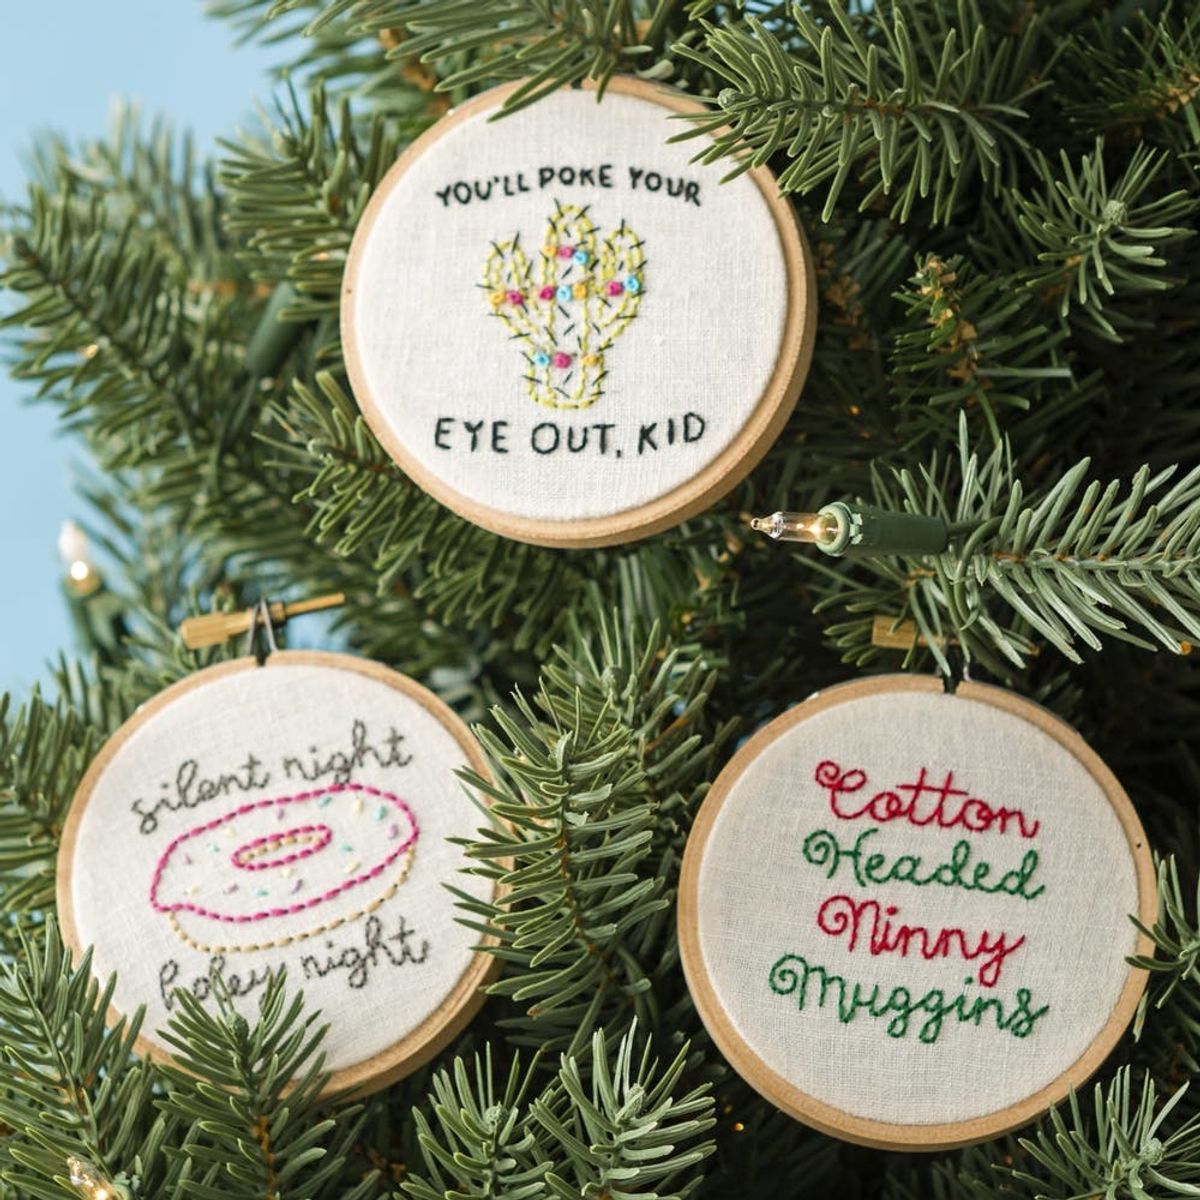
These DIY Embroidered Ornaments Will Add Personality to Your Tree This Year

It really is the most wonderful time of the year. Thanksgiving is in three days, and we have our decorations, recipes and turkey hats ready. We’re excited to see our family and friends — and overindulge on pumpkin pie.
Trimming the tree is one of the best parts of the holiday season. Store-bought, uniform ornaments are pretty, but what we really love are the ornaments that bring back memories. And those ornaments are usually the ones you got as a gift or the ones you made yourself! So now we’re giving you the opportunity to make new memories by creating some really unique ornaments this year.
Download Embroidered Ornaments Design Guide + Instructions
These hand-stitched beauties are sure to add color and personality to your tree.
If you’re new to embroidery or would just like to brush up on your skills, head over to our Intro to Embroidery Online Class — your instructor, Kristen Gula, will teach you everything you need to know to make these holiday ornaments.
They’re pretty amazing, right?
MATERIALS
- needle
- embroidery thread
- 3-inch wooden embroidery hoop
- fabric (linen blend/cotton)
- felt
- pencil
- tacky glue
- scissors (embroidery and fabric)
INSTRUCTIONS
1. Unscrew the hoop and place your fabric over the inner hoop. Lay the outer hoop over the top, stretching the fabric taut, and screw the hoop closed.
2. Place the hoop fabric side down on top of your pattern. Trace over it with a pencil. Then flip the hoop over and take the fabric out, putting it back so the pattern side is up.
Get the rest of the instructions via the project download above.
Show us your finished work by tweeting @BritandCo and using the hashtag #iamcreative!
Brit + Co may at times use affiliate links to promote products sold by others, but always offers genuine editorial recommendations.


