Kickstart Your Creativity With This Hand-Lettered Word of the Year Tutorial
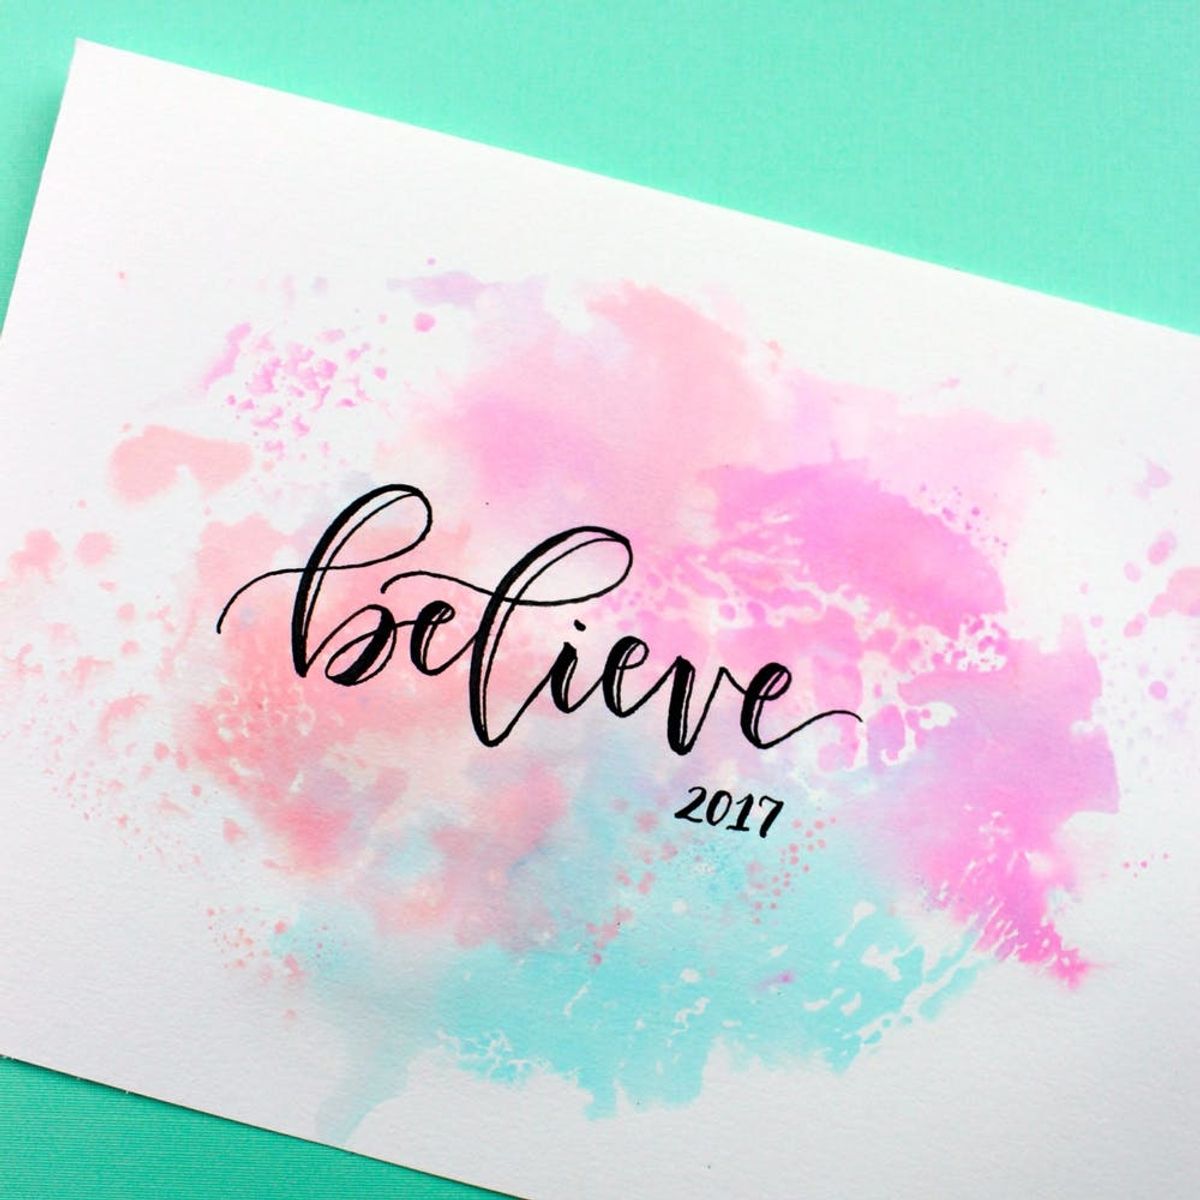
One of the most exciting things about starting a new year is all of the possibility that awaits in those next 12 months. The new year gives us a blank slate to tackle new goals and develop new habits. If you’re looking to start setting some goals and learn hand lettering, you’ve come to the right place.
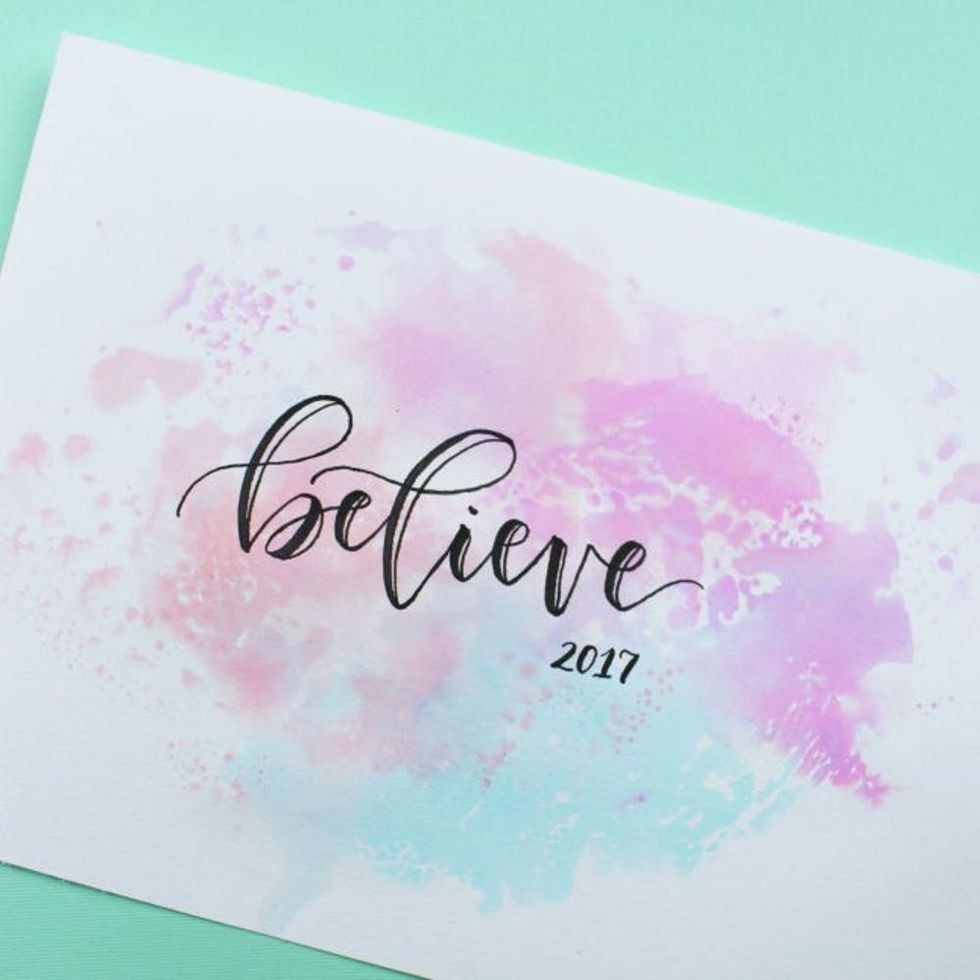
I’m going to show you how to create a piece of lettered artwork that can serve as a reminder to you throughout the year to work toward the goals you want to achieve. Before you get started lettering, take a few minutes to think about what you want 2017 to mean to you 12 months from now. Will it be a year of change? Growth? New beginnings? Whatever that looks like for you, choose a word or phrase to become your “word of the year.” That’s what we’ll be lettering here!
Materials and Tools:
- Watercolor paper
- Tombow Dual Brush Pens (in 2-3 coordinating colors)
- Tombow Fudenosuke Calligraphy Pens, Hard + Soft
- Tombow Blending Palette or plastic baggie
- Spray mister filled with water
Instructions:
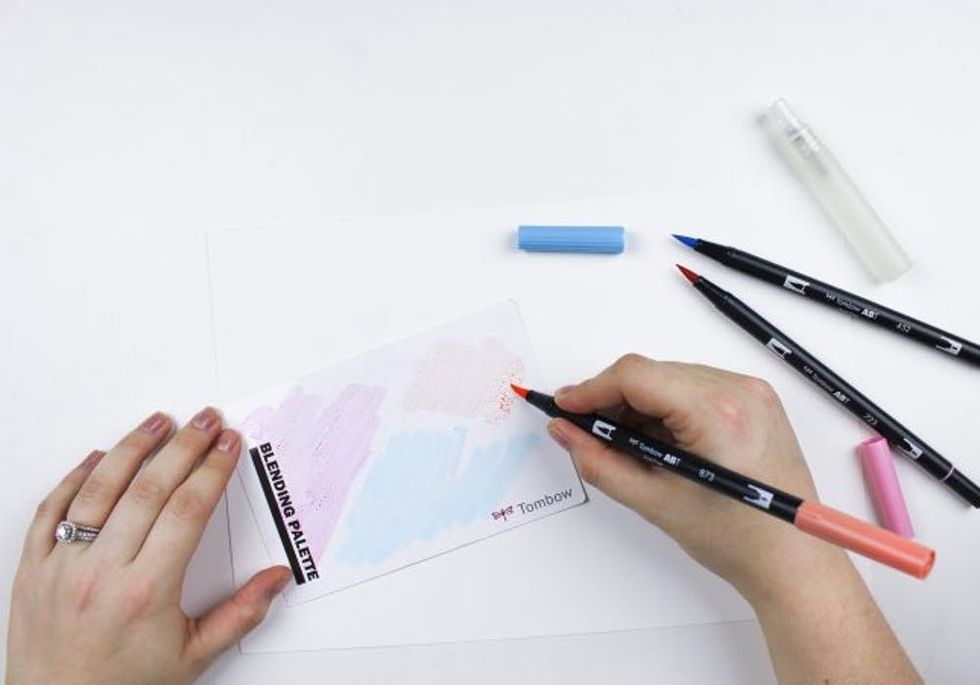
Using the brush tip of your Dual Brush Pens, scribble ink all over the Blending Palette or plastic baggie (really any non-porous surface will do). It’s okay if the ink overlaps here — try to cover as much space on your surface as possible.
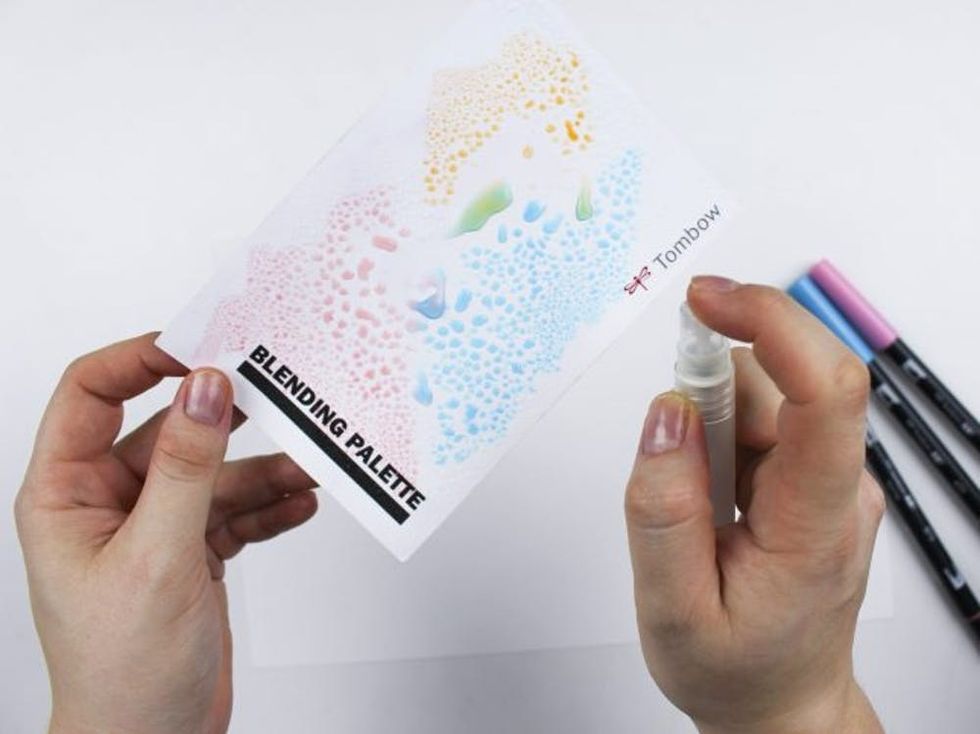
Grab your spray mister filled with water and spray the ink so that water droplets start to pool up. The more water you add, the lighter your colors will appear on your final piece, so keep that in mind.
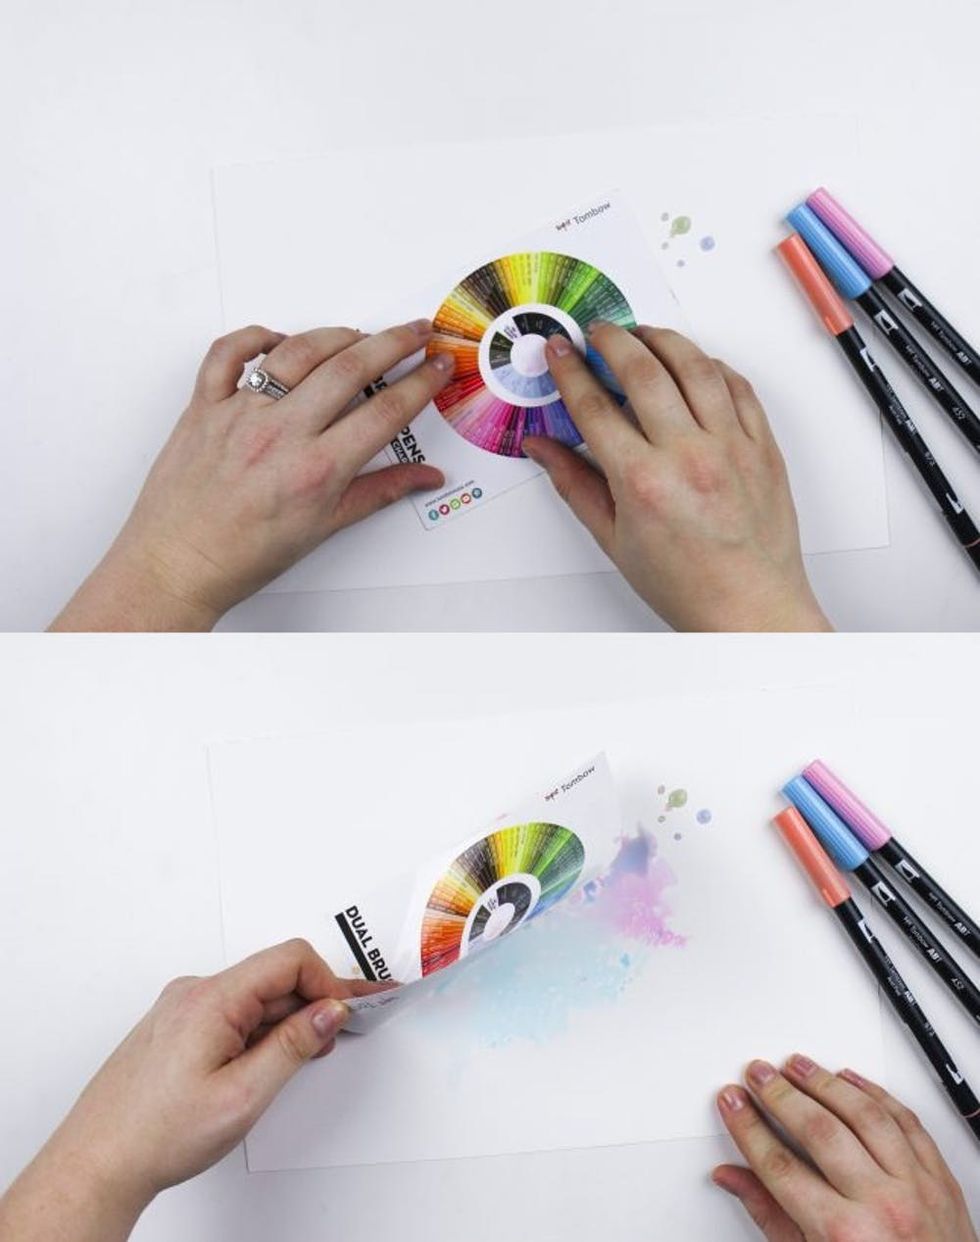
Flip the palette over and place the wet ink on your watercolor paper. Peel the palette off the paper to reveal the splash watercolor effect it creates. Let dry or dry using a heat tool. You can repeat the first three steps until you’re happy with the way your background looks.
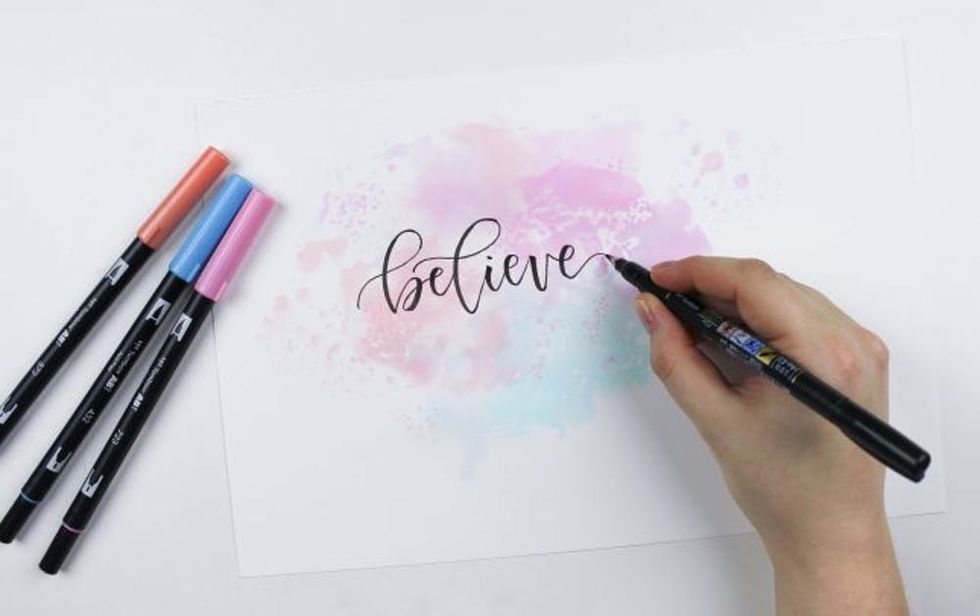
Using the Tombow Fudenosuke Calligraphy Pen — Soft Tip, hand letter your word or phrase that will become your 2017 word of the year. Apply heavy pressure on your downstrokes (when your hand is moving downward) and light pressure on your upstrokes (when your hand is moving upward).
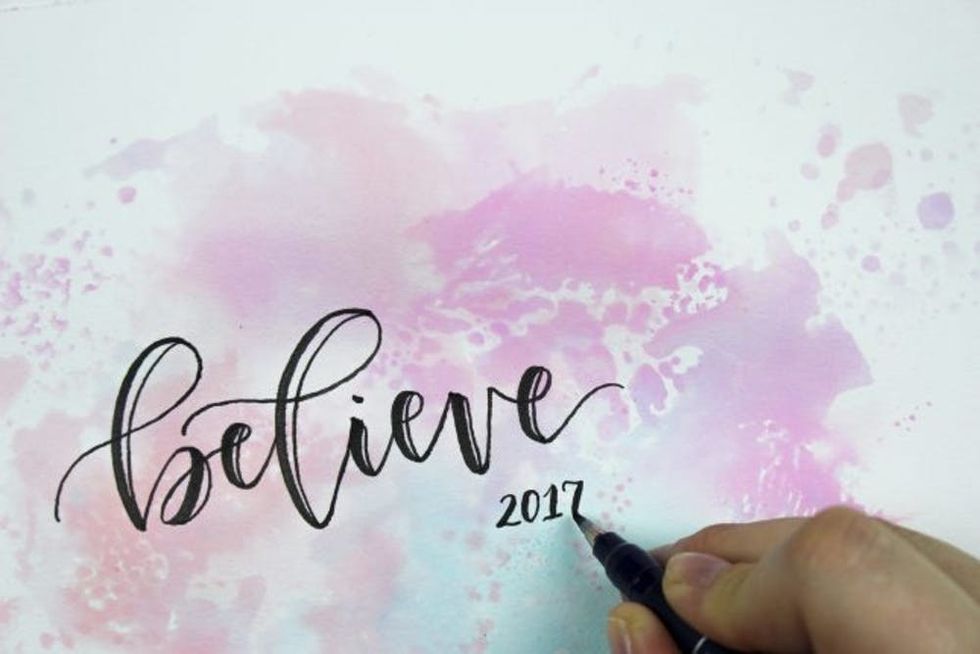
Switch to the Tombow Fudenosuke Calligraphy Pen — Hard Tip to add thin lines to the right of your downstrokes. You can letter the year below your word to pull it all together.
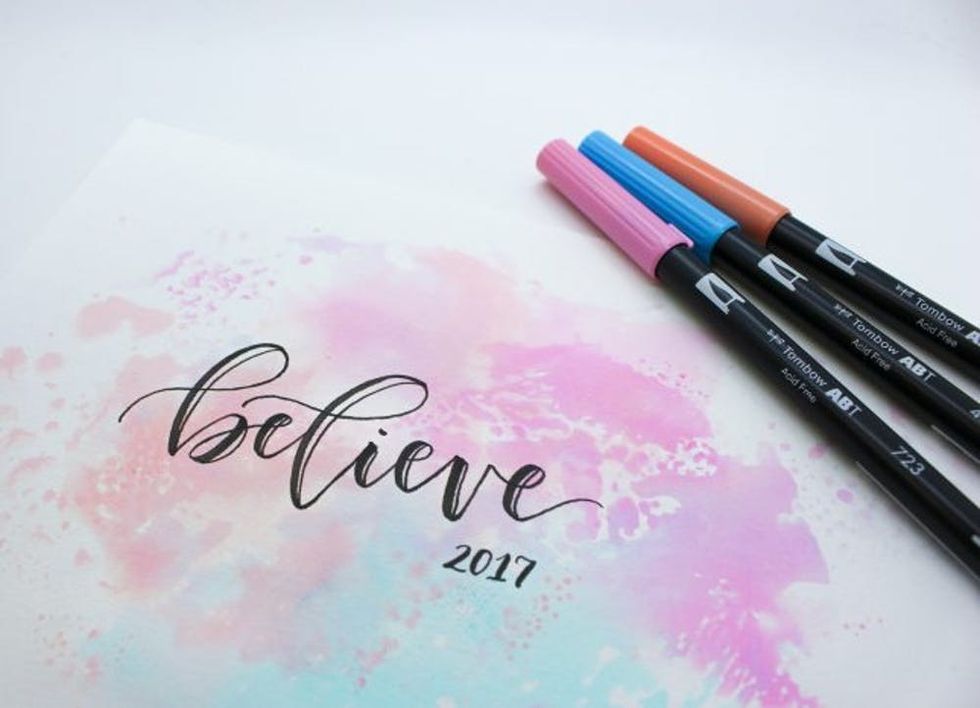
Want to learn more about how to create beautiful, bouncy lettering? Take my class, Bounce Lettering Basics, where you’ll learn the basics of lettering, how to connect your letters, how to bounce your letters and how to put everything together to form compositions. You’ll receive a downloadable workbook so you can practice along with me, and you’ll gain access to an exclusive Facebook group where we’ll continue to discuss bounce lettering tips and tricks!

Share your finished projects with us on Instagram! Tag @BritandCo with the hashtag #iamcreative!
Brit + Co may at times use affiliate links to promote products sold by others, but always offers genuine editorial recommendations.


