Slay desktop clutter in style.
Get Organized With These 2-Material Metallic DIY Storage Boxes!
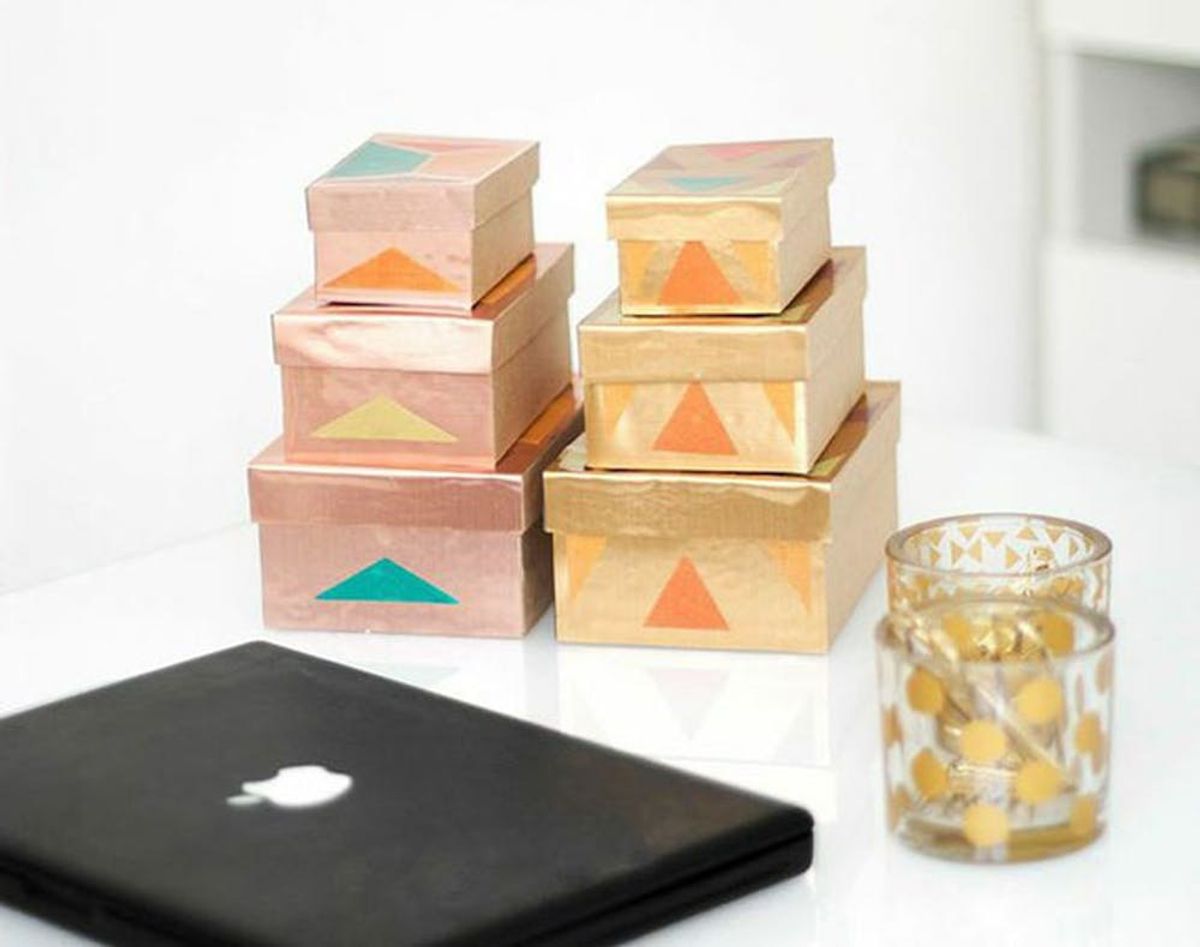
We are total organization freaks around here at Brit + Co. And back to school time = organization time for a lot of us, whether you’re arranging your dorm room or sorting the kiddos’ homework. The rest of us can take a cue from students, too (remember, organization freaks here), because we’ve never seen an office that couldn’t benefit from a little extra sorting, stacking and stashing. These chic gold and copper storage boxes will make sure you slay desktop clutter in style. And you can DIY them with just TWO materials.
Materials:
– gold + copper contact paper
– paper maché box sets
– triangle decals or other decorations
Tools:
– scissors
– ruler
Instructions:
1. Measure the length, width, + height of your boxes bases and lids. Add a 1/2 inch to the height.
2. Cut out templates to size.
3. Wrap your contact paper around the boxes.
4. Decorate your boxes.
First, you will need to measure the length, width + height of each box base and lid with your ruler. For the height, you will want to add a 1/2 inch so you can wrap the ends of the contact paper inside the lid and base. Next, draw + cut out your templates to size. Now wrap the contact paper around the base and lid of each box. Start with the bottom of the base and then wrap each side. Smooth out the contact paper as you go with your ruler so you don’t have any bubbles or creases. Wrap the extra contact paper around the top edges of the base. Next, wrap the lid starting with the top of the lid. Then move onto each side and tuck the extra contact paper inside the lid.
Wrapped and stacked! They’re the perfect place to stash all your office supplies.
Bonus points for metallic paper clips, binder clips and scissors.
These boxes will make any desktop instantly chic, as is. Or to make them pop even more, decorate your boxes with literally any materials you want. Add chalkboard paint labels to either end so you can note what’s stashed without removing the lid, paint a clean white stripe around the base or create fun shapes on all sides like we did using wall decals.
The best part about these glammed up storage boxes is that they’ll blend into your decor in just about any room. Use ’em as jewelry boxes, the go-to place for power cords or even as pure eye candy.
How do you organize your office? Do you have any other great tips or accessories for office organization? We would love to hear in the comments below.


