Make Family Memories With This DIY Kid Growth Chart Kit
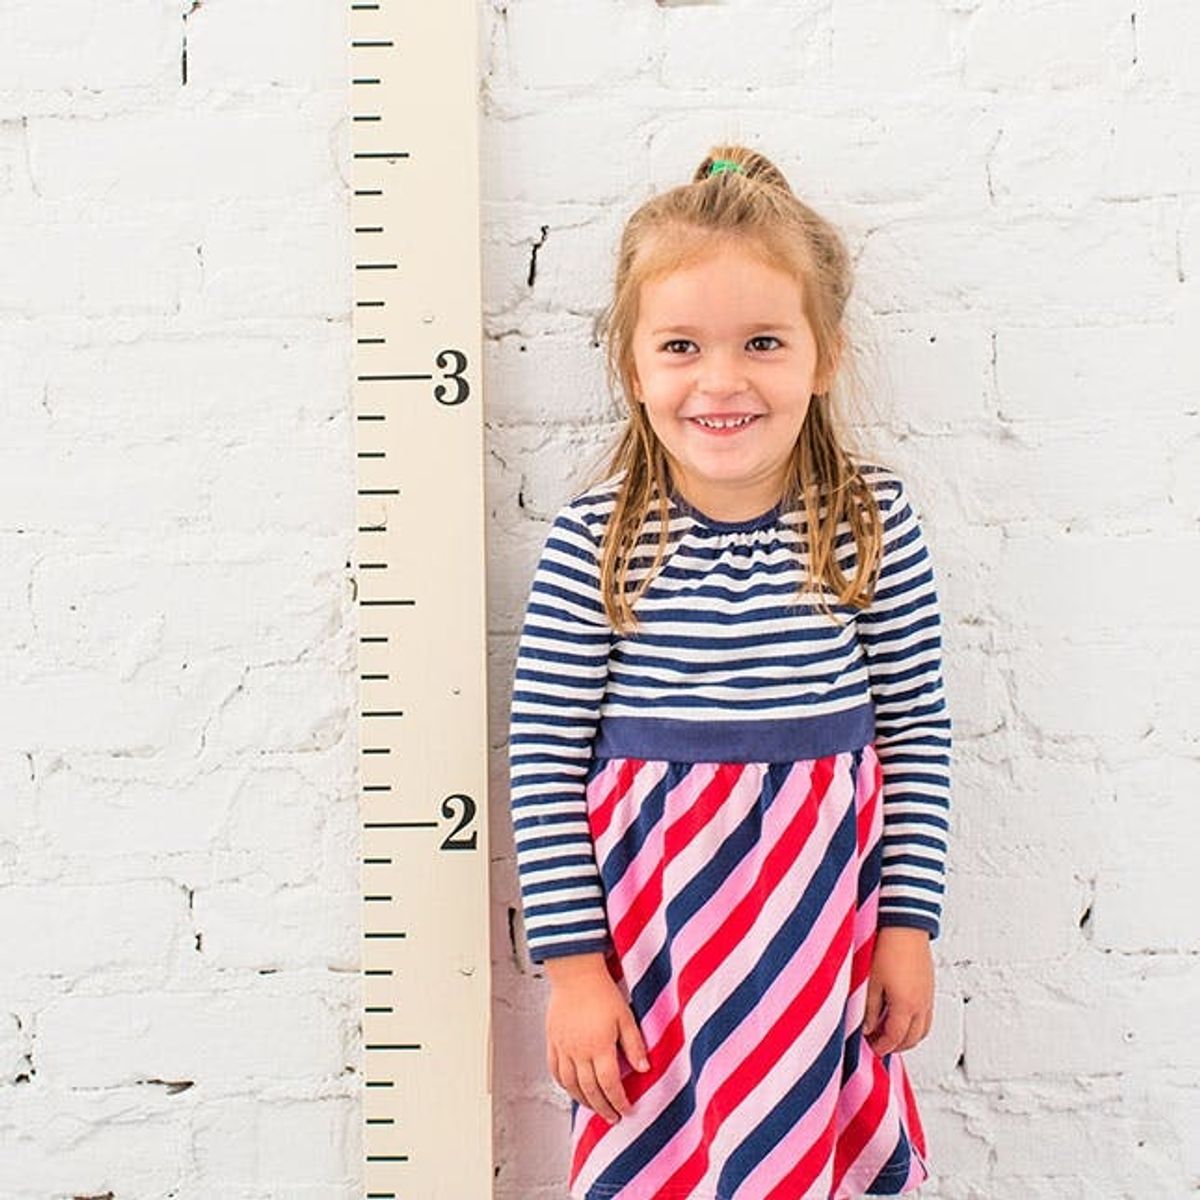
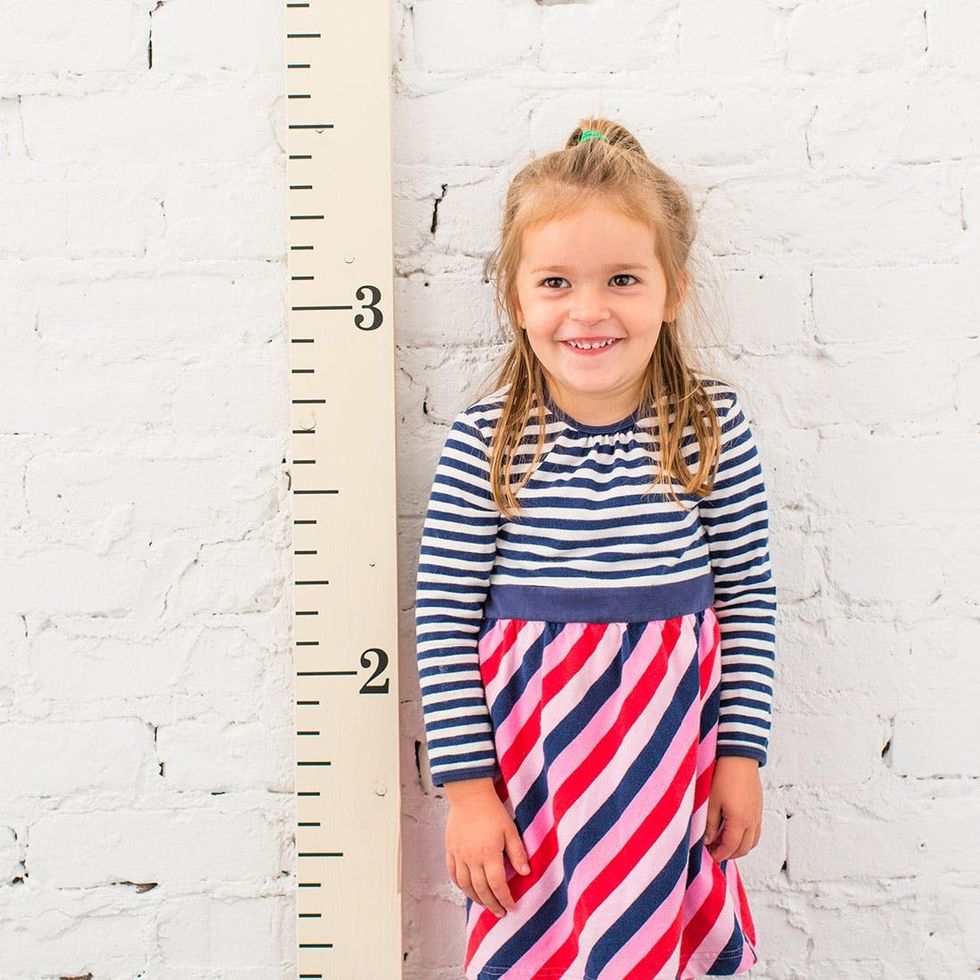
Many of us have fond childhood memories, from baking cookies and getting flour all over the kitchen to running in the rain stomping in puddles to reading Dr. Seuss books before bed. It’s these memories that weave the story of our lives and fill us with nostalgia when we see little kids having similar experiences. For those of you who have kids, it’s a great idea to start family traditions to create memorable moments. Today we’ve got a great one for your list — a DIY growth chart. Rather than marking your wall (which you might not be able to keep forever), create a giant ruler with Little Acorn’s Growth Chart Kit. Your kids will LOVE watching the marks move up the ruler as the years go by.
Materials (included in the kit):

– tick mark and number decals
– family name decal (if ordered)
Additional supplies (not included):
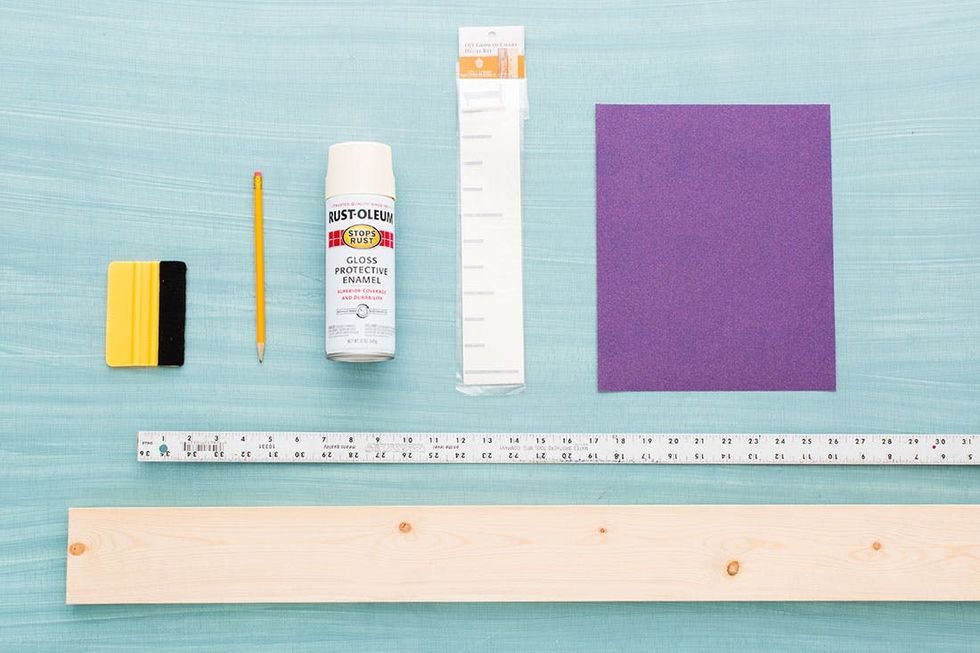
– measuring tape or ruler
– paint
– squeegee or other stiff, flat object
– pencil
– wood board
– sand paper
Head to the hardware store to pick up some wood. Get a piece that is at least six feet tall and five and a half inches wide (if you want to add the family name decal). If you can’t find the perfect size, ask someone at the store to cut a piece to the dimensions you want.
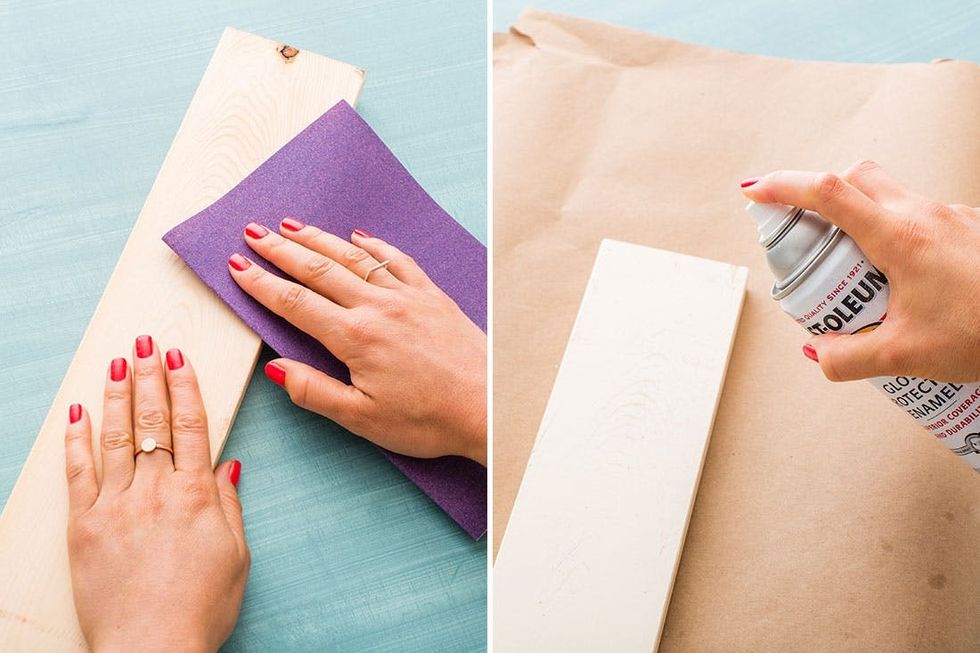
Once home, you need to prep your board. Sand it with soft sand paper, wipe off the dust and then paint or stain it. For a high-quality paint job, prime it first, then sand it a second time and add your color. Paint a second coat if it looks uneven.
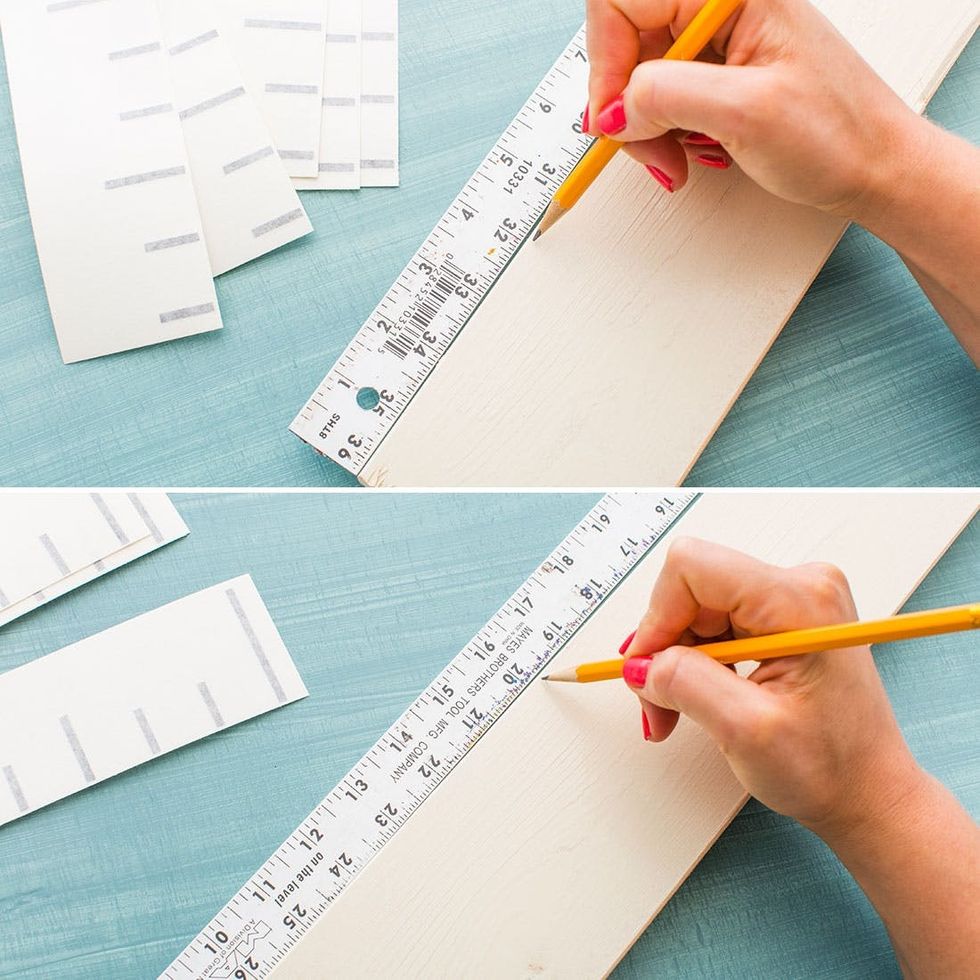
Once your board is dry, get your measuring tape and make some marks. That way you will know exactly where to add your decals. The decal was designed for the board to hang eight inches off the ground, so start at the bottom and make your first tick at four inches. Then from there, make ticks every twelve inches.
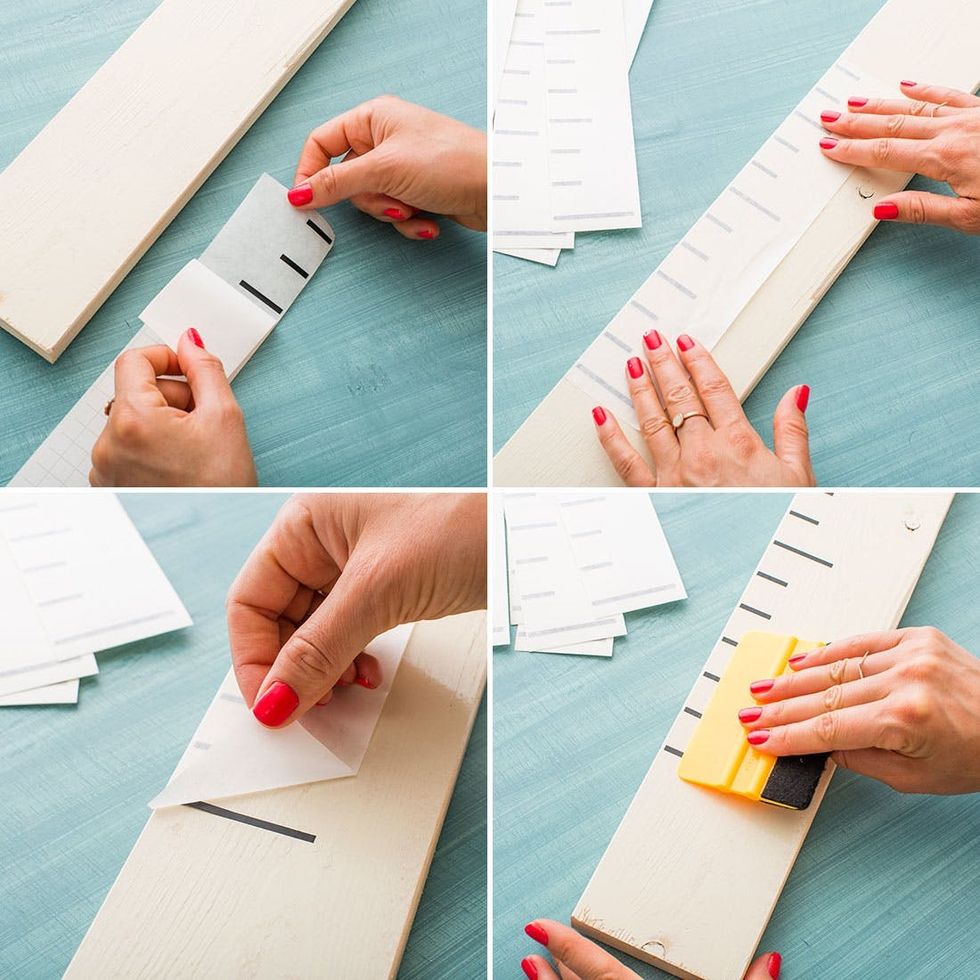
Place the vinyl on a flat surface with the paper backing facing up. Slowly peel the backing from the transfer paper (the decal should stay on the sticky side), then place the strip sticky-side down on the left side of the board, lining up the long decal tick with the four-inch mark. Remember the board will hang eight inches off the ground, so the four-inch mark is technically one foot.
Press the decal down firmly and then squeegee over it with something hard and flat like a credit card. Once you’ve gotten rid of any air bubbles, peel back the paper. Squeegee again to make sure the decals are completely stuck to the board. Continue adding decals all the way up the board.
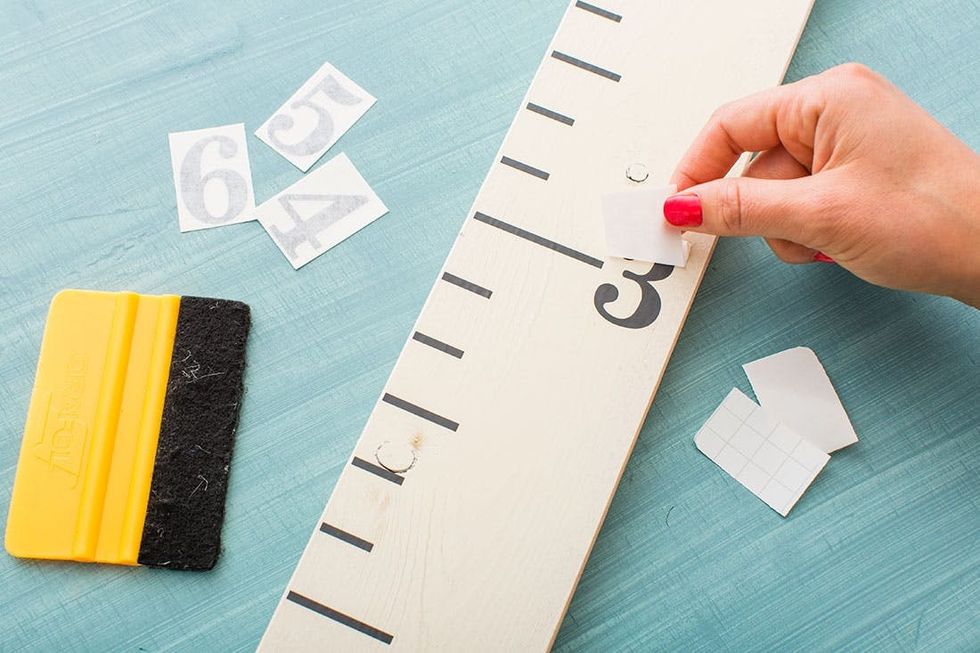
The final step is to add numbers using the same process.

That’s it! Get your little to stand alongside your new giant ruler and hold his or her hand up to measure.

Make a mark at the top of his or her head.
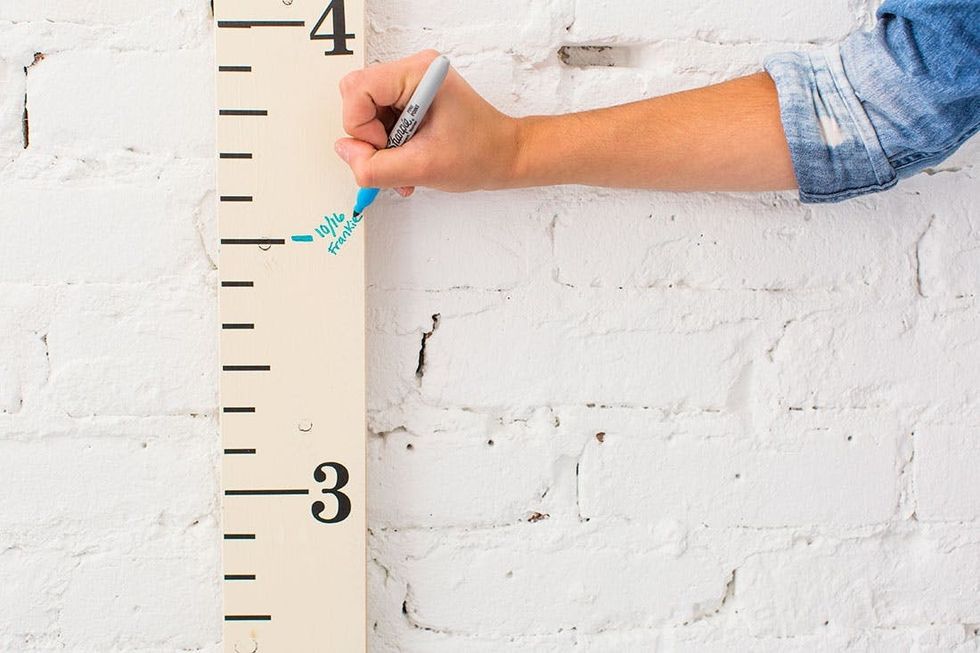
Add a name and date each time you measure to see how quickly they grow!


