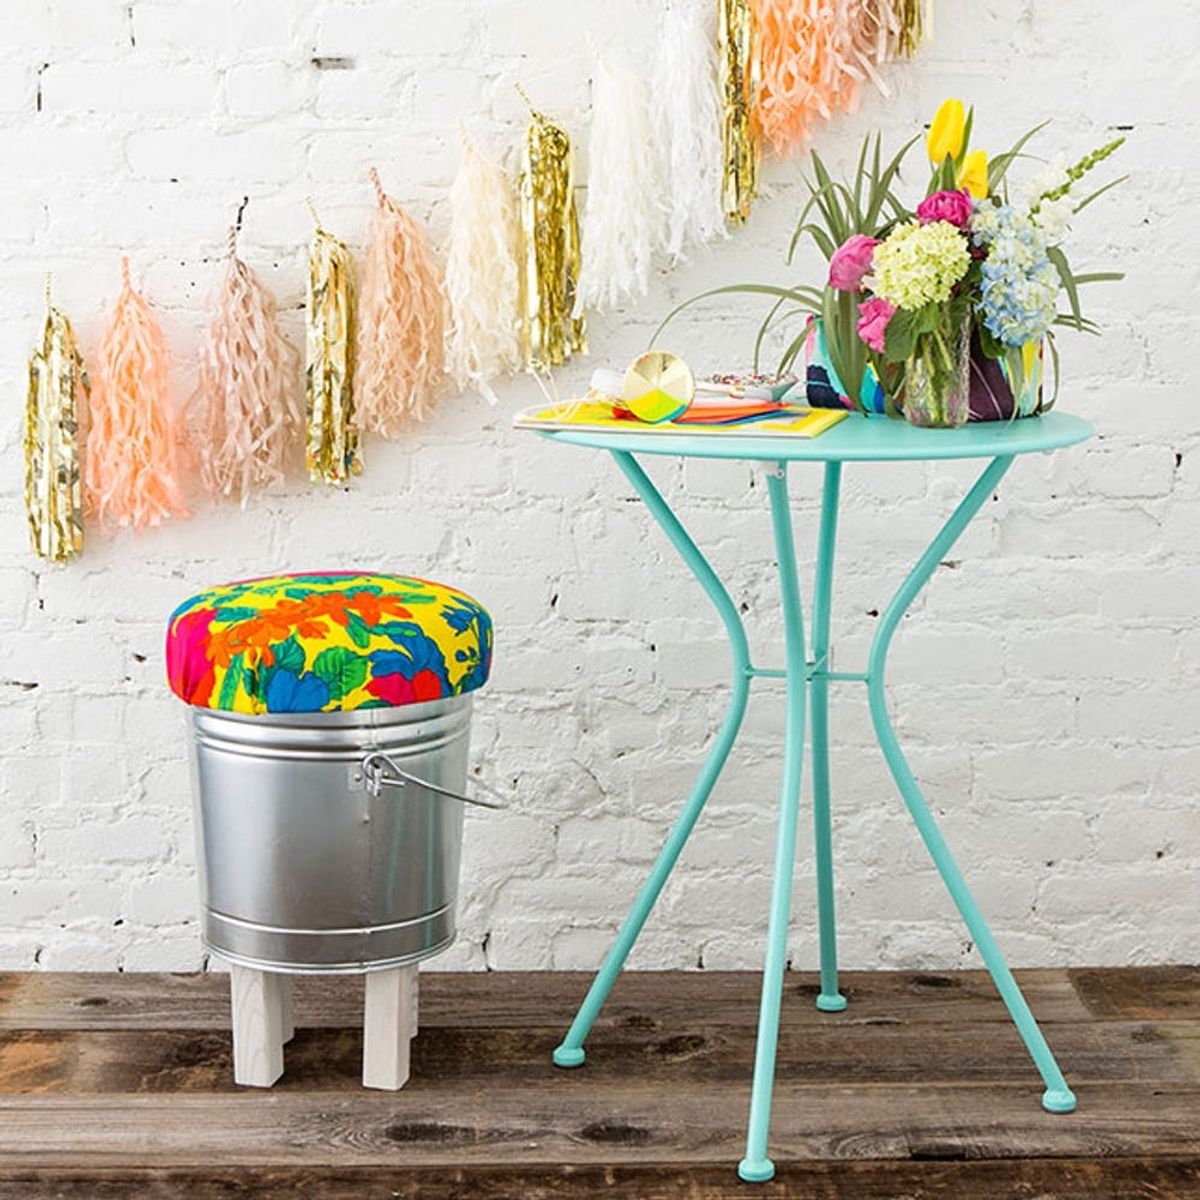
Glam Up Your She Shed With This Stool Hack

We can’t get enough of the she shed craze and are extremely jealous of the amazing ladies out there kickin’ back in their sheds. I dream of the day when I can have my own crafting paradise among fresh flowers and warm sun. (Anyone out there a fairy godmother that can help make these dreams come true?) We aren’t lying when we say we want to be more like she shed gals, so we decided to start creating pieces to add to our future palace. Say hello to the multi-purpose trash can stool! This storage and stool in one will be the perfect addition to your small space crafting paradise.

Materials:

— galvanized metal trash can
— (4) 6-inch table legs
— 4 cap nuts
— spray paint
— 1-inch foam padding
— 1/2 yard fabric
Tools:
— drill
— 8/2 drill bit
— hot glue gun
— pliers
— measuring tape
— Sharpie
— box cutter
Instructions:

1. Evenly measure out four holes in the base of your trash can. Drill the holes from the inside out.
2. Spray paint the legs of your stool and let them dry. Then attach them to the trash can by sliding them through the drilled holes and securing them with cap nuts.
3. Use pliers to take the handle off of the trash can lid, then measure the circle onto the foam padding. Cut out two circles of foam padding using the box cutter.
4. Place two pieces of foam and the lid on top of a 30-inch square of fabric.
5. Hot glue the fabric to the lid, pulling it tightly to get an even seat cushion.
We used a square piece of paper to help us evenly measure out the holes for our four legs. Once marked with a Sharpie, drill holes from the inside out. Place a board underneath when drilling so you don’t drill into your surface.

Spray paint the legs of your stool white and let dry.

Slide the legs through the drilled holes and then screw on the cap nuts. Use pliers or a wrench to really secure the legs tightly.

Use pliers to detach the handle from the lid of the trash can. This part is tough, but don’t give up!

Measure the lid onto the foam padding and cut out two circles using the box cutter. After all that work getting the handle off, you will love this step — the foam cuts like butter with a box cutter.

Layer your two foam pieces and lid on top of a square of fabric that is about 30 x 30 inches (depending on the size of your lid).

Use hot glue to adhere the fabric to the lid. Pull and press the fabric tightly to get a smooth covering around the lid.

I’m in love with this fabric from Britex.

Add the lid back onto the trash can, and say hello to your new she shed stool!

We think the keys to an amazing she shed are great colors, amazing patterns and gold accents.

Oh yeah — and fresh flowers :)

Show us your project by tagging us on Instagram + using the hashtag #iamcreative!
DIY Production and Styling: Kelly Bryden
Photography: Kurt Andre


