Gift This Easy DIY Scrapbook to the Bride-to-Be
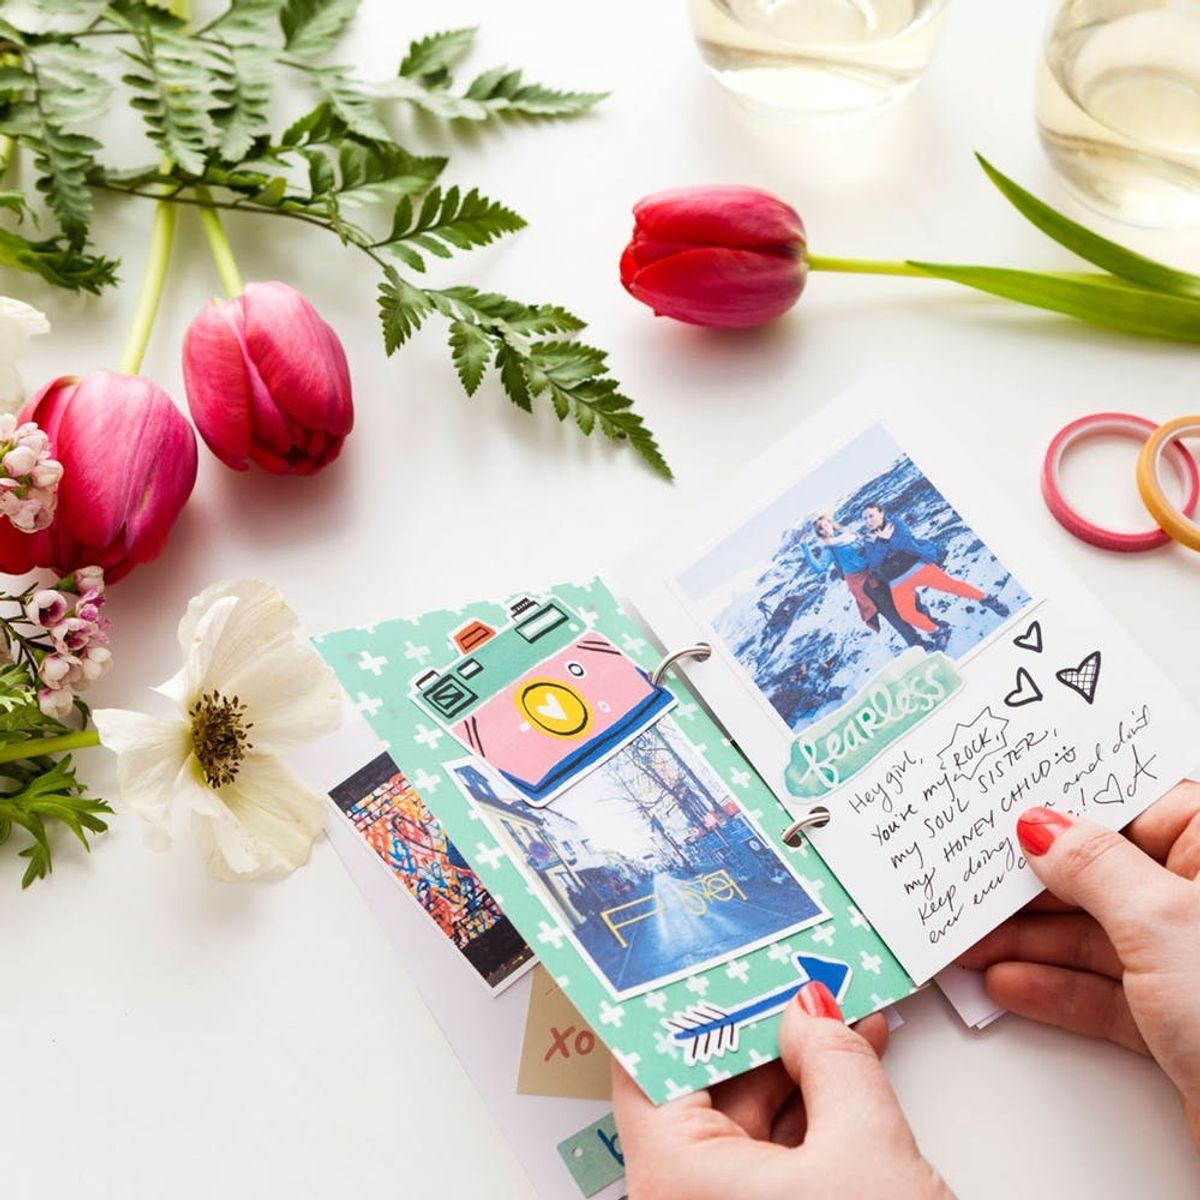
We’re bringing scrapbooking back and giving it a whole new purpose — as a personalized gift to a soon-to-be bride! Add this easy and unique gift for the bride to your list when planning the perfect spring bridal shower or an epic bachelorette party, and bask in the warm fuzziness of knowing that you’re an awesome friend ;) To really pack a whole lot of feels into one book, gather the rest of the bridal party together for a wine and craft night, and have each bridesmaid fill a couple pages with their favorite silly or sweet memories with the bride.
Modern Scrapbooking Kit
 Modern Scrapbooking online class to create this book. The kit comes with all the patterned papers and colorful embellishments you could ever want (so all you have to add yourself are printed photos and hand-written notes), and the online class shows you how to put together awesome, balanced layouts for each and every page of your book!
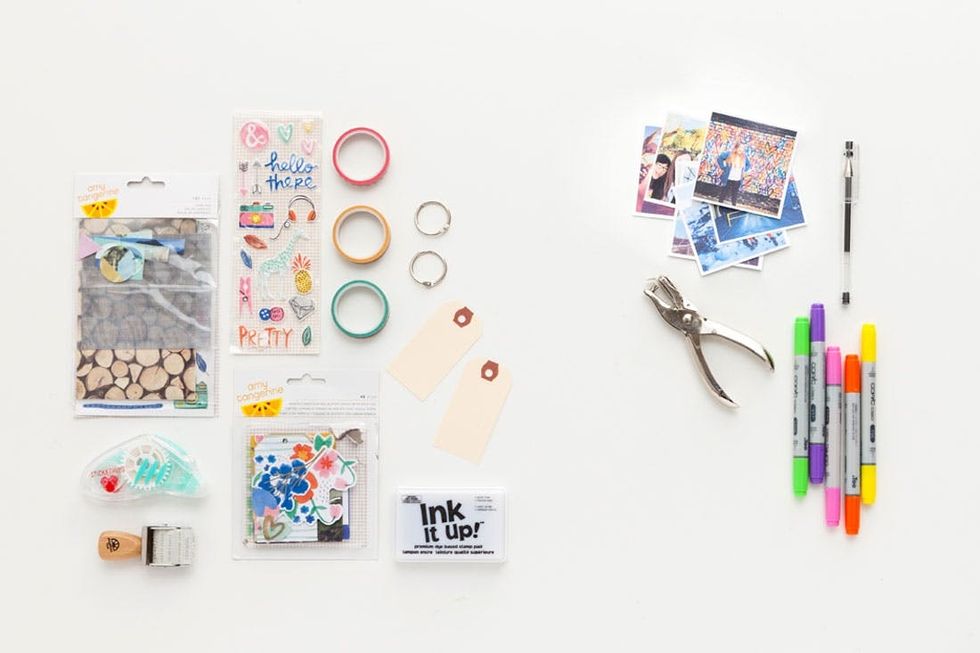
Materials:
— printed scrapbook paper
— paper cut-out embellishments
— stickers
— washi tape
— key rings
— paper gift tags
— double-sided sticky tape
— message stamp
— ink pad
(included in our Modern Scrapbooking Kit)
Additional Supplies:
— 3 x 3-inch printed photos
— hole punch
— pen
— markers (optional)
(not included in kit)
Instructions:
1. Pick out the front cover of your book and arrange photos, embellishments and hand-written elements as you’d like.
2. Flip over your photos and embellishments, add double-sided tape to the back of them and then stick them in place.
3. Add stickers and/or more hand-written notes on top and repeat for the rest of your pages.
4. Stack up all of your pages in order, and punch two holes at the top and bottom of the left edge.
5. Thread one key ring through each punched hole, and close it up to finish your book!
Gather up all your scrapbooking supplies, and print out a stack of your most unforgettable Instas to fill up this book with priceless moments for the bride-to-be!
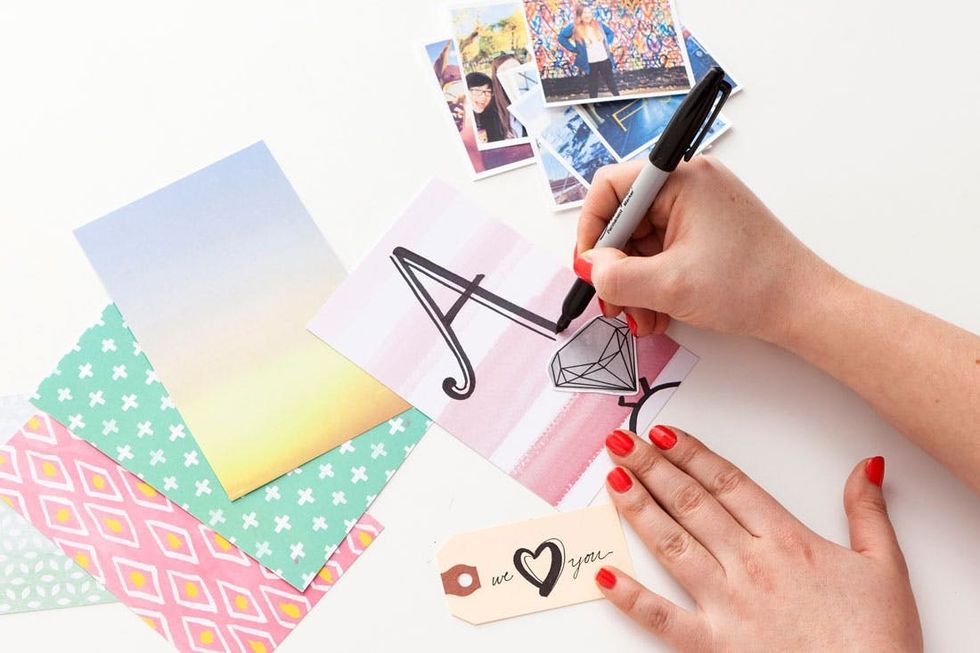
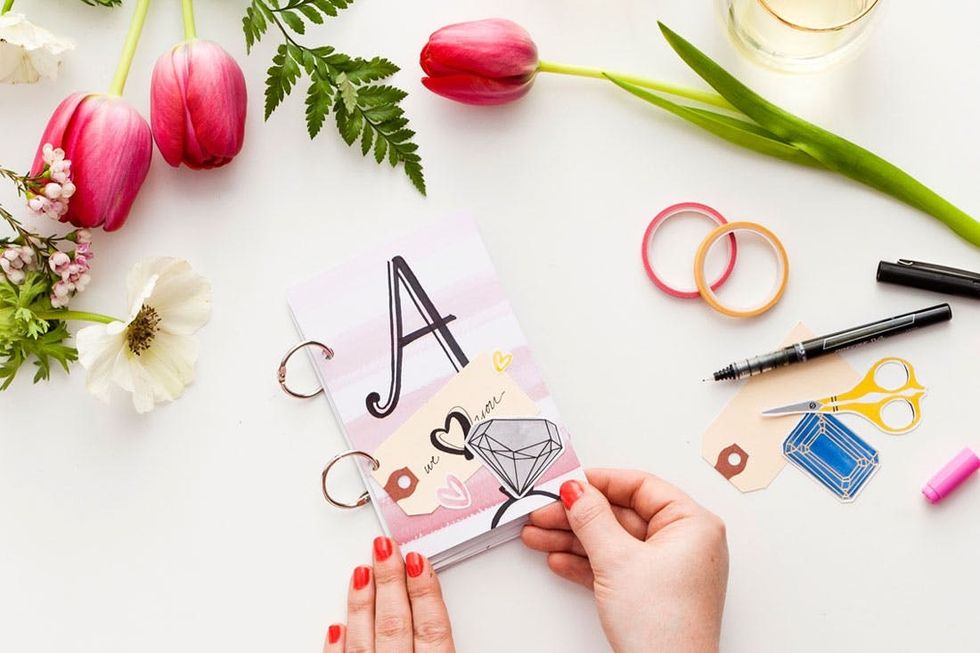
Choose your fave background paper for the front cover, and add some ink and embellishments. We went with the bride’s first initial written in Sharpie, and then layered on a big ol’ diamond cutout for the ring.
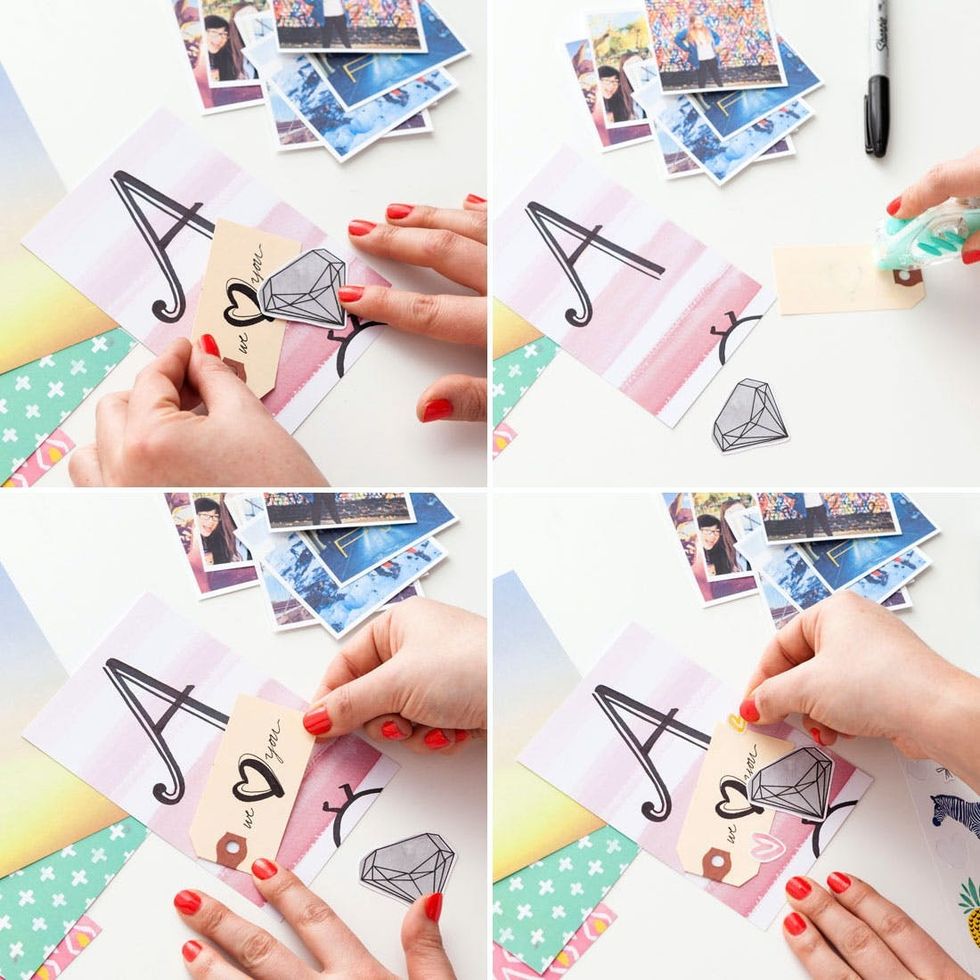
Once you’re happy with your arrangement, flip over the bottom embellishment first and run a few lines of double sided tape onto the backside. Then carefully stick it into place and repeat for more embellishments. Add extra fun details with these teeny heart stickers.
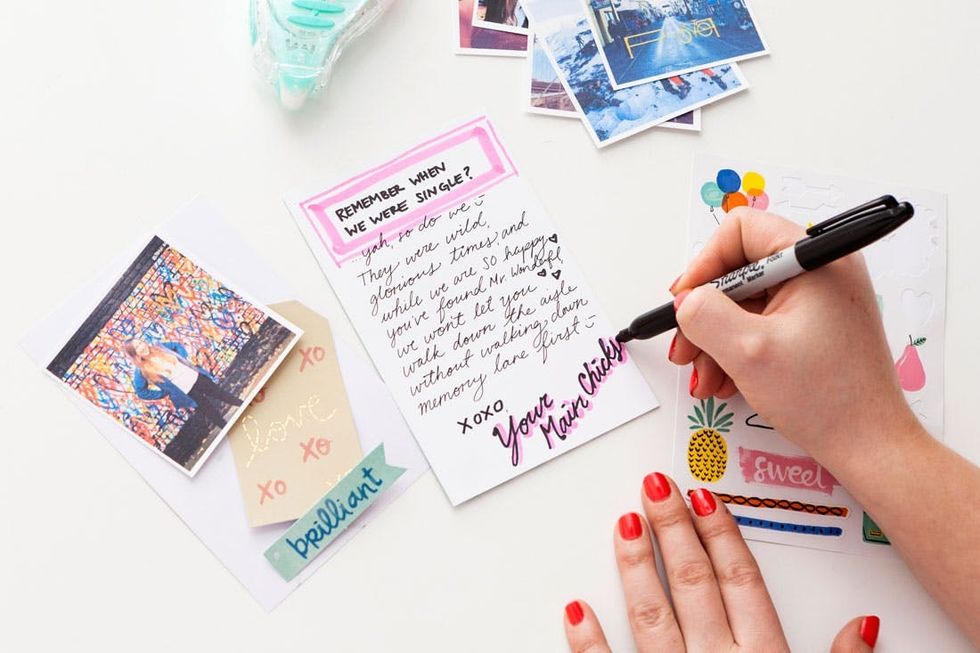
Kick off the rest of your scrapbook with a nice note to the bride-to-be. We layered a photo and paper embellishments to the inside cover and then left the first page blank for the note.
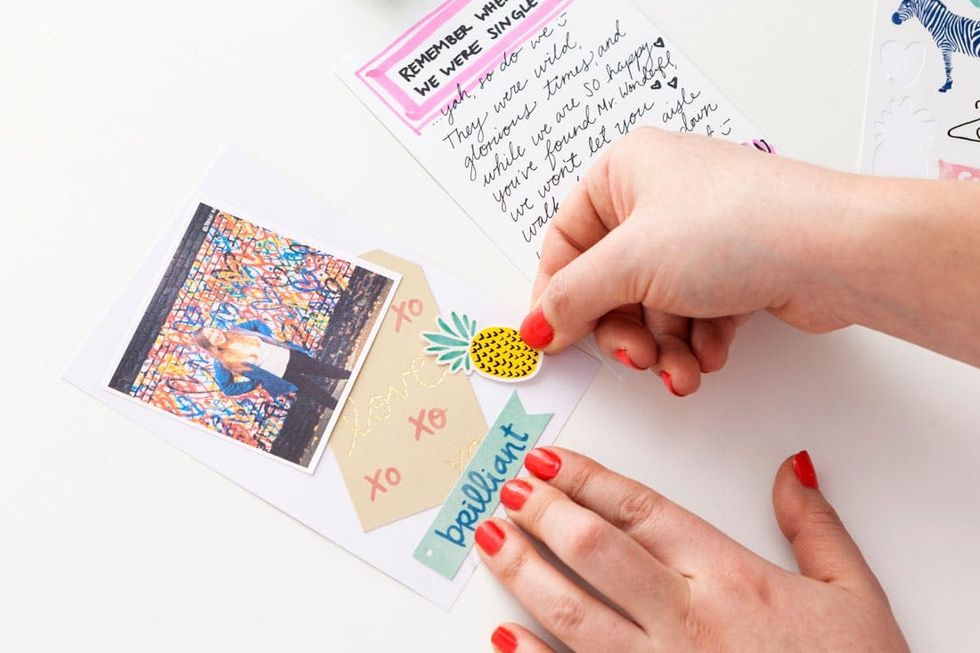
Stick down your pictures and embellishments with double sided tape, just as you did for the cover, and finish off with a sticker or two.
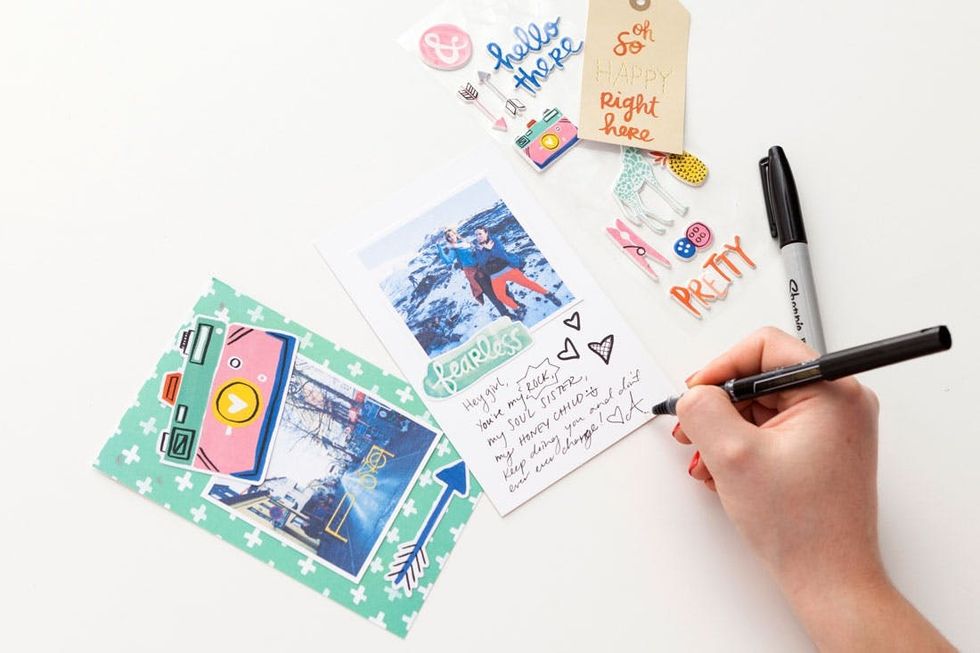
Now it’s time for the good stuff! Have each bridesmaid fill two facing pages with their specific memories with the bride and a little personal note (of course).
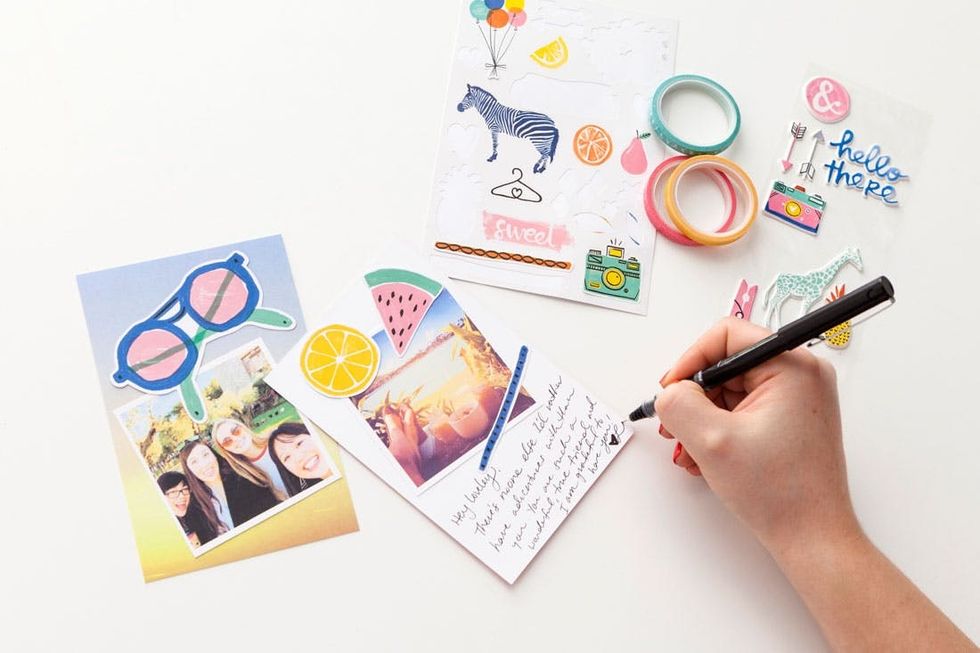
Pass it off to the next bridesmaid and have her fill the next two pages. The best part is that each spread of facing pages will have a completely different feel to it, depending on who puts it together.
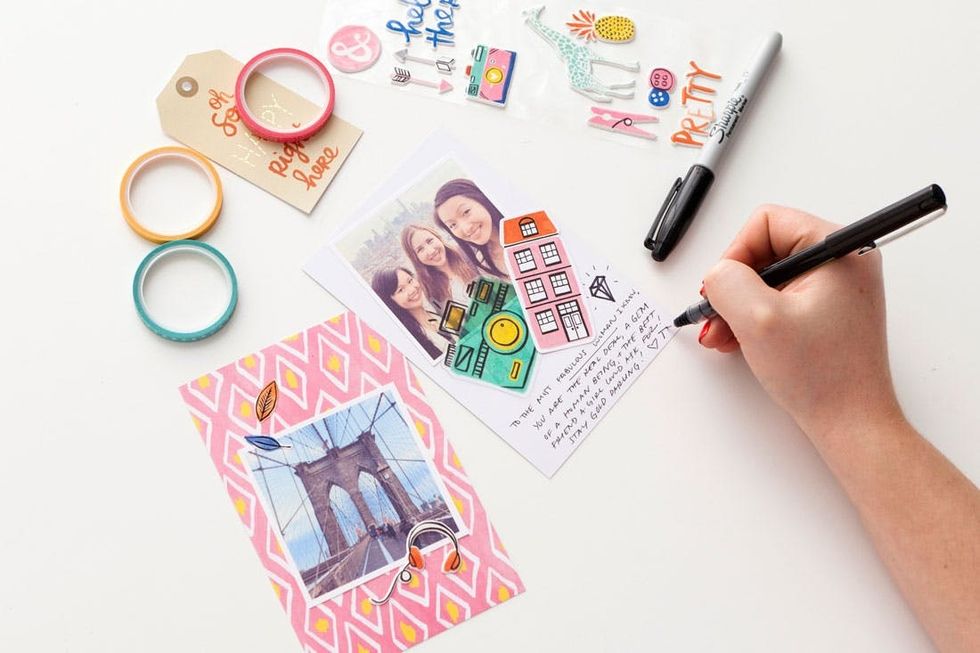
Remember, pictures from trips taken together are PERFECT for these scrapbooks. Make sure to include some pictures of the places you’ve been as well as your group selfies!
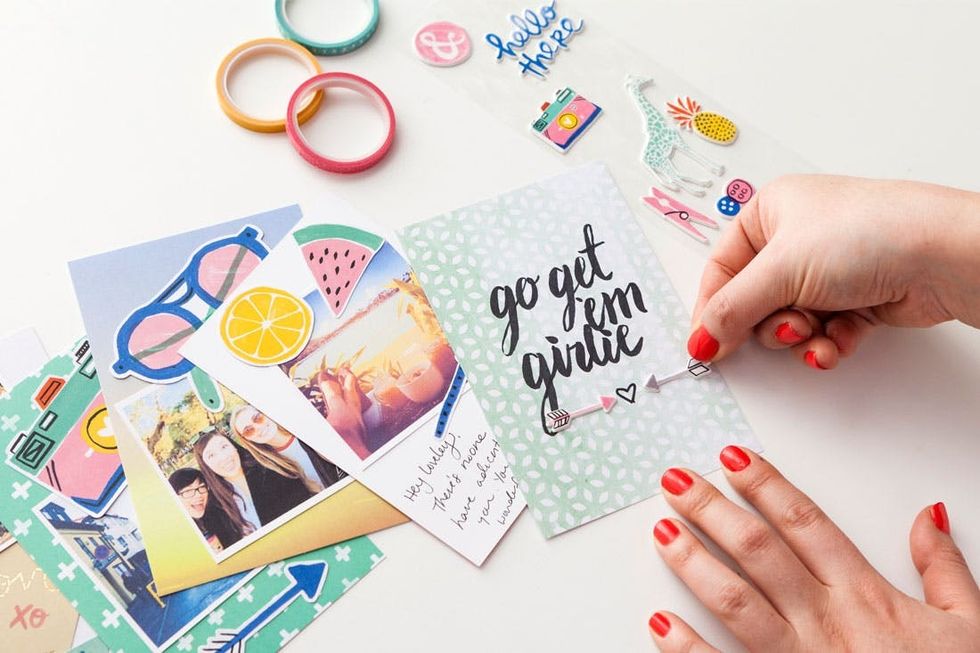
For the back cover, add some words of encouragement for this next big step in her life. It’s a nice way to close the single ladies era and lead into the next one!
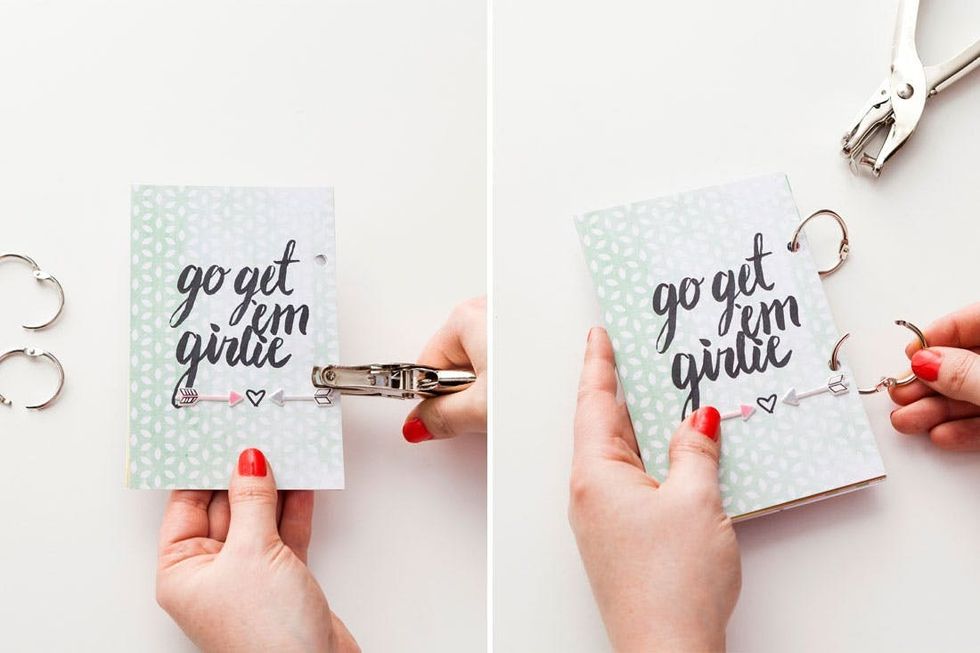
Make sure all your pages are right side up and in order, and stack them up. With the edges all aligned, punch two holes at about 1/4 inch from the left edge. You may have to just make a first indent with the hole punch, and then go in and punch all the way through each page individually. Open up your two key rings, and thread them through each hole to finish your scrapbook!
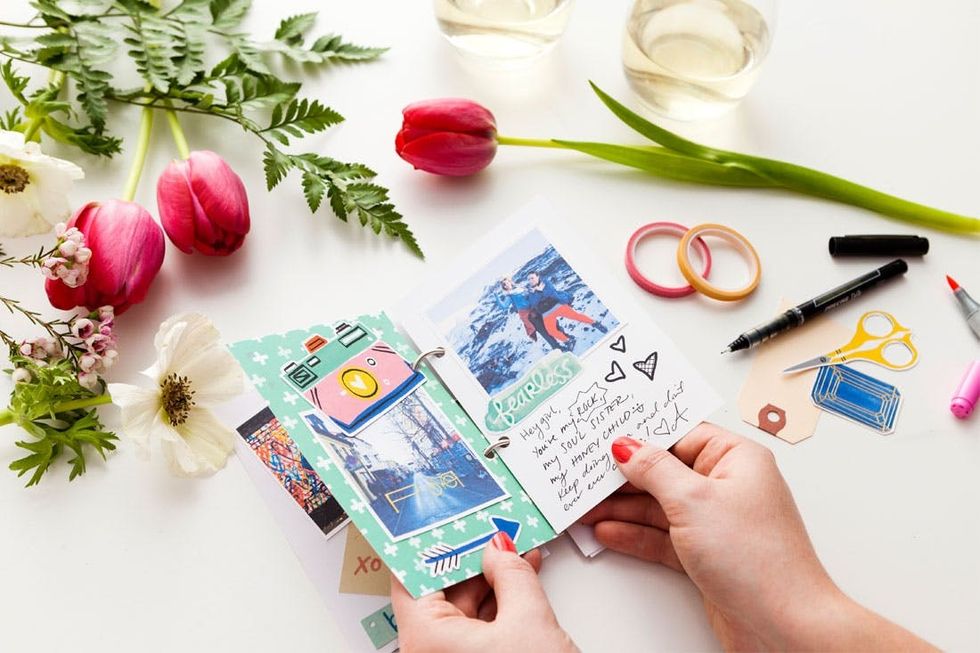
Flip through once more to make sure everything is looking good, and then gift it to the bride! These scrapbooks are a guaranteed tear-jerker, so maybe bring some tissues too ;)
What other creative ways are you pampering your bride-to-be bestie? Show us your project by tagging us on Instagram and using the hashtag #iamcreative!


