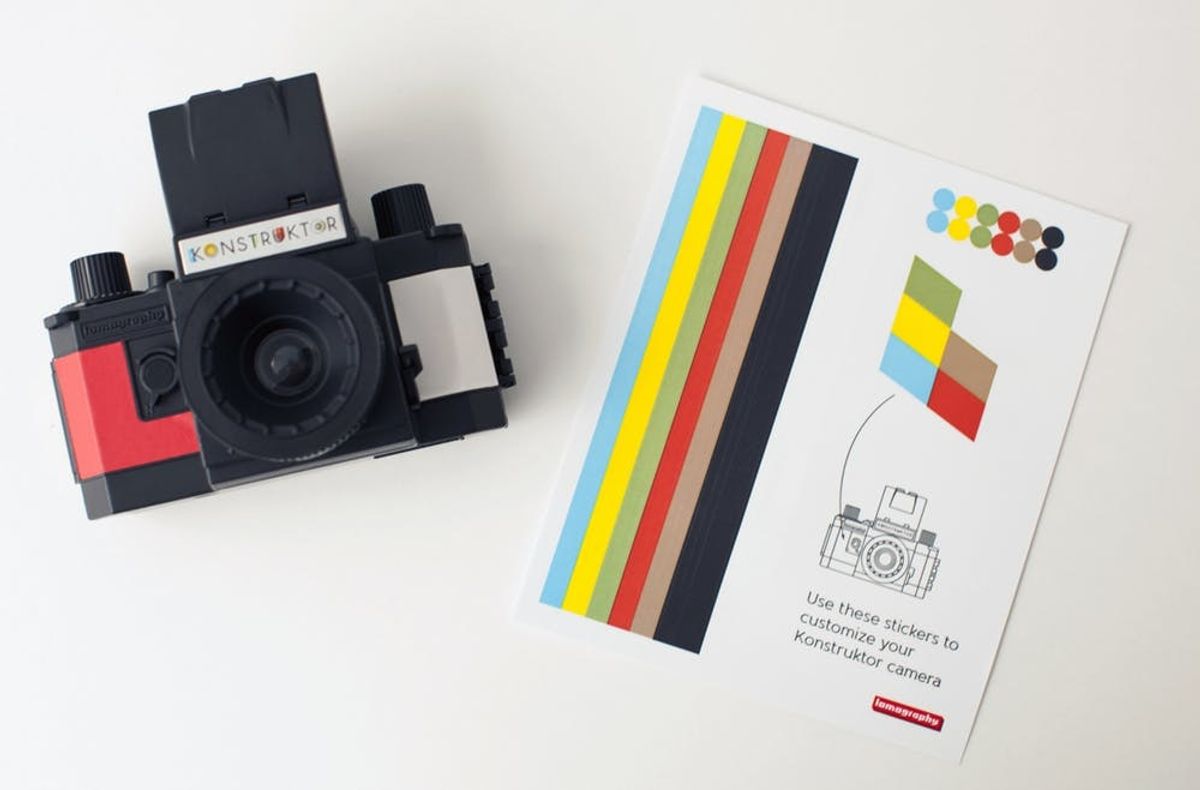
We Tried It: DIY Lomography Camera Kit

While we’re all about how tech is helping you take better photos (including selfies), make money off your photos, and add text to your pics, we also appreciate going analog every once in a while. Which is why we decided we had to check out the Konstruktor build your own camera kit from Lomography.
Yes, you could just snap a few photos with your smartphone and add a filter or two, but there’s something to be said for learning how to take photos with real film, with just the natural elements around you as filters. You know, the ones that came before Hipstamatic and Instagram. Can you tell if this life preserver photo was taken with a phone or the Konstruktor?
First things first! Let’s assemble the camera:
The packaging is incredibly simple and organized, just like we like it.
Almost every piece of the camera is plastic—aside from the screws. It comes packaged like the plastic toys we remember from childhood.
You’ll spend the first half of the process screwing things together. Be prepared that the components are really small. You’ll need nimble fingers, or just a lot of patience. What really helps is that the screwdriver that comes with the kit is magnetized—check out the photo above. You won’t have to worry about dropping screws.
Once you have the three parts of the body assembled, they just slide into place. You’ll need to screw in the shutter release, but everything else is easy to pop in.
It should be no surprise that our favorite part was customizing the camera. We went for a simple red and white combo.
Of course, there are tons of options for making the camera your own.
Once the Konstruktor was assembled, we enlisted the help of our photographer, Chris, to test out the camera and give a few tips for getting the best photos. After all, it’s quite the challenge to make the jump back to analog.
– Be patient. If you’re used to the rapid-fire shooting of digital photography, this will help you slow down. You’ll actually have to wind the film (make sure you wind it tight when you load it!), something you might not have done since the days of disposable cameras.
– Experiment with the film. It might be a bit tricky to find the right film, but you’ll want 100 ISO film, if you’re shooting on a sunny day, and 400 ISO film, if you’re taking photos on a cloudy day. (Lomography has info on film and film for sale here.)
– Think backwards. Be forewarned that everything in the viewfinder shows up backwards. So when you you pan right to get the best shot, the image you’re looking at is going to go left. It takes a bit of getting used to, but your brain is pretty fast to adapt.
– Remember film is expensive. Yes, the Konstruktor is cheap at only $35, but we spent much more than that on film and getting it developed. So, while this makes a great gift for someone who’s into photography, the casual user might be a bit overwhelmed by it.
Have you ever tried using a film lomo camera? Tell us how your photos turned out in the comments!


