 Recommended for you

Ah, fall! The crisp air gets to us, whether we're kids or just kids at heart. While we’re excited to reach for our favorite fall jacket or spice up cider with some cinnamon, kids see autumn as pure magic. That makes autumn the perfect time to roll up our sleeves and get crafty with our little ones. Let's embrace the season with some easy DIY projects that will spark their imaginations and leave you with some adorable fall decor (or at least some fun memories, let's be real, not all of us are raising Picassos).
Scroll for easy DIY projects to do with kids this fall!
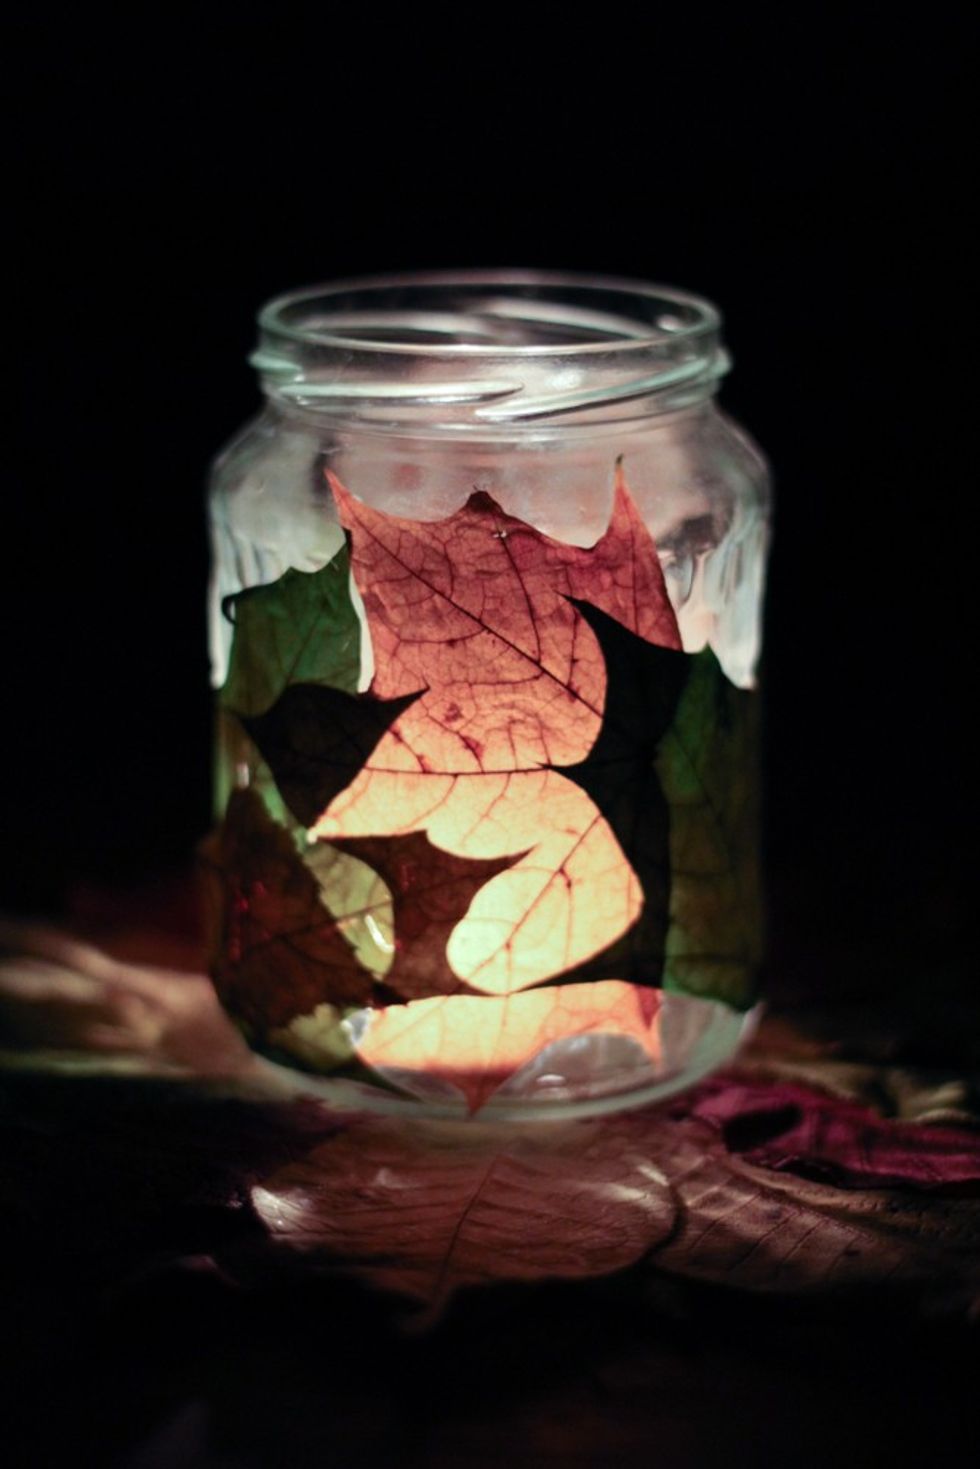
Leaf Luminaries
Shutterstock
Bring the warm glow of autumn indoors with these simple leaf luminaries!
Materials:
- Glass jars (cleaned and labels removed)
- Fall leaves (pressed and dried)
- Mod Podge
- Foam brush
- Tea lights (battery-operated are safest for kids)
Steps:
- Gather a variety of colorful fall leaves.
- Press the leaves between heavy books for a few days to flatten and dry them.
- Apply a thin layer of Mod Podge to a small section of the glass jar.
- Carefully place a dried leaf onto the Mod Podge, smoothing it down gently.
- Continue adding leaves until the jar is covered to your liking.
- Once all leaves are in place, apply a thin coat of Mod Podge over the entire outside of the jar to seal the leaves.
- Let the luminaries dry completely (about 2-4 hours).
- Place a tea light inside each jar and enjoy the warm, autumnal glow.
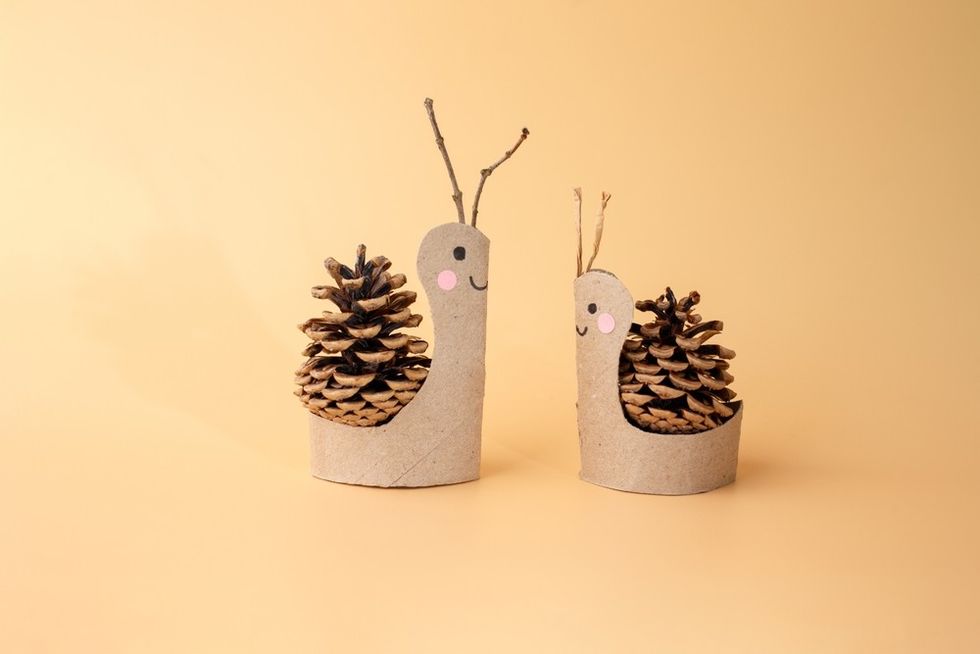
Pinecone Animals
Shutterstock
Turn ordinary pinecones into charming woodland creatures. I'm a sucker for the squirrel versions!
Materials:
- Pinecones (various sizes)
- Felt or construction paper in multiple colors
- Googly eyes
- Pipe cleaners
- Craft glue or hot glue gun (adult supervision required for hot glue)
Steps:
- Collect clean pinecones from your yard or a local park.
- Brainstorm what animal your pinecone will be (e.g., owl, squirrel, fox).
- Cut out shapes from felt or construction paper for ears, wings, tails, and other features.
- Glue googly eyes onto the pinecone.
- Attach the felt/paper features using craft glue or hot glue.
- Use pipe cleaners for legs, antennae, or other details.
- Let your pinecone animals dry.
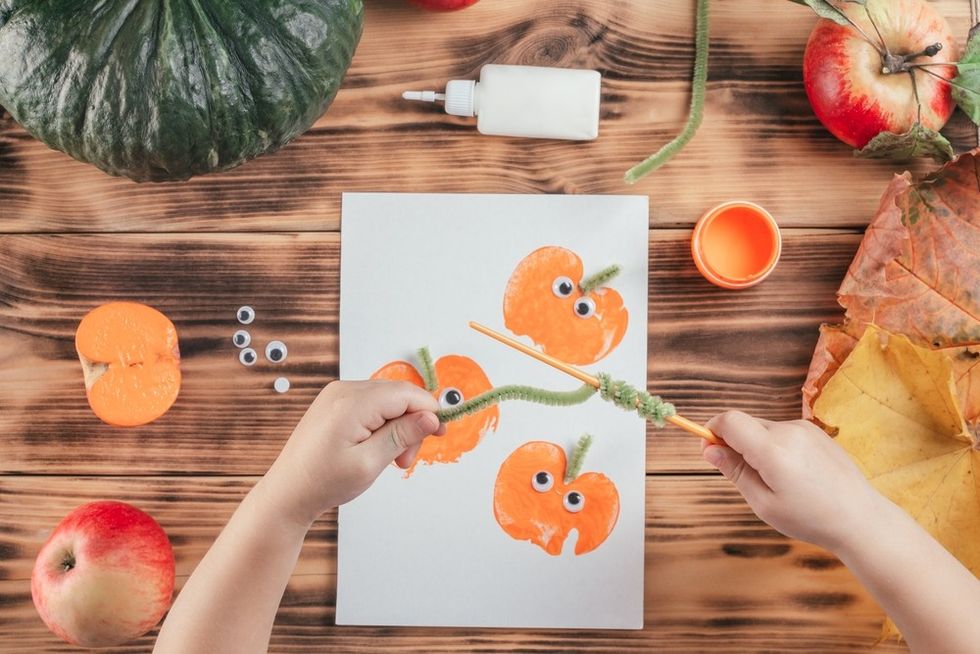
Apple Stamp Art
Shutterstock
A fun and straightforward way to create autumnal patterns. Just make sure to keep eager snackers away from eating their materials!
Materials:
- Apples (cut in half horizontally)
- Washable tempera paint in fall colors (red, orange, yellow, brown)
- Paper
- Paper plate or shallow dish
- Craft supplies like googly eyes and pipe cleaners (optional)
Steps:
- Cut apples in half horizontally to reveal the star shape of the core.
- Pour small amounts of different colored paints onto a paper plate.
- Dip the cut side of an apple half into a color of paint, making sure it's evenly coated.
- Press the painted apple onto a piece of paper to create a stamp.
- Repeat with different colors and patterns.
- Let the paint dry completely.
Acorn Cap Necklaces
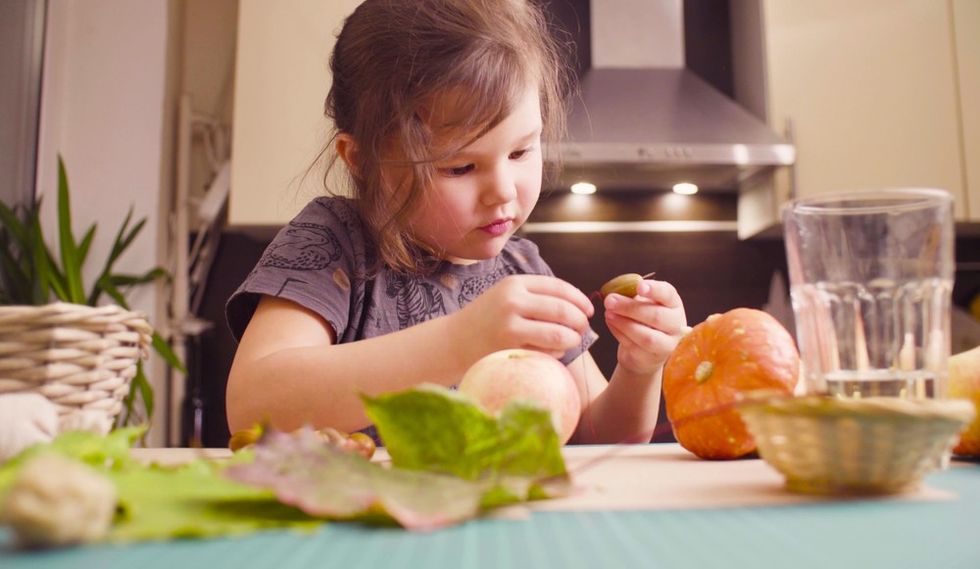
Shutterstock
Tiny treasures from nature become wearable art. To me, projects like this always made me feel like a woodland sprite!
Materials:
- Acorn caps (cleaned and dried)
- Small beads
- Embroidery floss or twine
- Hot glue gun (adult supervision required)
- Needle (optional, for threading smaller holes)
Steps:
- Collect acorn caps. Make sure they are clean and dry.
- Thread beads onto a piece of embroidery floss or twine.
- Tie a knot to secure the beads.
- Apply a small dot of hot glue inside the acorn cap.
- Press the knot of your beaded string into the hot glue, securing it inside the cap.
- Let the glue dry completely.
- Now you have a unique, nature-inspired necklace!
Painted Rock Pumpkins
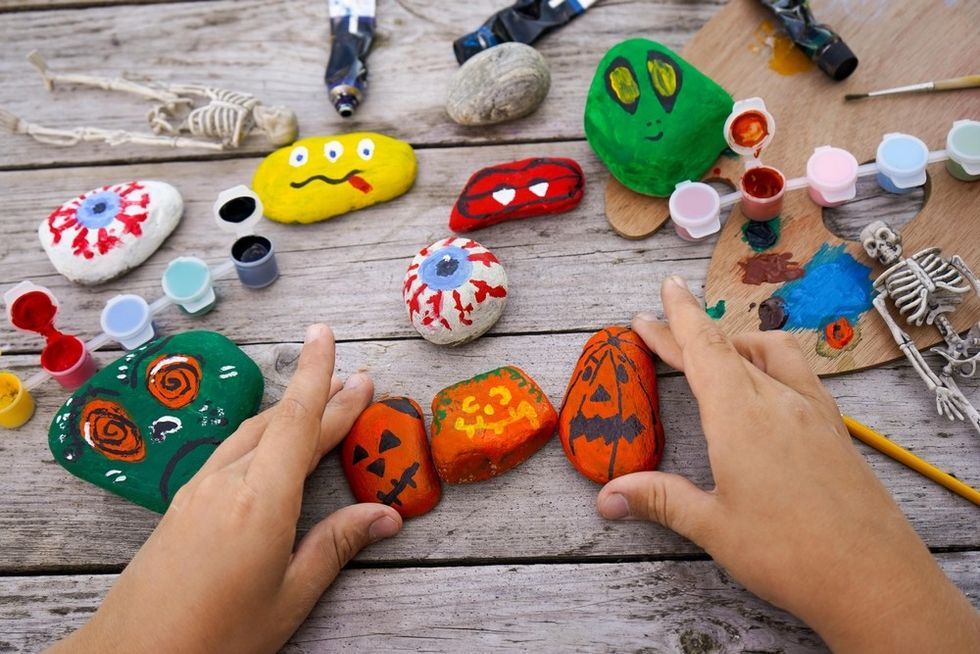
Shutterstock
Turn ordinary rocks into adorable miniature pumpkins and other creepy creatures. You get jack-o-lanterns that will stick around for decades to come.
Materials:
- Smooth, round rocks
- Orange acrylic paint
- Green acrylic paint or green permanent marker
- Black permanent marker
- Paintbrushes
- Sealant spray (optional, to protect the paint)
Steps:
- Clean the rocks thoroughly and let them dry.
- Paint the entire rock orange and let it dry completely. You may need a second coat.
- Once the orange paint is dry, use green paint or a green permanent marker to draw a small stem at the top of the rock.
- Use a black permanent marker to draw a pumpkin face (eyes, nose, mouth).
- For extra durability and shine, spray the finished stones with a clear sealant.
- Let them dry before displaying your new rock pumpkins!
Find more fun fall crafts by following Brit + Co on Pinterest.
Brit + Co may at times use affiliate links to promote products sold by others, but always offers genuine editorial recommendations.